On this page
- The 3-Minute Prep That Makes Polish Last 5 Days
- Easy Nail Art at Home (Even If You Have Zero Skills)
- 10 Easy Nail Art Designs You Can Actually Pull Off
- Minimal Dot Nails
- French Tip Hack With Tape
- Ombre With a Makeup Sponge
- Chrome Effect Without Chrome Powder
- Abstract Swirl Nails
- Micro Hearts
- Glazed Donut Nails at Home
- Mismatched Nails Trend
- Soft Milky Shades
- Sheer Jelly Nails
- Why Your Nail Art Looks Messy and How to Fix It?
- Bubbles in Polish
- Streaky Color
- Flooded Cuticles
- Top Coat Dents
- Chips in 24 Hours
- Pro Tips That Make DIY Nail Art Look Expensive
- FAQ: How to Do Nail Art at Home?
- Do I need to be a professional nail artist to do nail art at home?
- Are nail stickers good for beginners?
- Can I do acrylic nail art at home?
- Are TikTok nail trends realistic for beginners?
- Can I mix different styles in one manicure?
- What’s the fastest way to upgrade a basic manicure?
When you’re in school, you want to shine. Nails included. But let’s be honest: you are not booking a salon every week. No stress, we’ve got you! Our experts have over 10 years of experience with nails and understand how challenging it can be for beginners. We’ll show you how to do your nails at home and not destroy them in the process.
Quick takeaways:
-
A simple 3-minute prep (dehydrate, shape, push cuticles) increases polish longevity
-
Thin layers and sealing the free edge prevent bubbling and next-day chipping
The 3-Minute Prep That Makes Polish Last 5 Days
The difference between polish that lasts five days and polish that dies in 24 hours? Three minutes. That’s it.
Minute one: remove everything. Even if your nails look clean. Wipe with remover, then swipe each nail with alcohol or acetone. If the surface is shiny, it’s oily. If it’s oily, your base coat is slipping.
Minute two: shape with intention. File in one direction, smooth the free edge. No aggressive back and forth. Seal the edge so polish has something clean to wrap around. Jagged edge equals instant peeling.
Minute three: push, don’t cut. Gently push cuticles back so you’re not painting over skin. Polish on skin = lifting. Lifting = chipping. Keep the surface clean and defined.
That’s the whole formula.
Easy Nail Art at Home (Even If You Have Zero Skills)
You want cute nails, but you don’t want to spend two hours fighting with tiny brushes? Fair. The secret to easy nail art isn’t talent. It’s picking designs that look intentional even when you’re not perfect, because no one is looking at your nails under a microscope in real life.
Start with a forgiving base shade. Sheer nudes, milky pinks, soft beige, pale lavender… Use anything that blends with your natural nail a little. These colors are basically the “good lighting” of at home manicures: they hide uneven layers and make the whole look cleaner.
If you want something cute without turning it into a project, dots are your safest move. Use a toothpick or the tip of a hair clip. Dip it lightly into polish and place one or two tiny dots per nail, or do a single dot near the cuticle on just one accent nail.
Another lazy genius option is tape. Regular scotch tape works, but painter’s tape is even better because it doesn’t rip up the base layer. Put a strip diagonally across your nail, paint one side, and peel the tape off while the polish is still slightly wet. Do it on one or two nails only, and suddenly you’ve got a “set.” .
And honestly, if you’re new, the smartest strategy is the single accent nail. Do a simple solid color on most nails, then put your “effort” on one nail per hand. That’s where you add a tiny heart, a couple dots or a minimal line. It’s easy to maintain, and if you mess it up, you’re only fixing one nail, not all ten.
10 Easy Nail Art Designs You Can Actually Pull Off
Let’s be honest. Most “easy” nail art online is not easy. It’s filmed under studio lighting, edited, zoomed in, and done by someone who has been painting nails since middle school. But don’t panic. We put together a selection that you can handle even if you’re a beginner.
Minimal Dot Nails
This is one of the safest options for people who almost never do their nails. Here’s what you need to remember to create this design:
-
Use a neutral base (sheer pink, beige, milky white)
-
Add one or two tiny dots per nail
-
Or place a single dot near the cuticle on one accent nail
Inspiration board: https://www.pinterest.com/search/pins/?q=minimal+dot+nails
French Tip Hack With Tape
Regular tape or painter’s tape becomes your stencil. What you need to do to succeed is very simple:
- Apply it across the tip.
- Paint above it.
- Peel it off while the polish is still slightly wet.
Inspiration board: https://www.pinterest.com/search/pins/?q=french+tip+with+tape
Ombre With a Makeup Sponge
Apply two close shades (for example blush and nude, or lavender and soft pink) onto the sponge in horizontal stripes. Dab gently onto the nail. Repeat in light layers.
Inspiration board: https://www.pinterest.com/search/pins/?q=ombre+nails+sponge
Chrome Effect Without Chrome Powder
Chrome powder can be very hard to use if you are a beginner, but you can still get a similar effect. Use a metallic polish or a sheer shimmer topper over a neutral base. It will not give you exactly the same effect, but it will look similar and will be much easier to apply.
Inspiration board: https://www.pinterest.com/search/pins/?q=chrome+nails+minimal
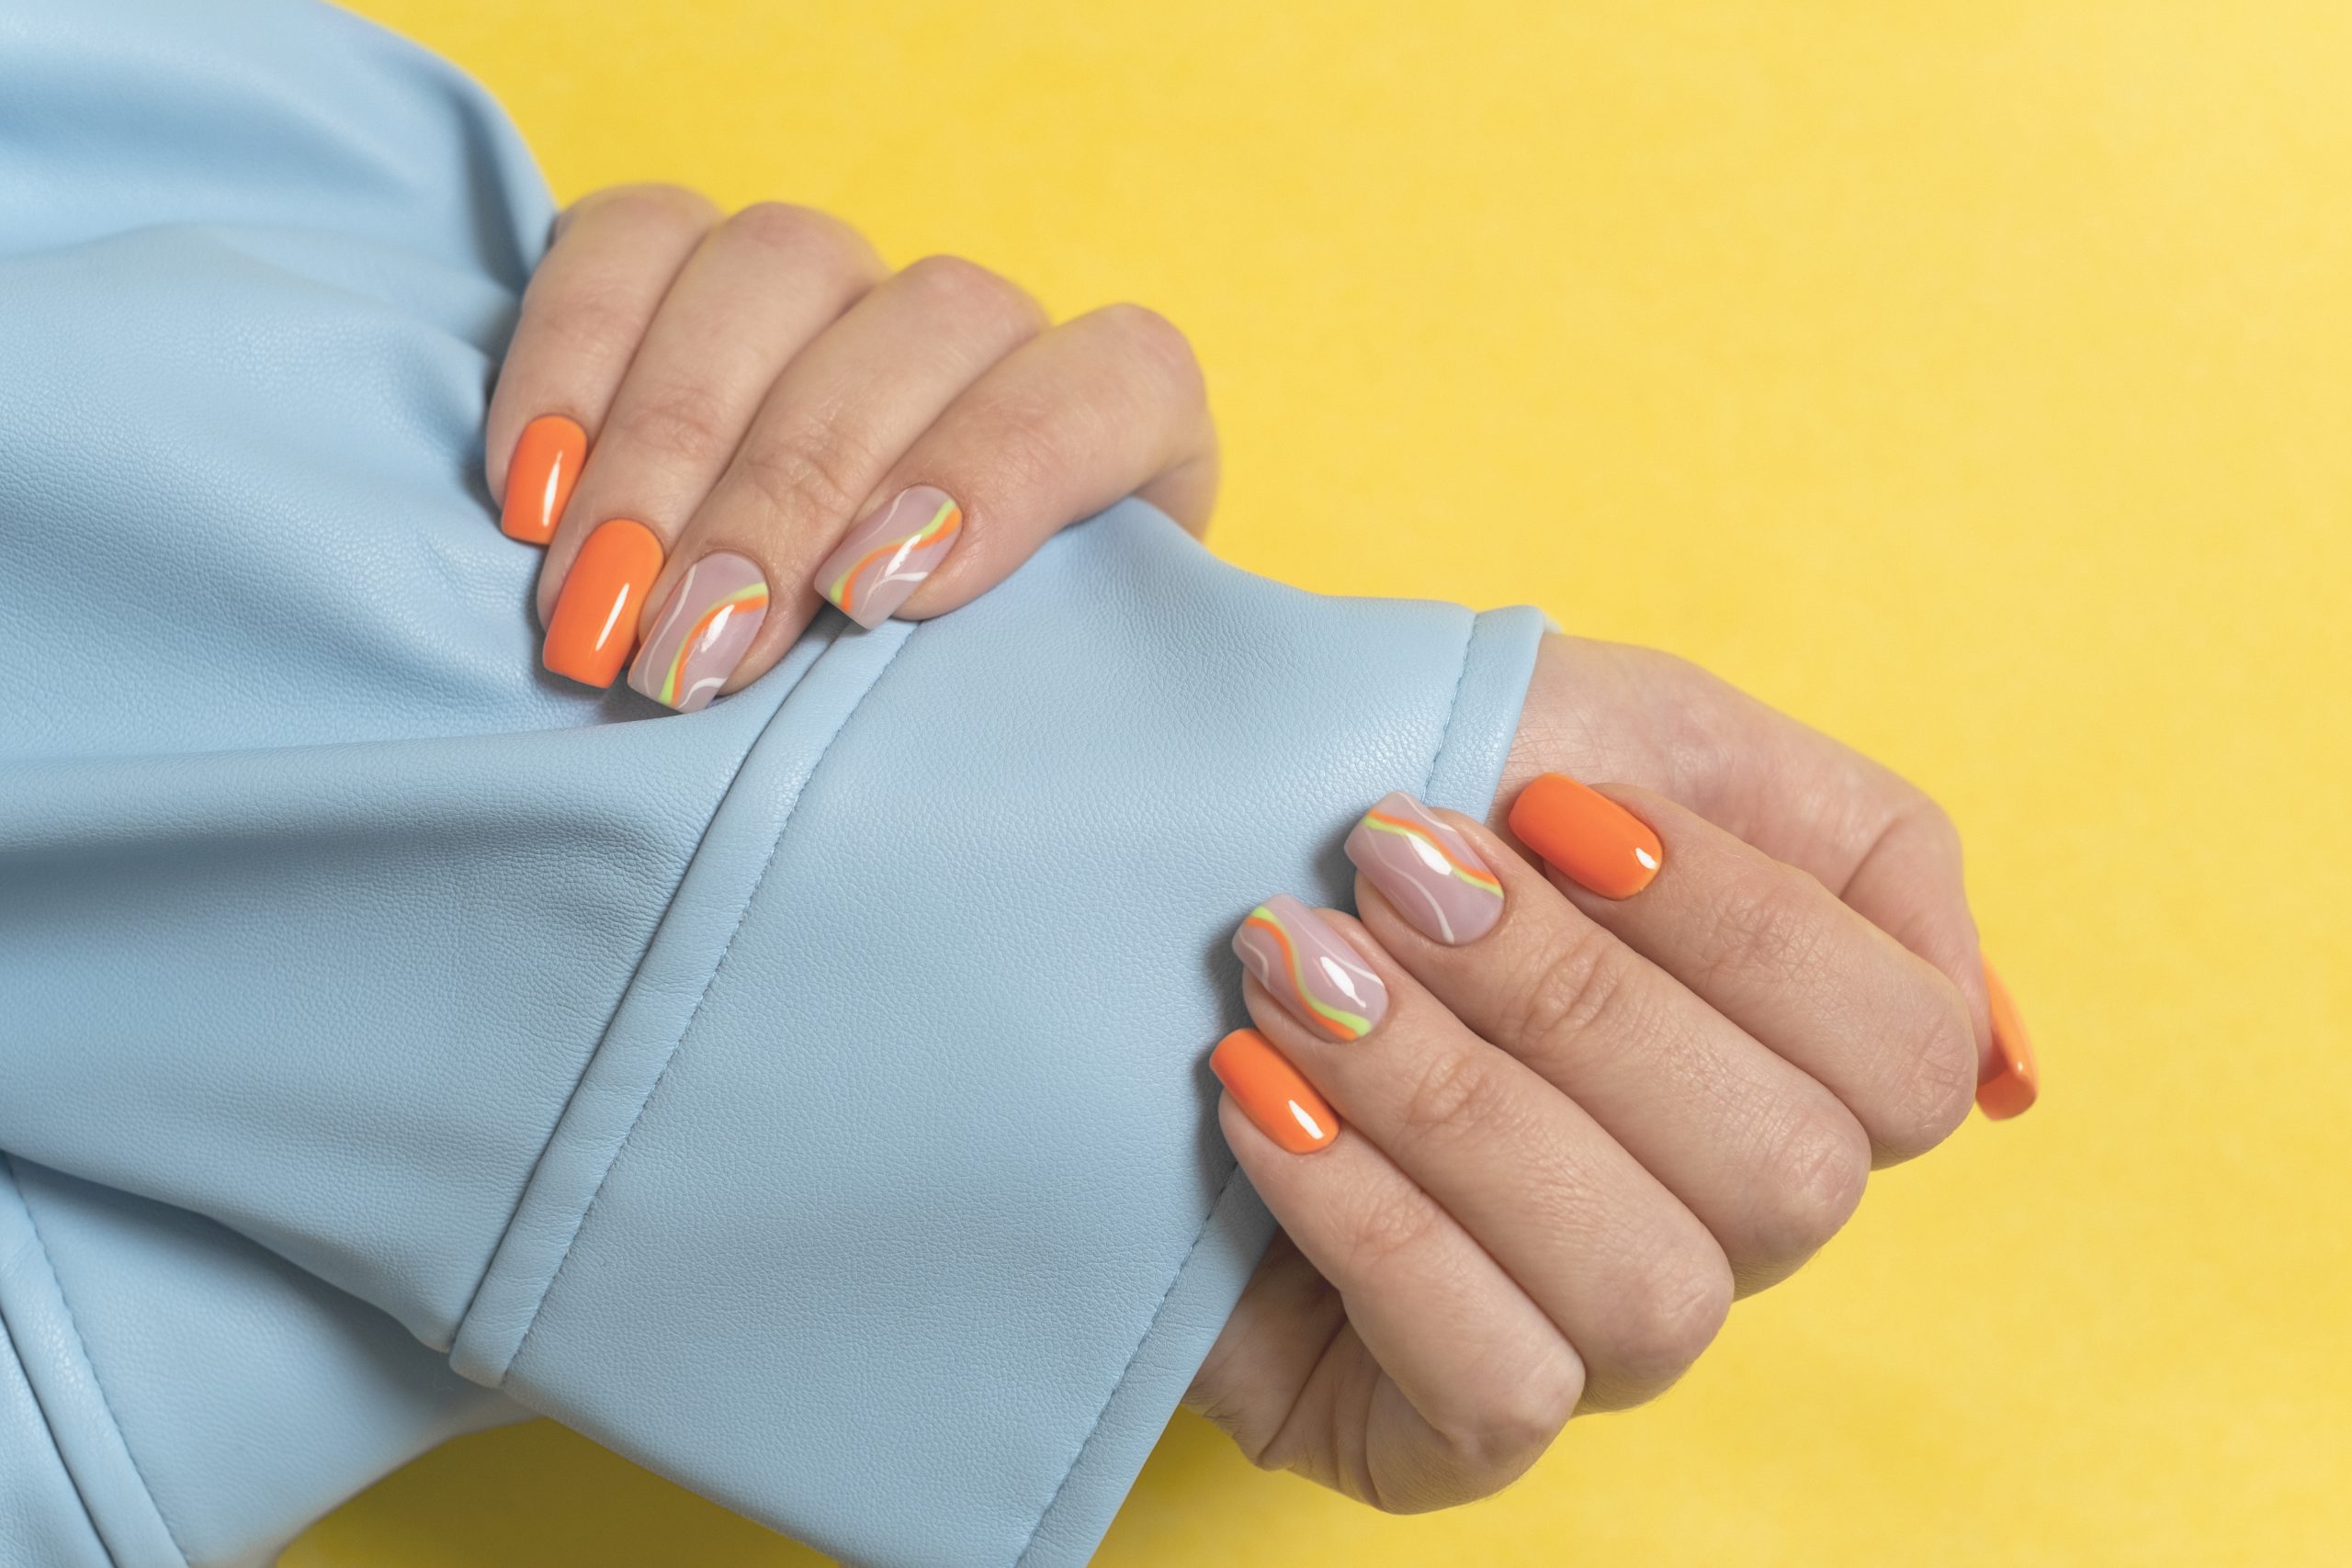
Abstract Swirl Nails
This is a bright and easy to apply nail option that will help you look more mysterious. Here’s what you need to do:
- Use a thin brush or even a toothpick.
- Draw soft curves in a contrasting but muted shade.
- Do not overcrowd the nail.
Inspiration board: https://www.pinterest.com/search/pins/?q=abstract+swirl+nails+minimal
Micro Hearts
Tiny hearts near the cuticle or on one accent nail are trending hard again, but the grown up version is small and subtle. Remember: One heart per hand is cute. Ten hearts per hand is Valentine’s Day overload.
Inspiration board: https://www.pinterest.com/search/pins/?q=micro+heart+nails+minimal
Glazed Donut Nails at Home
The Hailey Bieber effect is not going anywhere. You can recreate glazed donut nails with a pearly white polish topped with a fine shimmer or chrome like top coat.
Inspiration board: https://www.pinterest.com/search/pins/?q=glazed+donut+nails
Mismatched Nails Trend
Mismatched does not mean chaotic. Pick one color palette. For example dusty rose, mauve, and soft burgundy. Paint each nail slightly different within that range. If the tones belong together, the set looks curated. If they don’t, it looks like you grabbed random bottles in the dark.
Inspiration board: https://www.pinterest.com/search/pins/?q=mismatched+nails+minimal
Soft Milky Shades
Milky nails are the safest luxury move. Milky pink, milky white, milky beige. They blur imperfections, elongate fingers, and look clean in any lighting.
Inspiration board: https://www.pinterest.com/search/pins/?q=milky+nails
Sheer Jelly Nails
Jelly nails are semi transparent and buildable. Apply one thin coat for subtle color, two for depth. They look playful but still light. Jelly shades in cherry red, soft coral, or muted berry are trending because they feel fresh without being loud.
Inspiration board: https://www.pinterest.com/search/pins/?q=sheer+jelly+nails
Why Your Nail Art Looks Messy and How to Fix It?
Most messy nail art is about bad decisions. The good news? Every common mistake has a fix. And none of them require you to go to nail school.
Bubbles in Polish
Those tiny craters in your nail polish? That’s trapped air. Why it happens:
- You shook the bottle like a protein shake
- You applied thick coats
- You painted in a hot room
- You went over the same area too many times
How to fix it:
- Roll the bottle between your hands. Don’t shake.
- Apply thinner layers. Always.
- Paint in a cool, dry space.
- And stop overworking the brush. Three strokes per nail is enough.
If bubbles keep showing up, your polish may be old. Even gel can bubble if applied too thick.
Streaky Color
Streaks are about uneven pressure and inconsistent layering. Most beginners press too hard, which pushes polish aside instead of letting it self-level.
Here’s the fix:
- Use a light touch.
- Load enough product on the brush so it glides.
- Let the first coat be slightly streaky.
- The second thin coat evens everything out.
If you’re working with light shades or milky tones, streaks are more visible. That’s where patience matters.
Flooded Cuticles
If polish spreads into your cuticles, your nails look messy no matter how good the design is.
Flooding usually happens because:
- There’s too much product on the brush
- You’re pushing the brush flat instead of gliding
- You started too close to the skin
The fix:
- Start slightly above the cuticle line.
- Push gently toward the cuticle, then pull downward.
- Leave a microscopic gap.
- If you mess up, use a small clean-up brush dipped in remover immediately. Waiting makes it harder to correct.
Top Coat Dents
You thought it was dry. It wasn’t. Top coat dents happen when:
- Base layers weren’t fully cured
- You applied thick top coat
- You touched something too soon
Regular nail polish needs at least 20-30 minutes before real hand use. Gel needs full curing under proper lamp wattage. If you want to create nail art that lasts, respect dry time.
Also: float the top coat. Don’t press down hard or you’ll drag the design underneath.
Chips in 24 Hours
If your manicure chips the next day, something went wrong before you even added art.
Common causes:
- No base coat
- Skipping dehydration step
- Not sealing the free edge
- Using hands immediately after painting
Avoid hot showers or oils for a few hours after application. If your nails are naturally flexible, consider using a thin gel overlay for strength before adding nail art.
Pro Tips That Make DIY Nail Art Look Expensive
First, clean cuticles change everything. Push them back gently and clean the edges with a thin brush dipped in remover. A crisp cuticle line instantly makes even the simplest nude polish look elevated. Messy edges are what make nails look amateur, not the design itself.
Always apply thin layers. Thick coats bubble and dry unevenly. Two thin coats will look smoother and more professional than one heavy one. If your polish looks thick or puffy, you used too much.
Cap the free edge every time. After applying color, lightly swipe the brush across the tip of your nail. This seals the polish and prevents early chipping.
Keep your colors cohesive. Expensive looking sets stay within one color family. Dusty rose with burgundy works. Soft beige with caramel works. Random bright shades thrown together rarely look curated unless you really know what you’re doing.
Leave space. Overcrowded nails look chaotic fast. A single swirl or one accent nail feels intentional. When every nail is competing for attention, nothing looks refined.
And finally, gloss matters. A high shine top coat makes everything look smoother and more polished. Light reflecting off a glassy finish hides small imperfections and elevates the entire manicure.
FAQ: How to Do Nail Art at Home?
Do I need to be a professional nail artist to do nail art at home?
No.
Are nail stickers good for beginners?
Yes. Nail stickers are one of the easiest ways to create nail art without painting skills.
Can I do acrylic nail art at home?
You can, but acrylic requires more experience and proper preparation. If you’re new, start with natural nails and regular polish before experimenting with acrylic.
Are TikTok nail trends realistic for beginners?
Some are, some are not. You need to look carefully at what you see. Many things shown on TikTok are not as fast or easy as they seem.
Can I mix different styles in one manicure?
Yes, but keep one color palette.
What’s the fastest way to upgrade a basic manicure?
Add a glossy top coat and one subtle detail. It can transform a simple polish into a trendy nail art look without extra effort.