On this page
- The trick?
- What “No-Makeup Makeup” Actually Means
- Before You Touch a Single Product: Skin Prep
- Cleanse gently
- Moisturize — yes, even oily skin
- Sunscreen is not optional
- The Step-by-Step Tutorial: 7 Steps, Under 10 Minutes
- Step 1: Even out your base (but skip full-coverage foundation)
- Step 2: Conceal strategically
- Step 3: Set with a light hand (or skip this entirely)
- Step 4: Bring warmth with cream blush or bronzer
- Step 5: Define your brows (the biggest difference-maker)
- Step 6: Open up your eyes without eyeliner
- Step 7: Finish with lips
- Common Mistakes That Ruin the Natural Look
- What Products Do You Actually Need?
- Adapting the Look for Different Skin Tones
- How to Take Your Skills Further
- Frequently Asked Questions
- How many products do I need for a no-makeup makeup look?
- Does the no-makeup look work for acne-prone skin?
- What’s the difference between “no-makeup makeup” and “clean girl makeup”?
- Can I wear this look to school?
- How do I make the look last all day?
- Is this look okay for 11–12 year olds?
- What’s the best mascara color for a natural look?
- How is no-makeup makeup different from wearing no makeup?
You spent 20 minutes blending. Your friend glances over and says, “Oh, you look so pretty today — are you even wearing makeup?” That’s the reaction the no-makeup makeup look is designed to produce. It’s the most-requested technique among teen makeup beginners for a reason: it looks effortless, it’s school-appropriate, and it teaches you more about real skin care than a full glam beat ever will.
The trick?
You are wearing makeup — just the right products, in the right amounts, applied in the right order. Below, you’ll learn every step from skin prep to the final mascara coat, which products actually matter (and which you can skip), and the three beginner mistakes that make the look obvious instead of invisible.
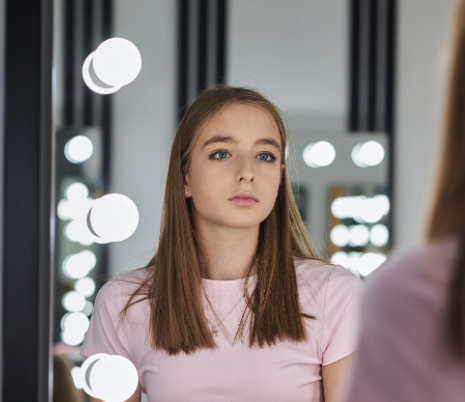
What “No-Makeup Makeup” Actually Means
The term gets thrown around a lot, so let’s pin it down. No-makeup makeup is a technique where every product enhances what’s already there — your skin tone, your lip color, your lash line — without adding anything that looks “placed.” You won’t see bold color, sharp contour, or visible shimmer.
The goal is your face, but better: even skin, a subtle glow, defined brows, and soft cheeks. Think of it as the difference between Instagram filters and real life — this look closes that gap using actual technique instead of a screen.
For teens specifically, this approach matters because it works with young skin instead of piling onto it. Teen skin is naturally plump and regenerates fast — you don’t need to build up heavy coverage. What you do need is the skill to enhance without overloading, and that’s exactly what this tutorial teaches.
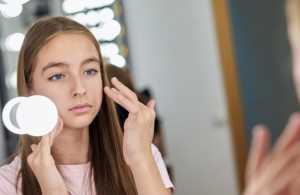
Before You Touch a Single Product: Skin Prep
Skipping skin prep is the number one reason the “natural” look ends up looking cakey. Every professional makeup artist — from fashion week backstages to YouTube tutorials — will tell you the same thing: 70% of the no-makeup look happens before any makeup goes on.
Cleanse gently
Wash your face with a gentle, sulfate-free cleanser. If you have oily or combination skin (common for ages 11–17), a gel cleanser works best. Dry or sensitive skin does better with a cream or micellar water. Don’t use a scrub right before makeup — it can leave micro-irritation that foundation clings to.
Moisturize — yes, even oily skin
Oil production and hydration are two different things. When oily skin is dehydrated, it produces more oil to compensate. A lightweight, oil-free moisturizer with hyaluronic acid creates the smooth, plump canvas that makes sheer products sit beautifully. Wait about 60 seconds for it to absorb before moving on.
Sunscreen is not optional
SPF 30 minimum, every single day. Look for a sunscreen that dries down without a white cast — tinted sunscreens with a natural finish can even double as your base, eliminating the need for foundation entirely. Many teens find that a good tinted SPF is the only “base” product they need.
The Step-by-Step Tutorial: 7 Steps, Under 10 Minutes
Step 1: Even out your base (but skip full-coverage foundation)
Full-coverage foundation defeats the purpose. Instead, reach for one of these lighter alternatives:
- Tinted moisturizer — the best option for young skin. It hydrates, evens out tone, and looks invisible.
- BB cream or CC cream — slightly more coverage than a tinted moisturizer, good if you have redness or uneven pigmentation.
- Concealer only — if your skin is mostly clear, skip base entirely and just dot concealer on any blemishes, under your eyes, and around your nose.
Apply with your fingers. Warm the product between your fingertips first, then press it into the skin (don’t rub). This gives the most skin-like finish.
Teen-specific tip: If you’re dealing with acne, resist the urge to pile on more product. Dab a small amount of concealer only on the blemish, tap the edges to blend, and leave it. Thick layers over breakouts actually draw more attention because they catch light differently from the surrounding skin.
Step 2: Conceal strategically
You only need concealer in three zones:
- Under the eyes — apply in a small inverted triangle shape, blend with your ring finger (lightest pressure)
- Around the nostrils — a tiny dot on each side to neutralize redness
- On any blemishes — dab, don’t swipe
Choose a concealer shade that matches your skin tone exactly or is half a shade lighter. Anything too light will create obvious bright patches, which is the opposite of “no makeup.”
Step 3: Set with a light hand (or skip this entirely)
If you have oily skin and need to set your base, use a translucent loose powder only in the T-zone — forehead, nose, and chin. Tap off excess from the brush before applying. The rest of your face should stay dewy.
Dry or normal skin? Skip powder completely. The natural moisture on your skin is exactly the glow you’re after.
Step 4: Bring warmth with cream blush or bronzer
This single step is what separates “I look tired” from “I look healthy.” Cream formulas are the secret weapon for no-makeup makeup because they blend into the skin instead of sitting on top.
For blush: Smile, then dab a cream blush onto the apples of your cheeks and blend upward toward your temples. Choose a shade that mimics what your cheeks look like after a brisk walk — soft peach for fair skin, warm rose for medium tones, berry or plum for deeper skin.
For bronzer: Apply cream or liquid bronzer along the hollows of your cheeks, temples, and jawline using a stippling motion. The goal is a “just came from outside” warmth, not visible contour lines.
You can also mix a tiny amount of cream blush directly with your tinted moisturizer before applying it — this gives an all-over rosy flush that looks incredibly natural.
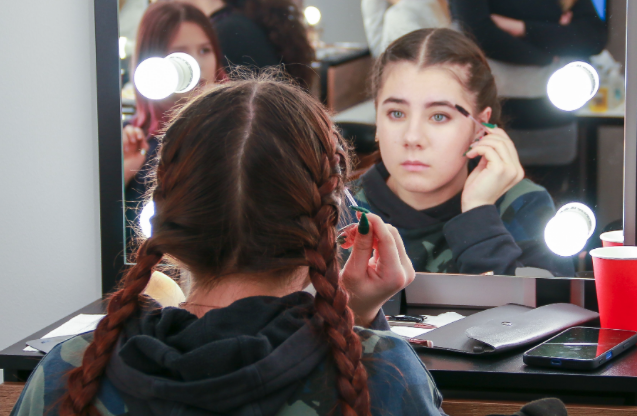
Step 5: Define your brows (the biggest difference-maker)
Brows frame your entire face. For the no-makeup look, you want them groomed but not drawn-on.
The routine:
- Brush brows upward with a clean spoolie
- Fill in any sparse areas with light, hair-like strokes using a brow pencil or tinted brow gel (match your brow color, not your hair color)
- Set with a clear or tinted brow gel, brushing upward for a natural, “feathered” look
What to avoid: Don’t create a hard, defined outline. No sharp tails. No Instagram brows. The natural shape is the right shape — you’re just making it slightly more visible.
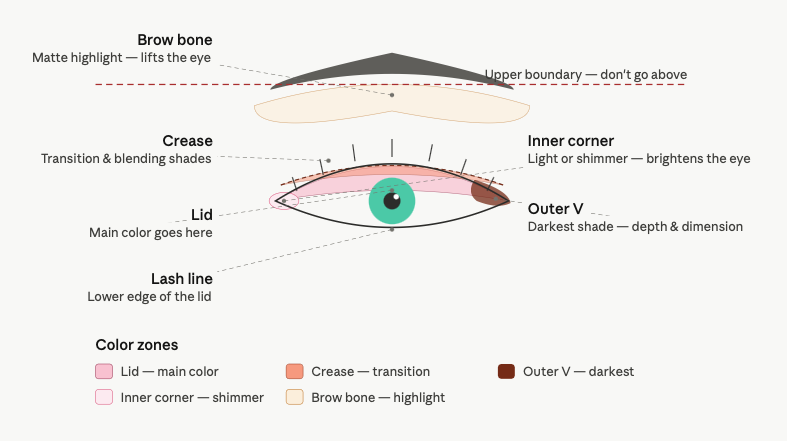
Step 6: Open up your eyes without eyeliner
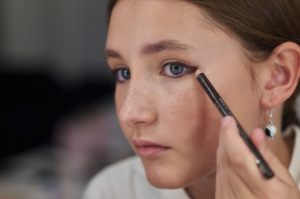
Traditional eyeliner is too harsh for this look. Instead, try these subtler techniques:
- Tightlining: Gently press a soft brown or taupe pencil into the upper lash line — right between the lashes, not above them. This defines your eyes without a visible line.
- Nude or white pencil on the waterline: This brightens the eyes and makes them look bigger without any obvious product.
- One coat of brown mascara: Brown mascara defines lashes while looking completely natural. Black mascara works too — just apply one coat and wiggle the wand at the base to build volume at the root, not the tips.
Curl your lashes before mascara. A lash curler is arguably the single most impactful tool in the entire no-makeup routine — it opens up the eye area instantly.
Step 7: Finish with lips
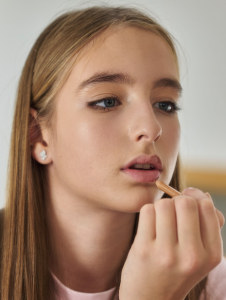
Your lips should look like your lips, just slightly more polished. Options from most natural to least:
- Tinted lip balm — the easiest choice, adds a whisper of color while keeping lips hydrated
- Lip oil — gives a glossy, plump look with sheer color
- Your-lips-but-better liner — trace just inside your natural lip line with a nude liner that matches your lip color, then top with clear gloss
Skip matte lipstick entirely — it’s too heavy for this look. Anything sheer, hydrating, and close to your natural lip shade is perfect.
Common Mistakes That Ruin the Natural Look
Mistake #1: Too much product. This is the classic trap. With no-makeup makeup, less truly is more. Start with the smallest amount you think you need, then build up only where necessary. You can always add — you can’t easily subtract.
Mistake #2: Wrong shade of concealer. Concealer that’s two or three shades too light creates those tell-tale bright patches under the eyes that scream “I’m wearing makeup.” Match your skin tone closely.
Mistake #3: Matte everything. A fully matte face looks flat and unnatural on young skin. Your natural oils and the slight sheen from moisturizer are assets, not enemies. Embrace the glow — it’s literally what adults pay money to recreate.
What Products Do You Actually Need?
You don’t need a full 15-product kit. Here’s the realistic minimum for a teen getting started with the no-makeup makeup look:
| Product | Why You Need It | Can You Skip It? |
|---|---|---|
| Tinted moisturizer or BB cream | Evens skin tone without heavy coverage | Yes, if your skin is already even |
| Concealer | Covers blemishes and under-eye circles | No — this is the workhorse |
| Cream blush | Adds healthy color to cheeks | Technically yes, but the look feels incomplete without it |
| Brow gel or brow pencil | Frames the face, biggest visual impact | No — groomed brows are essential |
| Brown mascara | Defines lashes naturally | You could skip it, but one coat takes 10 seconds |
| Tinted lip balm | Hydrates and adds soft color | Yes, clear balm works too |
Total products: 4–6. Total application time: 7–10 minutes once you’ve practiced a few times.
Adapting the Look for Different Skin Tones
The no-makeup makeup look works on every skin tone — you just need to adjust your product shades.
Fair skin: Stick to peach-toned blush, light champagne highlighter (if any), and a tinted moisturizer that doesn’t oxidize yellow. Fair skin shows redness easily, so a green-tinted primer under your base can help neutralize it.
Medium skin: Warm peach or soft rose blush works beautifully. Your natural skin has more warmth, so a bronzer in the right shade can replace blush entirely.
Deep skin: Rich berry or plum cream blush looks stunning and natural on darker skin tones. For concealer, make sure it doesn’t appear ashy — test on your jawline in natural light. A luminous, golden-toned base enhances the depth of dark skin without washing it out.
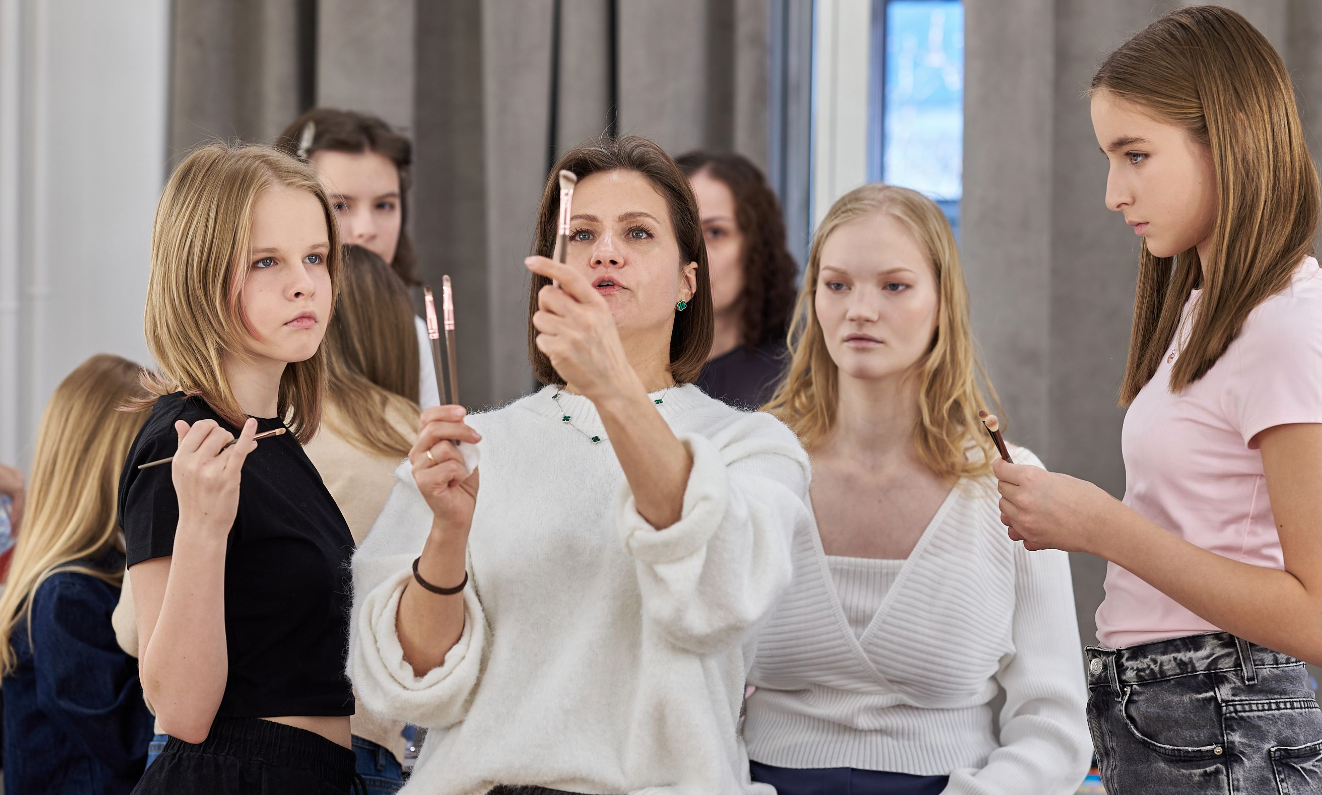
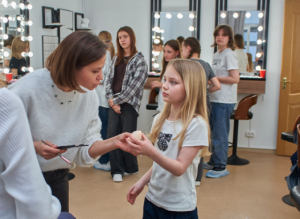
How to Take Your Skills Further
The no-makeup makeup look is actually one of the hardest techniques to master — it requires understanding skin types, color matching, blending, and restraint. If you’ve nailed these basics and want to level up, structured learning makes a real difference.
Online makeup courses designed for teens teach these foundational techniques in a step-by-step format — from skin prep and undertone identification to building complete looks for school, events, and everyday life. A good course covers not just application, but why certain products work for your specific skin type and age, which saves you from wasting money on products that don’t suit you.
Frequently Asked Questions
How many products do I need for a no-makeup makeup look?
Four to six products are enough for most teens: a tinted moisturizer or concealer, cream blush, brow gel, mascara, and tinted lip balm. You don’t need a full kit — in fact, using fewer products makes the look more believable.
Does the no-makeup look work for acne-prone skin?
Yes. Use a non-comedogenic concealer to spot-conceal blemishes rather than applying a full layer of foundation. Thin, targeted application actually looks more natural and won’t aggravate breakouts the way heavy coverage can.
What’s the difference between “no-makeup makeup” and “clean girl makeup”?
They’re closely related. Clean girl makeup tends to include more visible elements like slicked-back hair, glossy lips, and a touch of bronzer. No-makeup makeup is even more minimal — the goal is for people to think you’re not wearing anything at all.
Can I wear this look to school?
This is the ideal school look. Everything is subtle, natural, and within dress-code boundaries. Most people won’t even realize you’re wearing makeup — they’ll just think you look well-rested and healthy.
How do I make the look last all day?
Start with good skin prep (moisturizer absorbs fully before applying makeup), use a setting mist instead of heavy powder, and carry your tinted lip balm for touch-ups. A cream blush applied to well-moisturized skin typically lasts 6–8 hours without fading.
Is this look okay for 11–12 year olds?
The no-makeup makeup approach is age-appropriate for tweens because it focuses on skincare and very minimal product. Starting with just tinted lip balm, brow gel, and clear mascara is a great introduction — you can add more steps as you get older and more comfortable.
What’s the best mascara color for a natural look?
Brown mascara looks the most natural on most skin tones and hair colors. If you have very dark lashes or dark hair, black works too — just apply one coat and wipe excess off the wand before applying to avoid clumping.
How is no-makeup makeup different from wearing no makeup?
Without any product, most people have visible redness, uneven skin tone, sparse brow areas, or under-eye shadows. The no-makeup look uses minimal product to address these specific areas so your skin appears naturally flawless — it’s the “I just have great skin” illusion.