
On this page
- What is a French braid?
- What do you need to French braid hair?
- Should hair be wet or dry for a French braid?
- How to French braid hair step by step
- 1. Detangle and direct the hair back
- 2. Take a clean section at the crown
- 3. Split the starting section into three strands
- 4. Make the first over-the-center crosses
- 5. Add a small section from the right
- 6. Add a small section from the left
- 7. Keep your hands close to the scalp
- 8. Continue adding hair to the nape
- 9. Finish with a regular three-strand braid
- How do you French braid your own hair?
- How to make two French braids
- French braid tips for different hair lengths and textures
- Common French braid mistakes and how to fix them
- The braid turns into a Dutch braid
- The braid is loose at the crown
- One side looks wider
- Loose hair forms bumps
- The lower braid sags at the nape
- Your arms get tired
- Learn the full French braid lesson
- Frequently Asked Questions
To make a French braid, divide a section of hair at the crown into three strands. Cross the right strand over the center, then the left strand over the new center. Continue the same over-the-center pattern, adding a small amount of loose hair to each outside strand before you cross it. When all the loose hair has been added, finish with a regular three-strand braid and secure it with an elastic.
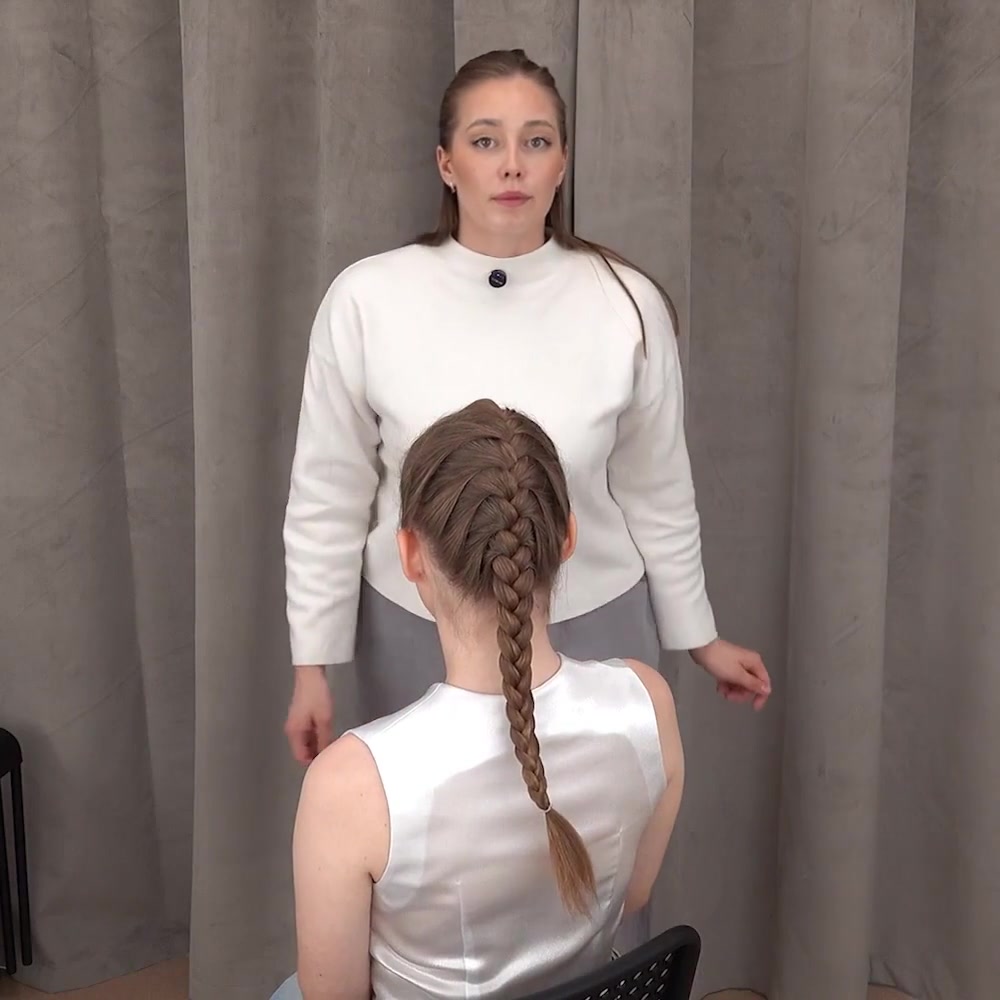
This tutorial uses original frames from the French Braid lesson in the Oh!Nice SPACE hairstyling course. The photos show the actual sectioning, hand position, and finished style demonstrated in the paid lesson without publishing or linking to the private video.
Quick answer:
- Detangle the hair and brush it away from the face.
- Take one section at the crown and split it into three even strands.
- Cross each outer strand over the center strand.
- Before every new cross, add a small piece of loose hair from the same side.
- Keep your hands close to the scalp and use comfortable, even tension.
- At the nape, continue as a regular three-strand braid and tie the end.
What is a French braid?
A French braid is a three-strand braid that gradually incorporates loose hair from both sides of the head. The side strands cross over the center, so the braid appears to sit within the hair rather than on top of it. You can wear one braid down the back, make two French braids with a center part, or adapt the technique to a side braid or half-up style.
The difference between a French braid and a Dutch braid is the crossing direction. In a French braid, the outer strands pass over the center. In a Dutch braid, they pass under, creating a raised braid that sits more visibly on top of the hair. If you want that inside-out effect, follow our separate Dutch braid tutorial.
A French braid is also different from a fishtail braid. A fishtail uses two main sections and transfers small pieces between them. A French braid begins with three strands and adds hair to the outside strands as you work downward.
What do you need to French braid hair?
You can practice with a small set of basic tools:
| Tool or product | What it does | Beginner tip |
|---|---|---|
| Detangling brush or wide-tooth comb | Removes knots before sectioning | Start at the ends and work upward |
| Rat-tail comb | Makes a clean starting section or center part | Fingers are fine if you prefer a softer part |
| Sectioning clip | Holds unused hair out of the way | Especially useful for two French braids |
| Small hair elastic | Secures the finished braid | Choose one that holds without pulling |
| Lightweight detangler or smoothing product | Helps control flyaways | Use only a small amount and follow its label |
| Two mirrors | Let you check the back when braiding your own hair | Hand position matters more than watching every crossing |
The lesson begins with smooth, brushed hair. Straight hair makes the sections easy to see in the photos, but the same three-strand pattern can be used on wavy, curly, or coily hair with preparation that suits the texture. You do not need a heat tool for this style.
Should hair be wet or dry for a French braid?
Dry or slightly damp hair can both work, but soaking-wet hair is harder to handle gently. Hair is more fragile when wet. The American Academy of Dermatology recommends using a wide-tooth comb and detangling from the ends upward when hair is damp. Follow the routine that suits your texture, and avoid pulling through knots while the braid is under tension.
Very clean, silky hair may slip from your fingers. A small amount of lightweight styling product can add control, but it is optional. Curly and coily hair may be easier to section with a familiar leave-in conditioner or detangler. Use products that already work for your hair rather than adding several new formulas for one braid.
How to French braid hair step by step
Read the full sequence before starting. For a first attempt, practice on another person or a mannequin head so you can see the strand pattern. Once your hands understand the movement, it becomes easier to braid your own hair.
1. Detangle and direct the hair back
Brush or comb the hair gently until your fingers can move through it without catching. Start at the ends, work upward, and remove each knot before moving closer to the roots. Then direct the hair away from the face and toward the back of the head.
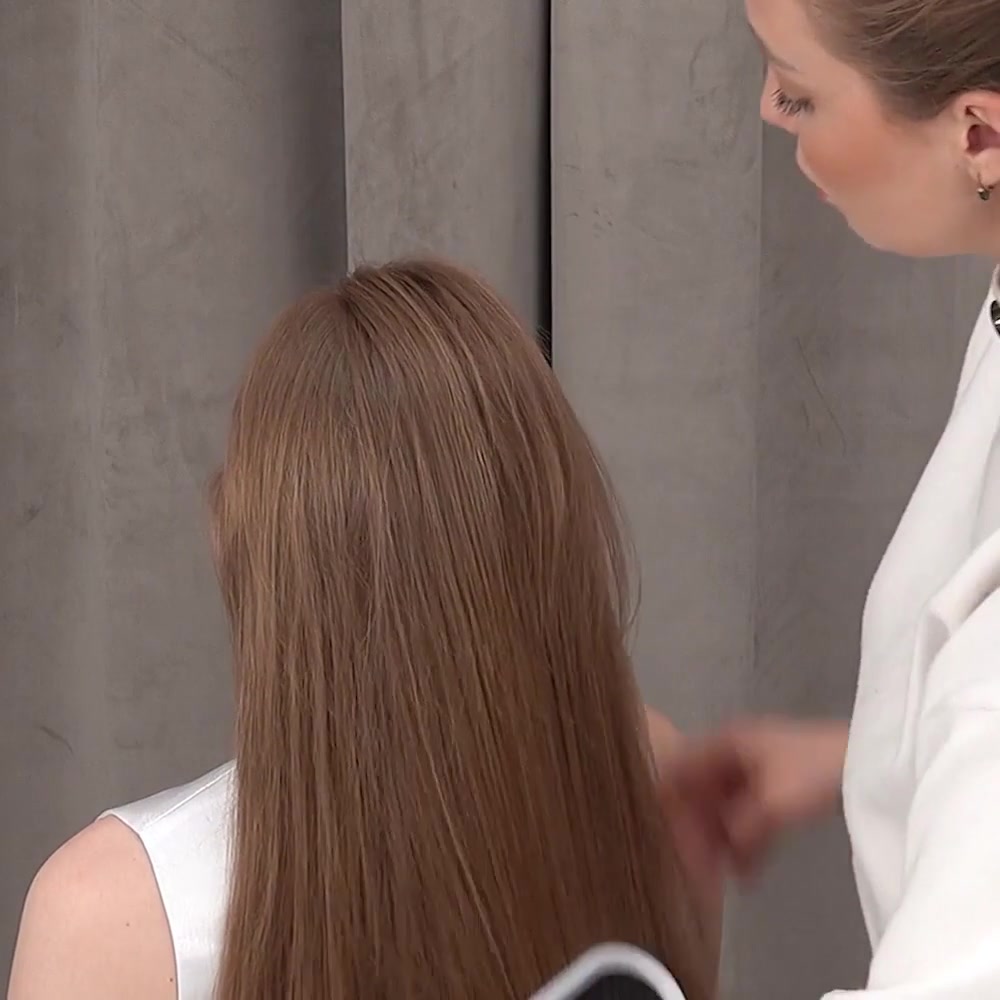
Decide where the braid should begin. The lesson starts near the center of the forehead and crown for one braid down the back. For two French braids, make a center part first and clip one half out of the way.
2. Take a clean section at the crown
Gather a small semicircle or triangular section from the front-center of the head. Smooth it back without pulling the hairline painfully tight. A smaller starting section creates a narrower beginning; a wider section makes the braid expand sooner.
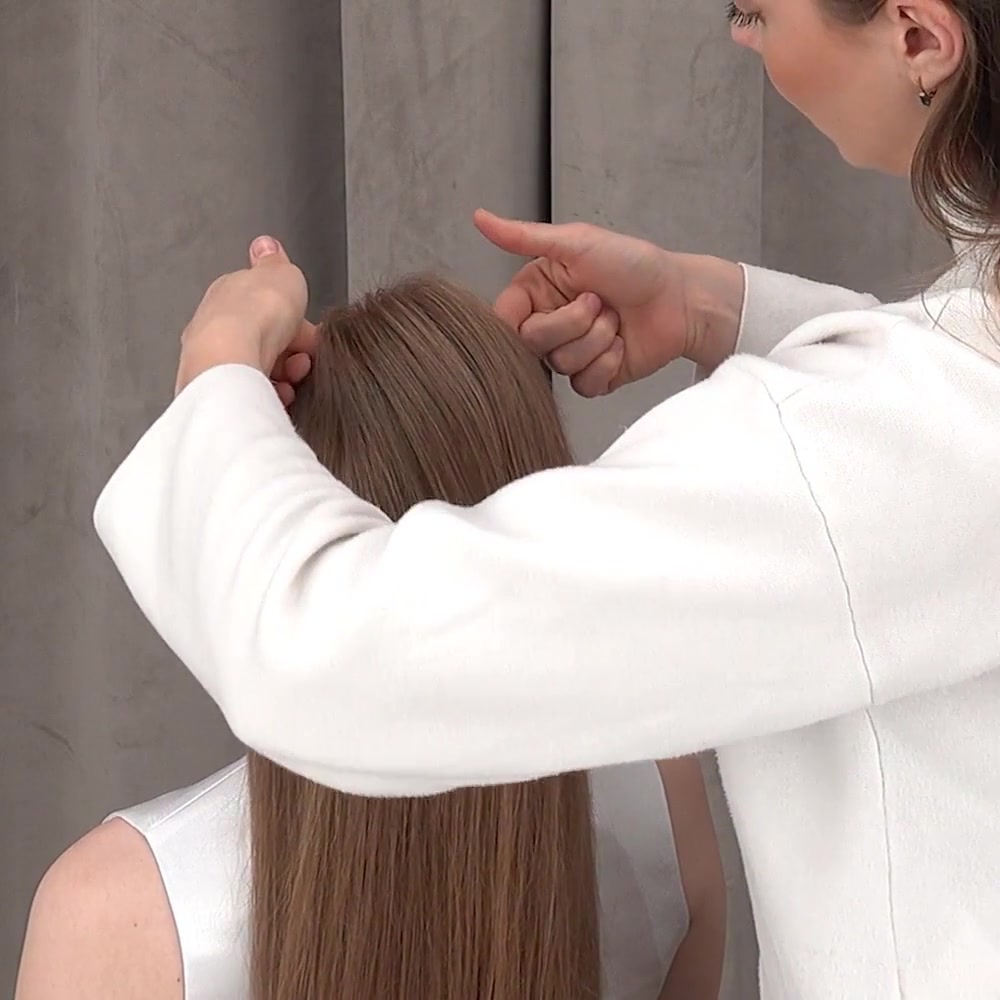
Keep the section centered if you want a straight braid. Check its position before splitting it, because moving the braid later is much harder.
3. Split the starting section into three strands
Divide the first section into left, center, and right strands of similar thickness. Hold two strands in one hand and one in the other. Keep them separate all the way to the ends so loose hairs do not connect neighboring sections.
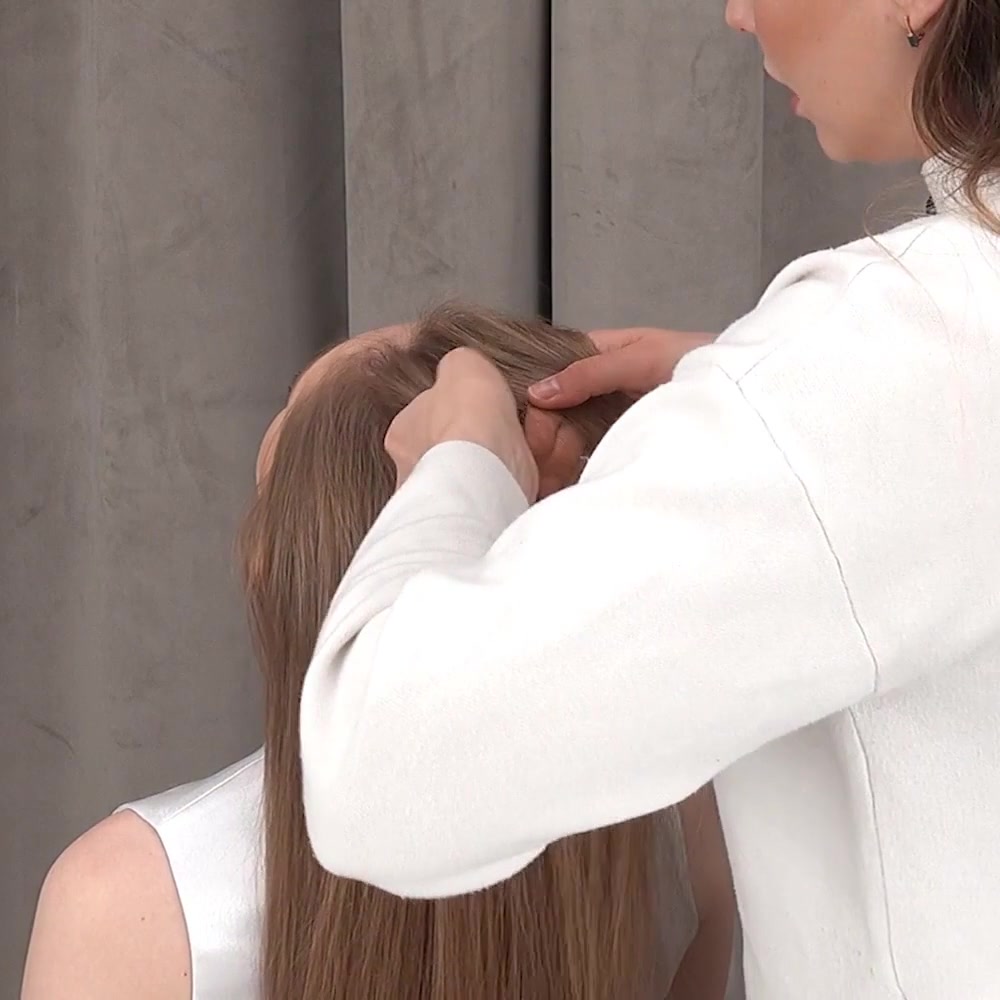
If the strands become mixed, stop and separate them again. Clear sections matter more than speed.
4. Make the first over-the-center crosses
Cross the right strand over the center. The right strand becomes the new center. Then cross the left strand over the new center. Repeat this once or twice to establish the three-strand pattern.
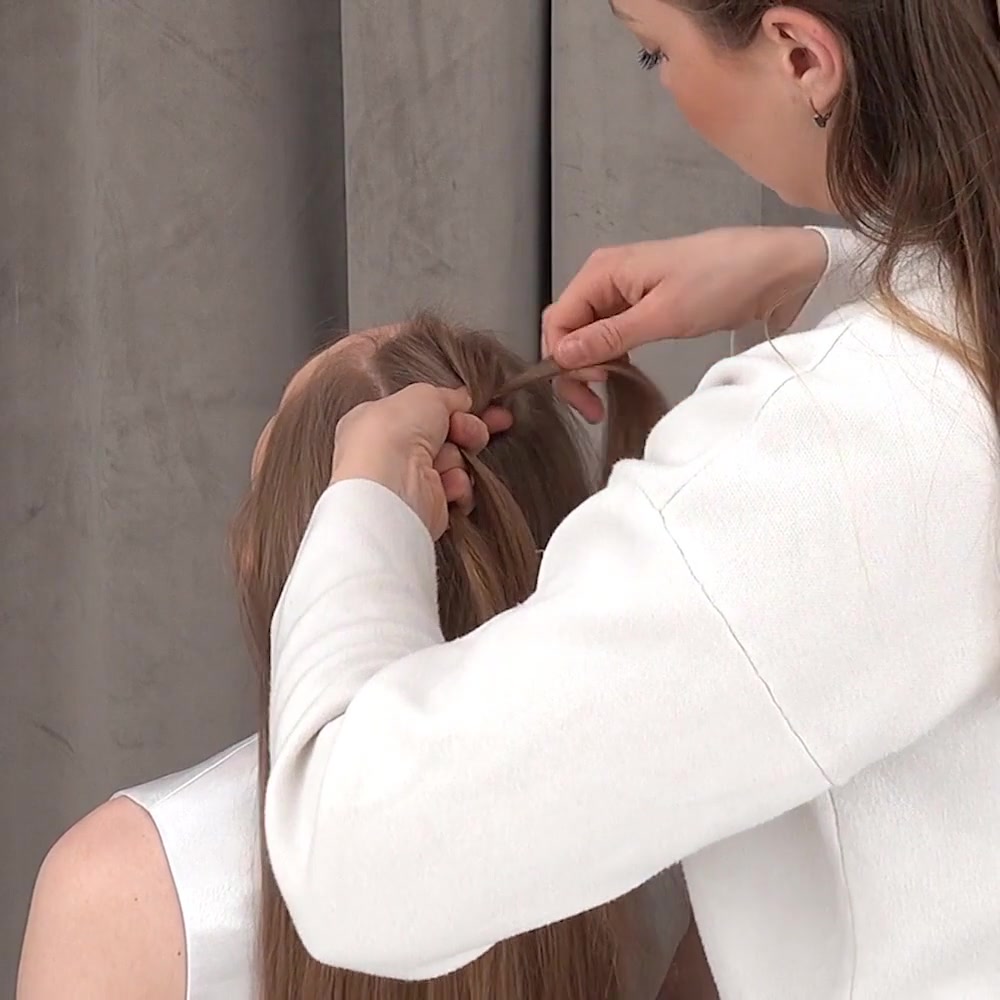
Say the pattern aloud if it helps: “right over center, left over center.” If you cross the outer strands under the center, you are beginning a Dutch braid instead.
5. Add a small section from the right
Before the next right-side cross, use a finger or the pointed end of a comb to pick up a thin piece of loose hair from the right side. Join it to the right strand, smooth the two pieces together, and cross the combined strand over the center.
The added section should come from the hairline toward the braid without crossing over loose hair below it. Small, consistent additions create a smoother result than a few large handfuls.
6. Add a small section from the left
Repeat on the left. Pick up a thin piece of loose hair, join it to the left strand, and cross the combined strand over the center. You have now completed one full French-braid cycle.
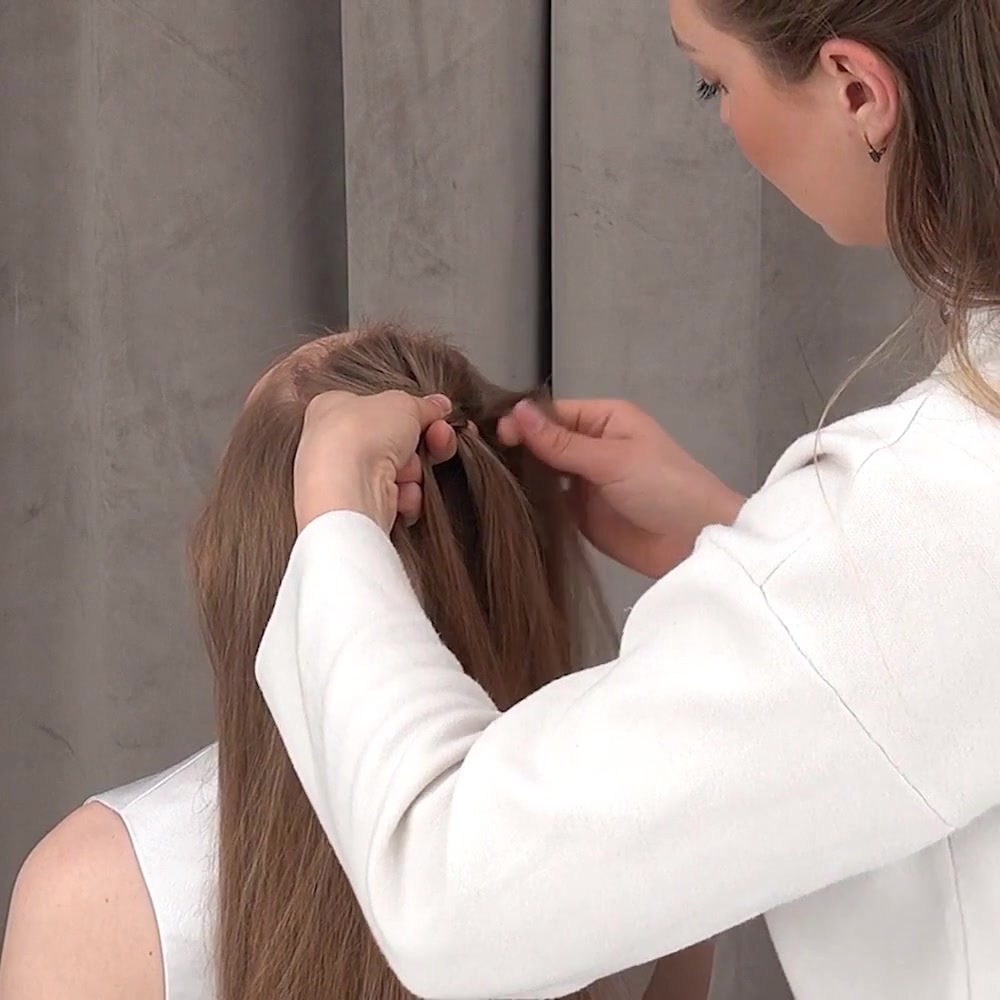
Continue alternating sides: add on the right and cross over, then add on the left and cross over. Try to collect hair from the same horizontal level on both sides so the braid stays balanced.
7. Keep your hands close to the scalp
Hold the working strands near the point where the braid is forming. If your hands drift away from the head, the braid can sag or develop loose pockets. Move your hands lower after each cycle instead of stretching the strands outward.
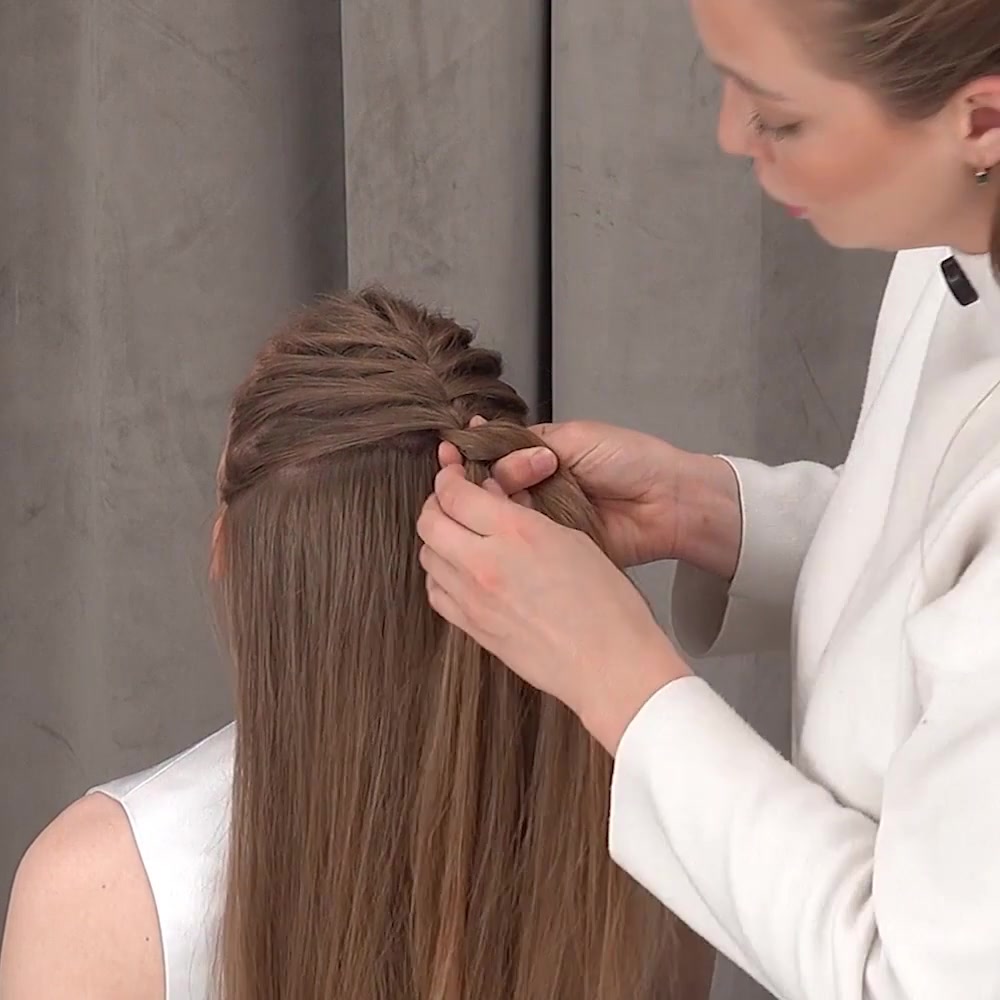
Use steady, comfortable tension. The braid should feel secure, never painful. The American Academy of Dermatology advises loosening braids that pull and changing a hairstyle immediately if it causes pain, stinging, or visible lifting of the scalp.
8. Continue adding hair to the nape
Repeat the right-and-left pattern down the back of the head. Smooth each new section before adding it, and keep the amounts similar. As the braid reaches the middle and lower head, you may ask the person to tilt their head slightly so you can keep the braid close without pulling.
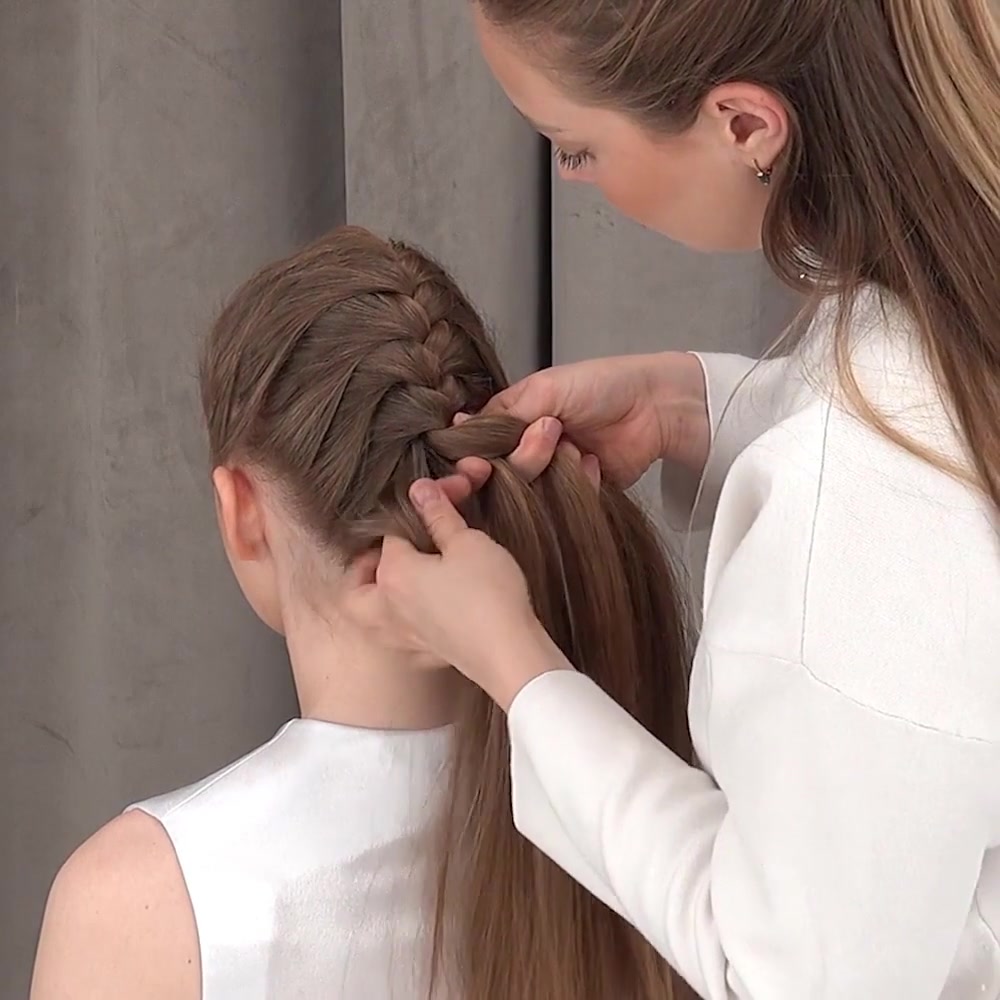
When there is no loose hair left to add, hold the three remaining strands separately at the nape.
9. Finish with a regular three-strand braid
Continue crossing the outside strands over the center without adding any more hair. Braid down the length, leaving enough at the end for the elastic. Secure it comfortably and check that no strands are trapped too tightly around the hairline.
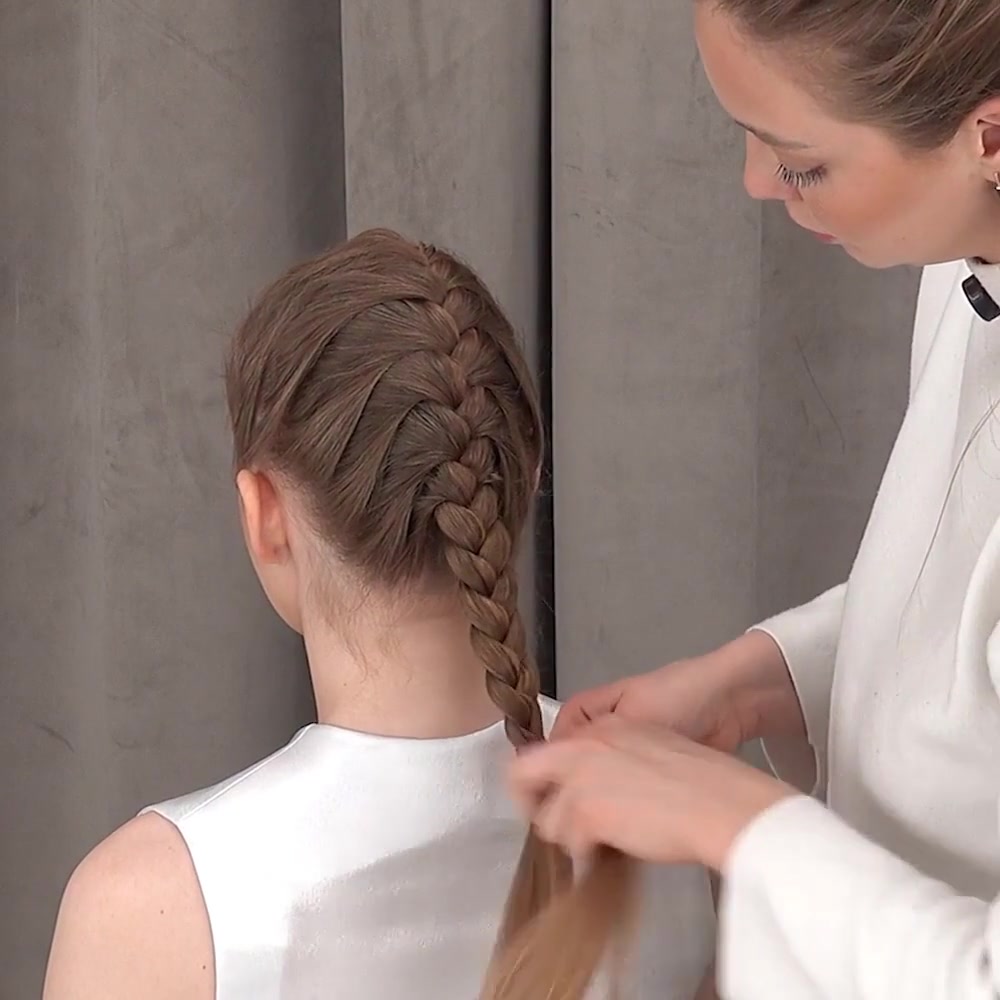
For a softer look, gently pull only the outer edges of the finished braid after it is secured. Work from the bottom upward and stop if the top begins to loosen. For a neat school style, leave the braid compact and smooth a few flyaways with clean fingers or a small amount of product.
How do you French braid your own hair?
The strand pattern is the same, but your arms and hands work behind your head. Start by practicing the first four or five crossings without trying to finish the whole braid.
- Sit or stand where your shoulders can relax.
- Brush the hair back and make the starting section by touch.
- Assign one strand to the left hand, one to the right, and keep the center controlled between your fingers as you exchange them.
- Add hair with your free index finger before each outside strand crosses over the center.
- Keep both elbows low enough that your shoulders do not tense.
- Check the back only after several cycles; constantly turning toward a mirror can pull the braid off-center.
A second mirror can help you check placement, but it reverses the view and may feel confusing. Many beginners learn faster by memorizing the hand sequence and using the mirror only to inspect the result.
How to make two French braids
Create a center part from the forehead to the nape and clip one side away. French braid the first side from the front hairline toward the nape, then finish the length as a regular braid. Repeat on the second side.
For matching braids, compare three points before you begin the second side: the size of the first crown section, the distance between the braid and the center part, and the level where you stop adding loose hair. The braids do not need to be perfectly identical to look balanced.
French braid tips for different hair lengths and textures
Long hair: Keep the loose lengths separated behind your shoulders so they do not tangle as you add sections. Detangle the tail again before finishing the three-strand braid if needed.
Medium-length hair: Begin a little higher and use smaller additions so shorter layers enter the braid before they fall away. A few face-framing pieces can remain loose.
Short hair: A full braid may not reach the nape, but you can make a side French braid or a small half-up braid. Use smaller starting sections and stop where the layers no longer reach.
Fine or slippery hair: Work with smaller sections and avoid loading the hair with heavy product. A light texture spray can help only if its label suits your hair and age.
Thick hair: Use more, smaller additions rather than trying to combine large sections. This keeps the braid close to the head and makes the three working strands easier to hold.
Curly or coily hair: Detangle and section with the routine that works for your curl pattern. Preserve the natural texture if you want a fuller braid, and keep the tension comfortable around the hairline.
Common French braid mistakes and how to fix them
The braid turns into a Dutch braid
Check the crossing direction. For a French braid, each outside strand goes over the center. Undo the last incorrect stitch and restart from the last clear three-strand position.
The braid is loose at the crown
Keep your hands closer to the scalp and make the first crossings smaller. Do not pull the strands outward before adding hair.
One side looks wider
Compare the amount of hair added on each side. Pick up sections from matching levels and use a comb to create cleaner lines if your fingers gather uneven pieces.
Loose hair forms bumps
Smooth each new section from the hairline toward the braid before combining it with the outside strand. If a bump appears, correct it before the next crossing rather than trying to hide it at the end.
The lower braid sags at the nape
Keep your hands close as you add the last sections. Make sure all loose hair is incorporated before switching to the regular braid.
Your arms get tired
Pause while holding the three strands securely, lower your shoulders, and continue only when your grip feels controlled. Practice the top half on separate days instead of forcing a full braid while your hands are learning.
Learn the full French braid lesson
The paid Online Hairstyling Course for Teens from Oh!Nice SPACE includes the complete French Braid video and nine other step-by-step hairstyle lessons. The current course is designed for ages 11–17, taught by Ksenia Bardova and Svetlana Shekhovtsova, and offered for $15 as a one-time payment with self-paced lifetime access.
Use the course page for the current program and checkout details. This free tutorial gives you the complete beginner technique to practice before taking the full class.
Frequently Asked Questions
Is a French braid over or under?
A French braid crosses the outside strands over the center strand. Crossing them under creates a Dutch braid, which sits on top of the hair with a more raised shape.
Is it easier to French braid wet or dry hair?
Dry or slightly damp hair can both work. Slight moisture may help control flyaways, but soaking-wet hair is more fragile and can be harder to handle gently. Detangle according to your hair type before you start.
Can you French braid short hair?
Yes, if enough hair reaches the next crossing. Use smaller sections and try a side braid or half-up French braid when the lower layers are too short for one full braid down the back.
Why does my French braid look like a normal braid?
You may be adding too little hair or stopping the additions early. Add a small section from the same side before every outside strand crosses over the center, continuing until all loose hair has joined the braid.
How long does it take to learn a French braid?
There is no fixed timeline. Practice only the starting section and first few additions until the hand pattern feels familiar, then work farther down the head. Several short practice sessions are usually easier than one long attempt.
How tight should a French braid be?
Use enough tension to keep the sections together, but the braid should not hurt, sting, or pull visibly at the scalp. Loosen or redo it if it feels uncomfortable.