
On this page
- What should a beginner gel nail kit include?
- How do you choose the best gel polish for beginners?
- How is gel nail polish different from regular nail polish?
- Which gel polish brands and starter kits are beginner-friendly?
- What do base coat, gel color, and top coat do?
- Base coat
- Gel color
- Top coat
- What lamp should you buy for gel polish?
- Which prep tools belong in a beginner kit?
- What can you leave out of your first gel nail kit?
- Skip an e-file at first
- Skip builder products and extensions
- Skip a huge color bundle
- How should teens set up a gel manicure workspace?
- Does “HEMA-free” mean allergy-free?
- How do you remove beginner gel polish?
- Is a complete kit better than buying products separately?
- Where can beginners learn the complete gel-polish sequence?
- Gel polish starter kit frequently asked questions
- How many gel colors does a beginner need?
- Do beginners need both base coat and top coat?
- Can you use any LED lamp with any gel polish?
- Do you need a nail drill for gel polish?
- Should a beginner buy primer and dehydrator?
- What should you do if gel polish touches the skin?
- Is gel polish suitable for every nail?
- Is OPI or Sally Hansen better for a beginner?
- Key takeaways
- Sources
- Frequently Asked Questions
The best gel nail polish for beginners is a clearly labeled soak-off system that comes with, or names, a compatible curing lamp. Start with a base coat, one gel polish color, a top coat, simple nail-prep supplies, and the nail polish remover required by that system. A large range of colors, builder gel, an e-file, and cuticle-cutting tools can wait until you have learned the basic application and removal process.
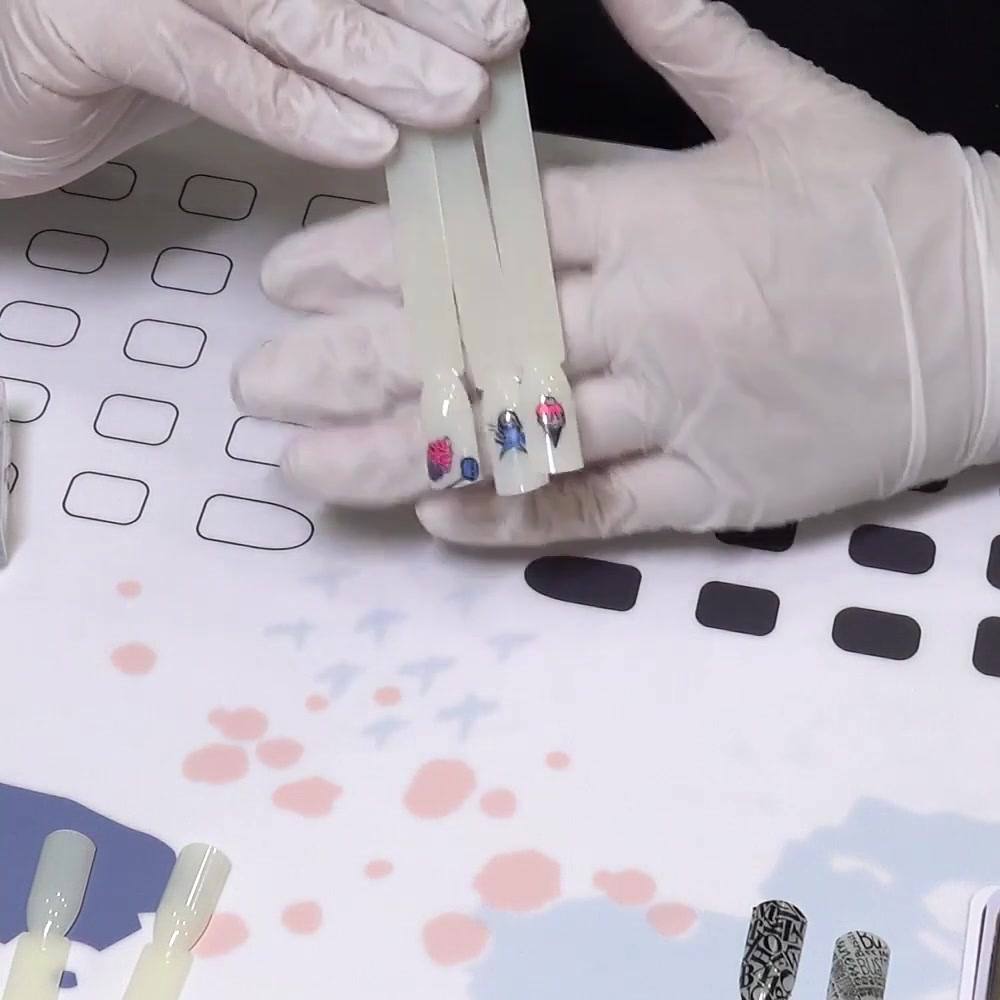
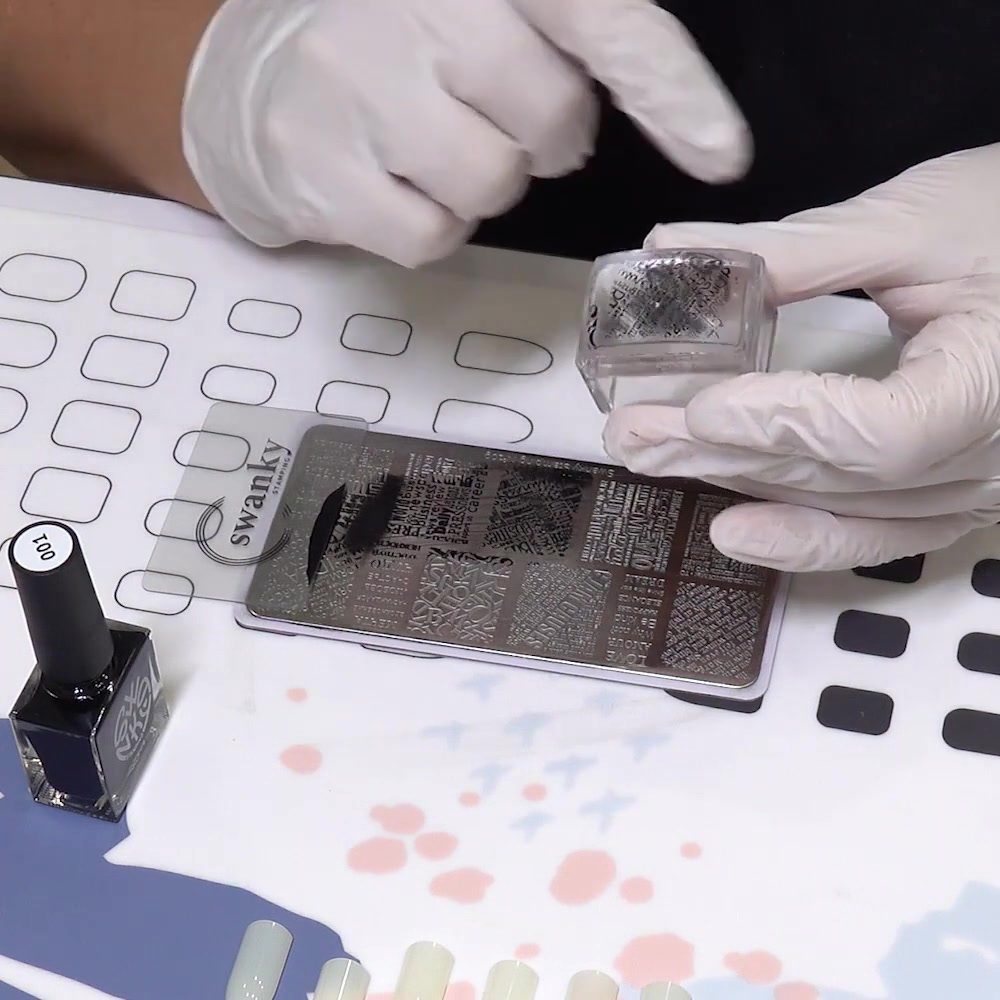
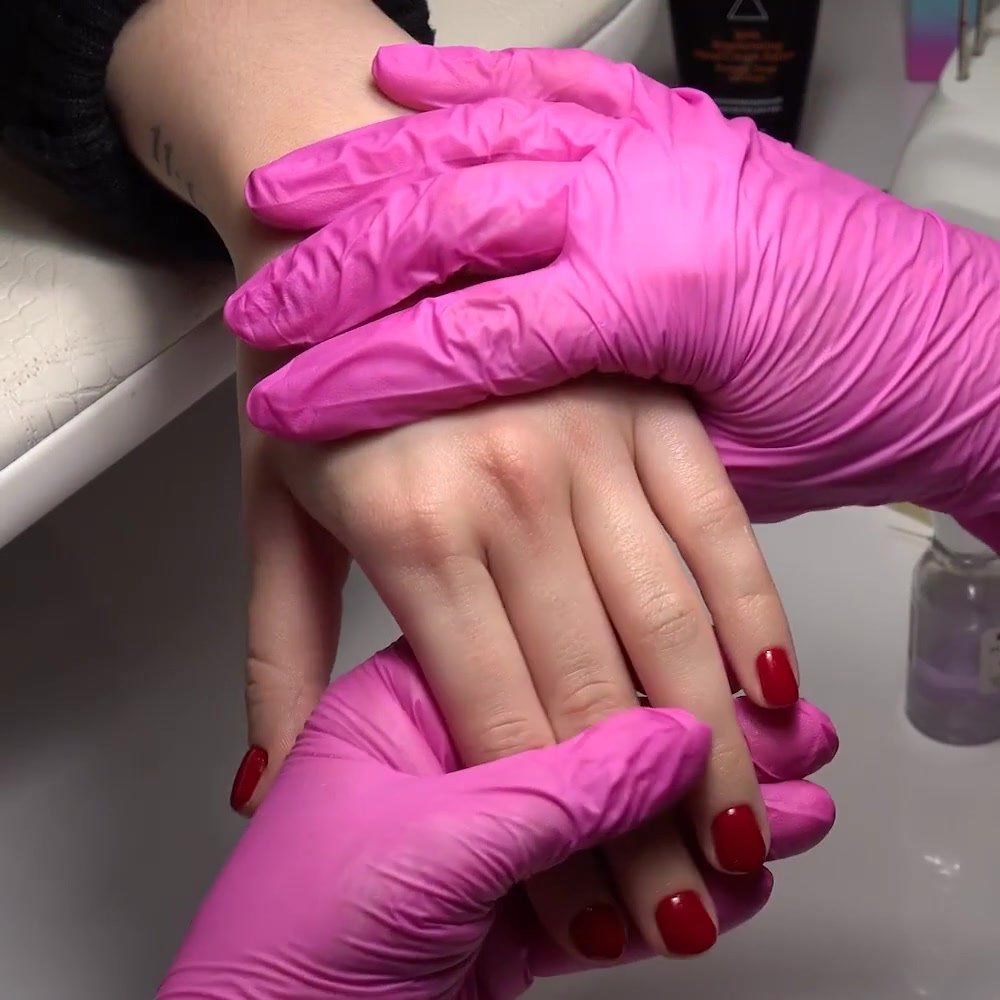
This guide uses original frames from Irina Kolobovnikova’s Gel Polish lessons for Oh!Nice SPACE. The photos show the products and tools discussed in the course without opening the paid videos to the public.
Quick answer:
- Choose a soak-off gel polish system with complete curing and removal directions.
- Match the lamp to the instructions for the gel you buy. Do not choose a lamp by wattage alone.
- Your core products are base coat, one gel color, and top coat, unless the system label states that one of those steps is built in.
- Add a nail file, lint-free wipes, cleanser or the prep liquid named by the manufacturer, and the specified remover.
- Keep uncured gel off the skin, close bottles between steps, and work with good ventilation.
- Beginners do not need an e-file, carbide bits, builder gel, polygel, acrylic, or cuticle scissors in a first home kit.
This is a selection guide, not a ranking based on an independent wear test. Good gel polishes are sold as understandable nail systems: the brand explains which products go together, how to cure them, and how to remove them. That evidence matters more than a viral shade name or a promise of salon-quality results.
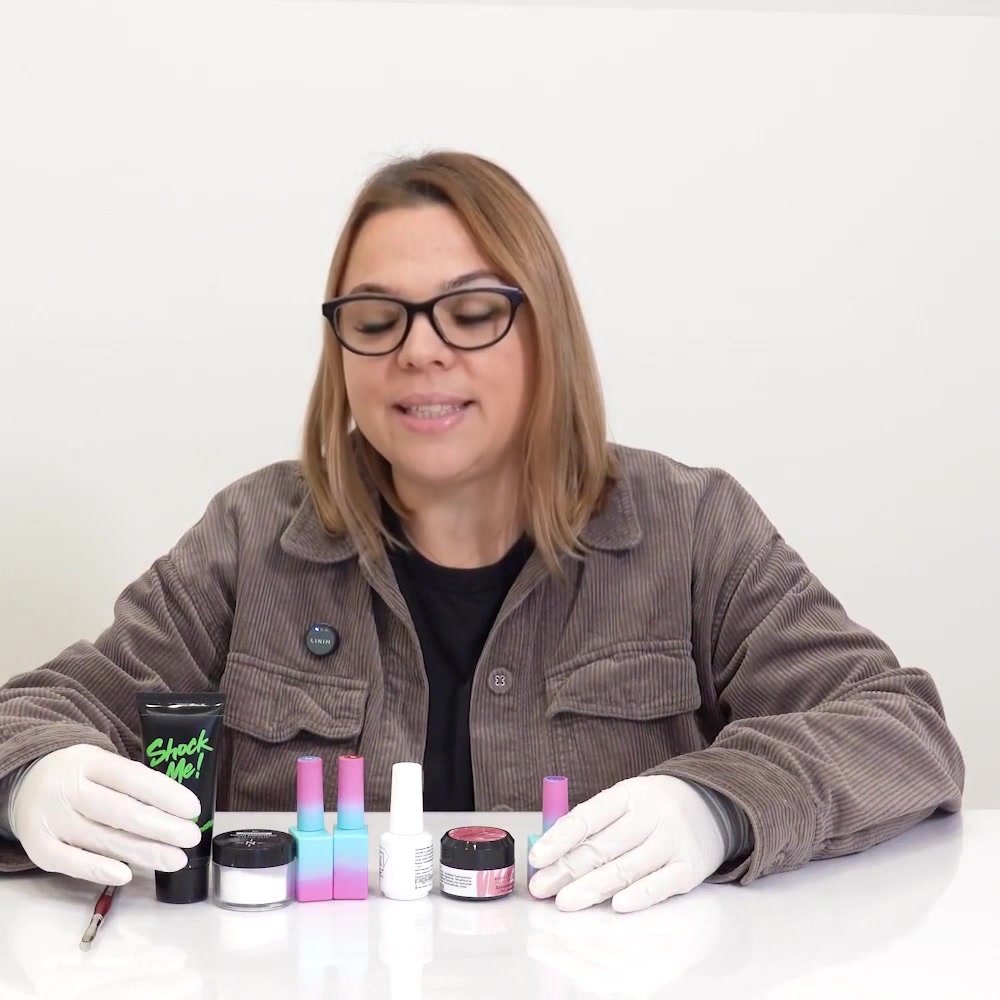
Irina introduces the product families used in a gel manicure.
What should a beginner gel nail kit include?
A beginner gel nail kit should include one complete application system and the supplies needed to remove it correctly. The smallest useful kit has a compatible lamp, base coat, gel color, top coat, basic prep tools, lint-free wipes, and the remover named in the product directions.
| Item | Do you need it now? | What to check before buying |
|---|---|---|
| Gel curing lamp | Yes | The gel manufacturer names the lamp type or gives compatible curing specifications |
| Base coat | Usually | It belongs to the same system or is explicitly compatible with the color coat |
| One gel color | Yes | The label lists application, cure, removal, ingredients, and warnings |
| Top coat | Usually | The directions explain whether it leaves a tacky layer after curing |
| Nail file | Yes | A simple hand file is enough for shaping a natural nail |
| Orange wood stick or gentle pusher | Yes | Use it gently and do not force or cut the cuticle |
| Lint-free wipes and prep liquid | Yes | Follow the gel system’s directions for cleansing and preparation |
| Removal supplies | Yes | Buy the remover, wraps, clips, or other items specified by the system |
| Dehydrator or primer | Maybe | Add one only if the product instructions require it |
| Detail brush and practice tips | Optional | Helpful for practice, cleanup, and checking color before working on nails |
| E-file and drill bits | Not for a first kit | These require separate tool-control and removal training |
| Builder gel, polygel, or acrylic | Not for basic gel polish | These are different product categories with different application skills |
This list is for a basic gel polish manicure on natural nails. Extensions, overlays, and structured manicures need additional products and technique. Buying those products at the same time can make it harder to learn what each layer is doing.
How do you choose the best gel polish for beginners?
Choose a system you can understand before you open the bottle. The label or manufacturer instructions should tell you how to prepare the nail, which lamp to use, how long to cure each layer, whether a base and top coat are required, and how to remove the manicure.
Use this five-point check:
- Identify the product type. Look for soak-off gel polish if your goal is a basic color manicure. Builder gel, hard gel, polygel, dip powder, acrylic, and soft-gel extensions are separate systems.
- Read the complete directions. Avoid a kit that leaves out curing, removal, warnings, or ingredient information.
- Check lamp compatibility. Use the lamp and curing schedule named by the manufacturer. A higher wattage number does not prove that a lamp is right for every gel formula.
- Keep the first color selection small. One opaque color is enough to practice thin, even coats and clean edges.
- Plan removal before application. If the kit does not include the required remover and wraps, add them before doing the first manicure.
The U.S. Food and Drug Administration advises consumers to read nail-product labels, follow warnings, avoid skin contact where directed, and use nail products with good ventilation. That makes complete instructions more valuable than a box filled with extra colors or decorations.
How is gel nail polish different from regular nail polish?
Regular nail polish air-dries as its solvents evaporate. Lamp-cured gel nail polish contains light-reactive ingredients called photoinitiators. A compatible UV or LED nail lamp activates them so the liquid coating hardens into a solid film. That is why true gel polish does not simply dry if you wait longer, and why a random nail lamp is not a safe substitute for the one specified by the gel system.
Some products use “gel” in the name but work like traditional nail polish. Sally Hansen Miracle Gel, for example, says that no UV lamp is needed: its color coats air-dry for five minutes each before a matching top coat is applied. It may suit someone who wants an at-home polish routine without a lamp, but it is not the same application method as a lamp-cured soak-off gel manicure.
Artificial nails are another category. Acrylic, polygel, builder gel, and soft-gel extensions can add length or structure, while gel polish mainly adds nail color and shine. A first gel nail kit does not need artificial-nail products unless the learner is following separate training for that service.
Which gel polish brands and starter kits are beginner-friendly?
There is no single best brand to start with for every person. The best at-home gel nail kit is the one whose directions, lamp, base and top products, and removal supplies form one complete system. These current brand examples show three useful kit formats; they are not an independent performance ranking.
| System example | What the official product page includes | What a beginner should notice |
|---|---|---|
| OPI GELement Essentials Kit | A four-finger LED lamp, base coat, no-wipe top coat, prep pads, pushers, and files; gel colors and the removal kit are sold separately | OPI distinguishes this at-home gel system from its professional GelColor salon formula. Add a color and removal supplies before the first gel mani. |
| Le Mini Macaron Gel Manicure Kit | A small LED lamp, one 3-in-1 gel color, cuticle stick, mini nail file, remover wraps, and instructions | Its formula combines base, nail color, and top gel in one bottle and is designed for the included lamp. The small lamp cures one nail at a time. |
| DND Gel Always In Style Starter Kit | A DND LED lamp, three gel-polish and regular-polish duos, base coat, no-cleanse top coat, pusher, buffer, files, and cuticle oil | This gel nail starter kit offers more colors and tools, but its current official page is marked sold out. Confirm availability, current directions, and complete removal supplies before buying. |
This comparison also explains why mixing popular gel polish brands can create uncertainty. OPI GELement, Le Mini Macaron, and DND Gel publish different formulas, lamp designs, cure schedules, and kit contents. Brand names alone do not prove compatibility. Read the current product page and bottle label before applying polish at home.
What do base coat, gel color, and top coat do?
Base coat creates the foundation for the color system, gel polish supplies the color, and top coat finishes the surface. Irina demonstrates these as separate product roles in the Oh!Nice SPACE materials lesson.
Base coat
A base coat sits between the prepared natural nail and the color system. Do not assume every base works with every gel. Choose the base named by the color-gel manufacturer, or confirm compatibility in the written instructions.
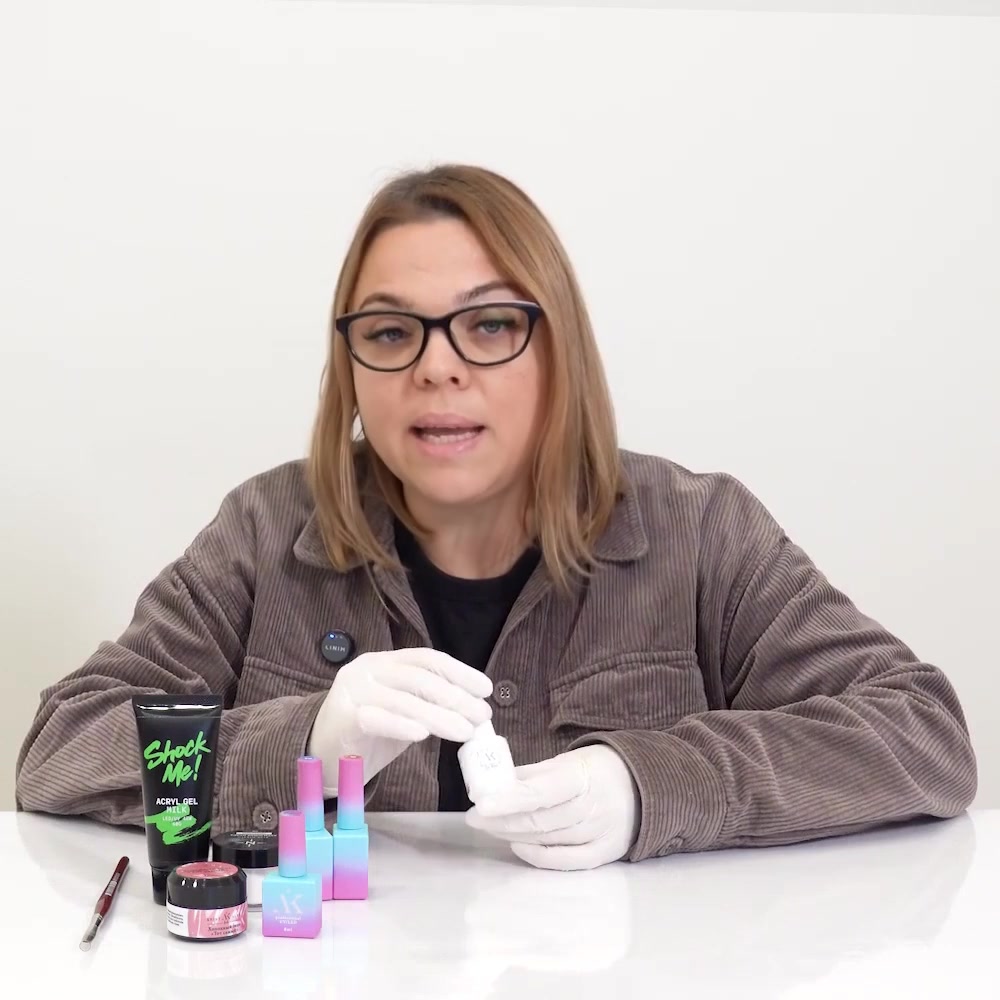
The base layer belongs to a complete product system rather than a random mix of bottles.
Gel color
Gel polish is the colored layer. A beginner needs one shade, not a large collection. One bottle gives you enough practice to compare coat thickness, edge control, curing, and removal without changing the formula every time.
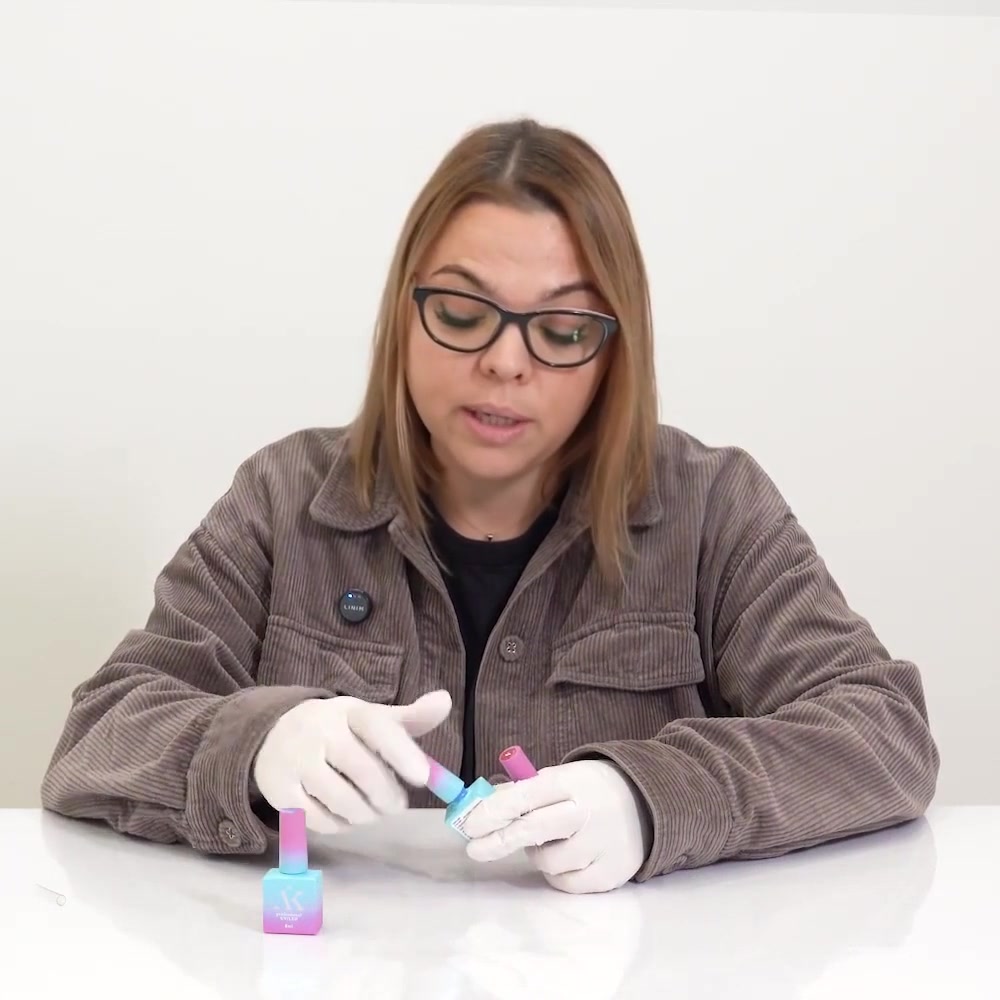
Start with one gel color and learn how that formula behaves.
Top coat
Top coat finishes the manicure and creates the final surface. Some top coats need their tacky layer cleansed after curing, while others are labeled no-wipe. Follow the directions for the exact product instead of applying one universal finishing routine.
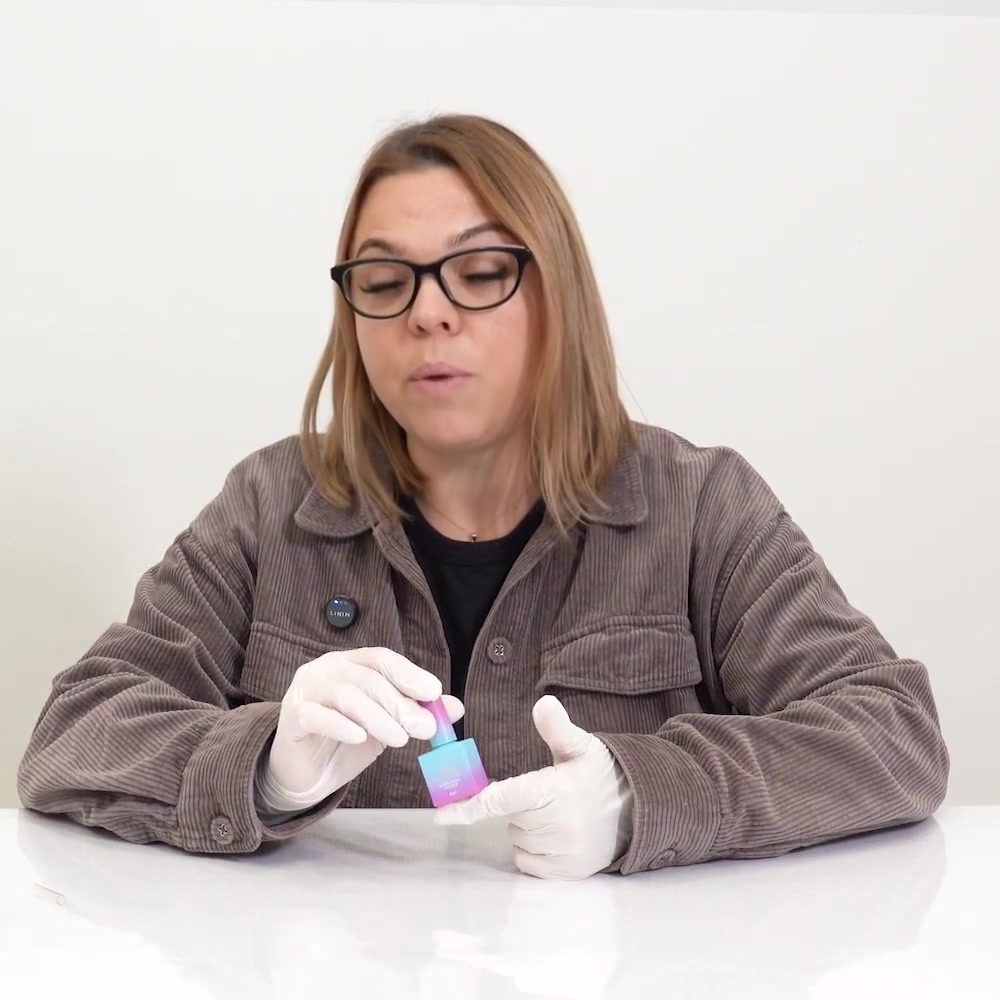
Check whether the top coat is glossy, matte, or no-wipe before use.
What lamp should you buy for gel polish?
Buy the lamp specified or approved for the gel system you plan to use. Gel formulas can have different curing requirements, so wattage alone is not a reliable compatibility test. The product directions should identify the lamp type and the cure time for each layer.
Before buying, check that:
- the gel instructions identify a compatible UV or LED lamp;
- the lamp can fit the fingers in the position shown by the manufacturer;
- the timer supports the cure schedule stated for the base, color, and top coat;
- the seller provides instructions, electrical information, and a way to identify the manufacturer;
- an adult can supervise setup and use when the learner is a teen.
Both UV and LED curing lamps expose the hands to ultraviolet radiation; “LED” describes the light source, not the absence of UV. The American Academy of Dermatology recommends applying a broad-spectrum, water-resistant sunscreen with SPF 30 or higher to the hands before a gel manicure, or wearing dark, opaque fingerless gloves, to reduce ultraviolet exposure during curing.
The formula and lamp must work as a tested pair because different photoinitiators respond to different wavelengths and cure schedules. A layer that looks hard on top may still be under-cured if the lamp does not match. Follow the stated time for every base, color, and top coat rather than adding a few seconds by guesswork.
Which prep tools belong in a beginner kit?
A beginner needs a hand file, an orange wood stick or gentle pusher, lint-free wipes, and the cleansing or preparation liquid required by the gel system. These tools cover basic shaping and surface preparation without adding electric equipment.
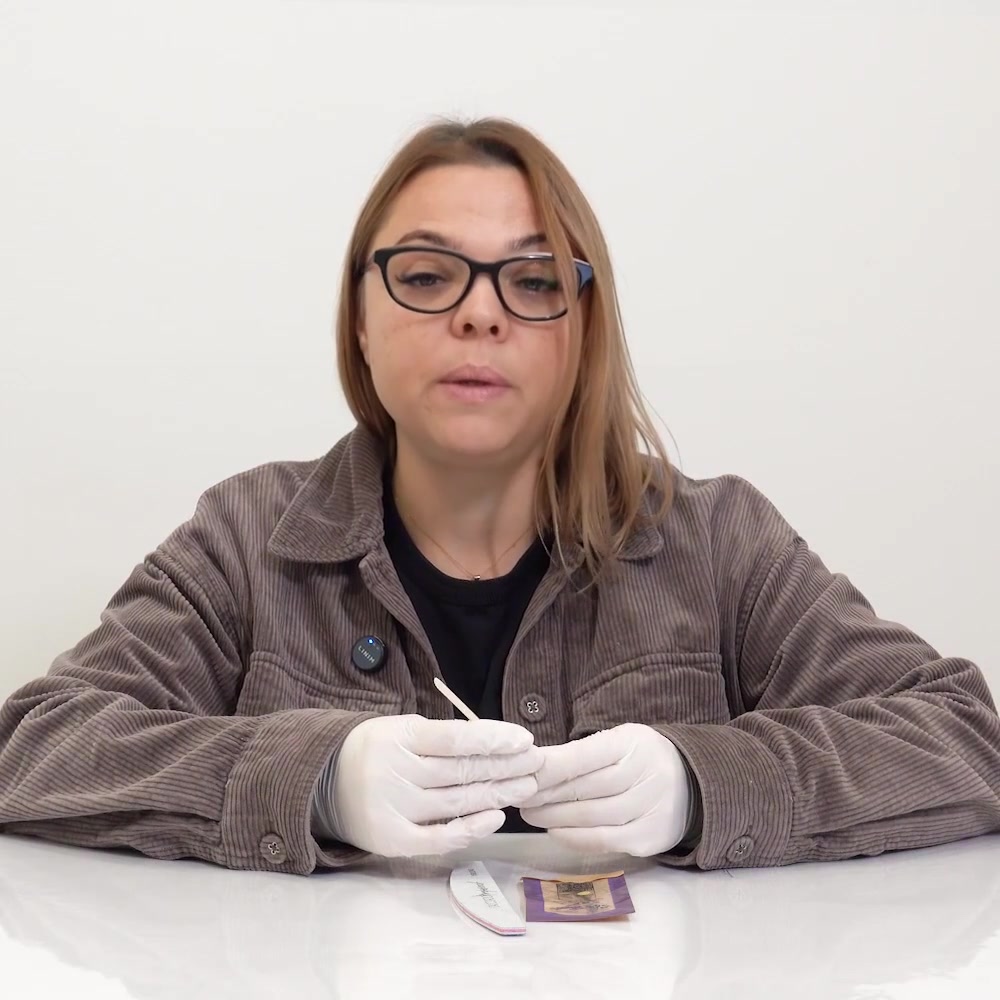
An orange wood stick or pusher can be used gently during preparation.
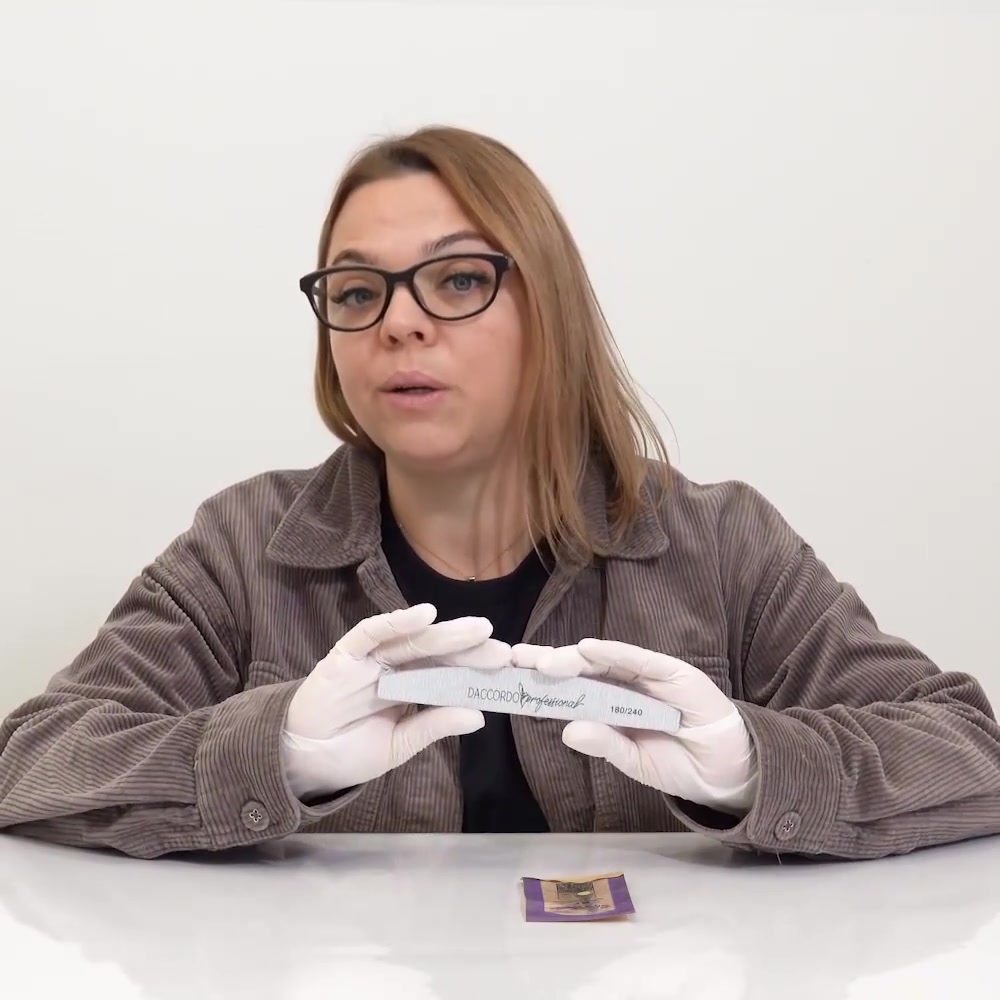
A simple hand file is enough for a first home kit.
The cuticle helps protect the area around the nail. The American Academy of Dermatology advises against cutting or forcefully pushing it back. For a first kit, leave out cuticle scissors and nippers. If the skin around a nail is swollen, painful, discolored, or otherwise unusual, pause the manicure and ask a parent or healthcare professional what to do.
What can you leave out of your first gel nail kit?
Leave out products that introduce a second technique before you have learned basic gel polish. A smaller kit is easier to understand, store, and troubleshoot.
Skip an e-file at first
An e-file is not required to apply a simple gel color. Irina’s full course teaches e-file anatomy and hand-control exercises before model work, which shows why the tool deserves separate instruction. Start with the removal method printed on your gel system rather than improvising with a drill bit.
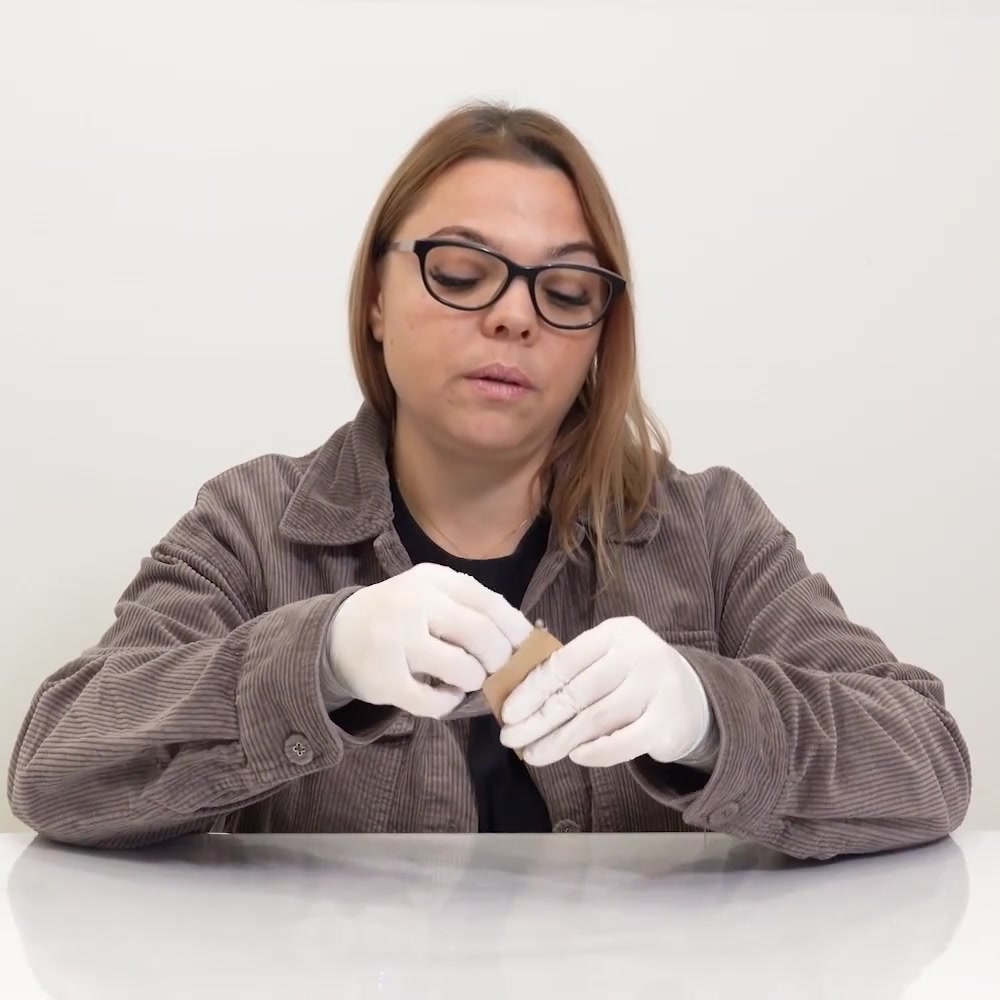
Drill bits are professional tools covered separately in the course, not a basic first purchase.
Skip builder products and extensions
Builder gel, hard gel, polygel, acrylic, and extension systems are not interchangeable with basic gel polish. They can require different brushes, structure, filing, removal, and curing directions. Buy them only when you intend to learn that specific system.
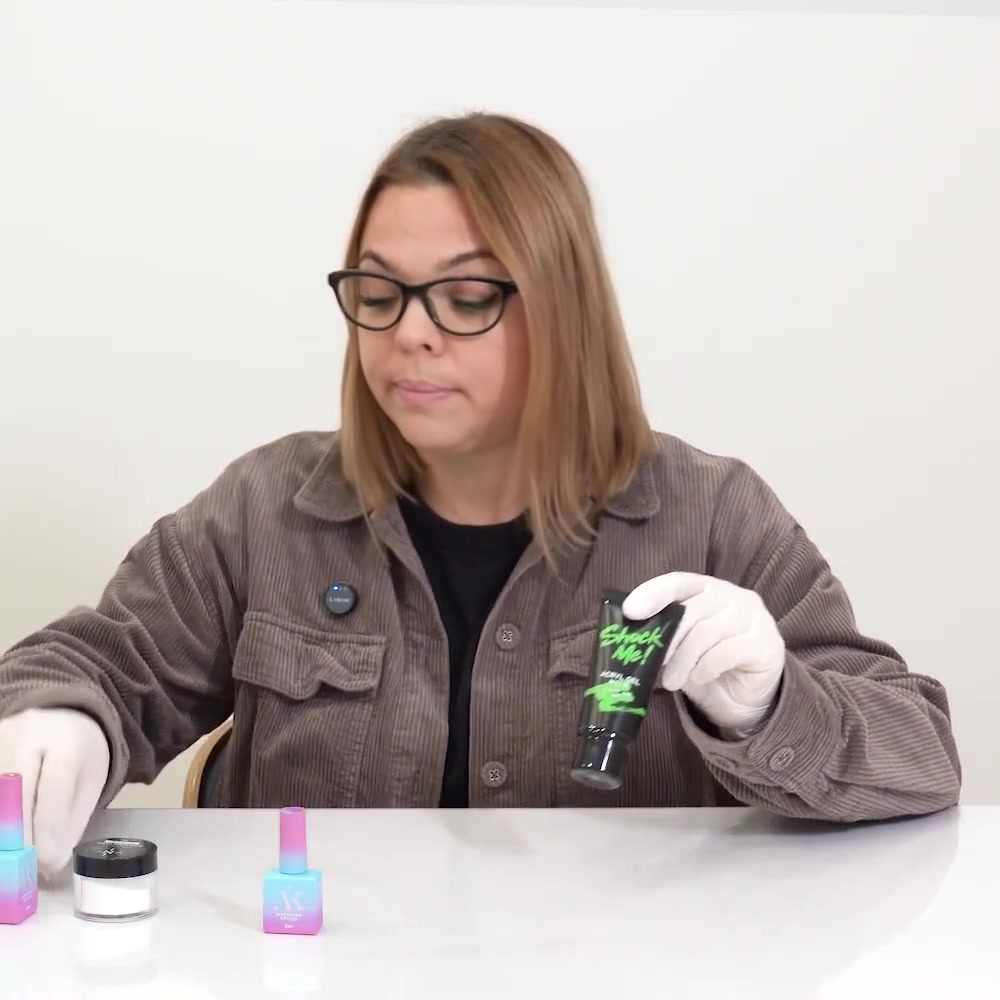
Polygel is a separate material and does not belong in a minimal gel-polish kit.
Skip a huge color bundle
A large shade count does not make a kit easier to learn. Put the budget toward clear instructions, a compatible lamp, the core three-step system, and complete removal supplies. Add colors after you know that you can apply, cure, wear, and remove the first formula as directed.
How should teens set up a gel manicure workspace?
Teens should practice with a parent or legal guardian aware of the products, lamp, and tools in use. Work on a stable table with good lighting and ventilation. Keep every bottle upright, close it after use, and keep food and drinks away from the workspace.
Use this setup order:
- Place the lamp on a dry, stable surface and check its cord and instructions.
- Arrange the base, color, and top coat in application order.
- Set out the file, orange stick, wipes, and prep liquid.
- Put the removal supplies nearby so the full system is available from the start.
- Protect the table with a surface approved for the products you are using.
- Keep uncured gel off the skin and clean accidental contact according to the product directions before curing.
- Close bottles promptly and keep the room ventilated.
OSHA’s nail-salon guidance explains that product vapors, dusts, and accidental skin or eye exposure can create chemical hazards. Although a home learner does not have a salon worker’s daily exposure, the same practical habits still help: read labels, close containers, and bring fresh air into the work area.
Does “HEMA-free” mean allergy-free?
No. A HEMA-free label tells you that one named acrylate is not in the formula; it does not mean the gel contains no acrylates or cannot cause an allergy. The European Commission’s Scientific Committee on Consumer Safety notes that HEMA and Di-HEMA can sensitize skin when products are misused or contaminate the skin, and it also identifies the possibility of other sensitizers. Check the full ingredient list instead of relying on broad phrases such as “free from harmful chemicals.”
Keep every uncured formula on the nail plate and off the skin. If itching, burning, redness, swelling, blisters, nail lifting, or another reaction develops, stop using the product, tell a parent or guardian, and seek medical advice. A dermatologist can assess a suspected allergy; switching to a different gel brand without knowing the trigger may cause another reaction.
How do you remove beginner gel polish?
Use the removal method stated by the gel-polish manufacturer. Do not peel or pick the coating, and do not substitute an e-file simply because it looks faster.
For soak-off systems that direct you to use acetone, the American Academy of Dermatology recommends limiting the acetone to the nail area. Its current at-home guidance describes protecting the cuticle and surrounding skin with petroleum jelly, placing nail-sized acetone-soaked cotton on each nail, sealing it with plastic food wrap for about 10 minutes, and gently rubbing away residue with a warm wet washcloth. Your product may give a different time, so follow its instructions first.
Add the complete removal set to your shopping list before doing the manicure:
- the remover named by the manufacturer;
- lint-free pads or cotton as directed;
- foil wraps or removal clips if the system calls for them;
- a warm washcloth or other gentle removal aid named in the instructions;
- moisturizer or petroleum jelly for nail and cuticle care afterward.
Is a complete kit better than buying products separately?
A complete kit is useful when the lamp, base, color, top coat, and removal directions clearly belong to one documented system. Buying separately is useful when you already know which compatible items are missing. The deciding factor is documented compatibility, not the size of the box.
| Choose a complete kit when | Choose separate products when |
|---|---|
| It names the included lamp and gives cure directions | The gel manufacturer clearly identifies the compatible lamp you already own |
| It includes base, color, top, and removal instructions | You need to replace one item within the same system |
| You want one instruction set for your first manicure | You can verify every product’s role and compatibility before buying |
| The seller and manufacturer are identifiable | A kit contains advanced tools you would not use safely yet |
Avoid any listing that hides the manufacturer, omits directions, or uses “professional” as a substitute for explaining the product. FDA guidance states that retail cosmetics in the United States must display ingredient information, while warnings must appear when needed to prevent a health hazard.
Where can beginners learn the complete gel-polish sequence?
The paid Gel Polish Manicure Course for Beginners from Oh!Nice SPACE is taught by nail educator Irina Kolobovnikova. The current program contains 15 prerecorded English lessons covering workstation setup, nail anatomy, materials, tools, e-file fundamentals, hand-control practice, removal, overlay, and gel-polish application on two models.
The course currently costs $15 as a one-time payment. Materials are purchased separately, and the course does not provide professional certification or a nail-technician license. A parent or legal guardian manages purchase and account access for a teen learner.
Gel polish starter kit frequently asked questions
How many gel colors does a beginner need?
One color is enough for the first practice sessions. Use it to learn thin coats, clean edges, complete curing, and correct removal. Add more shades after you know the system works for you.
Do beginners need both base coat and top coat?
Most three-step gel systems use both, but some products combine steps. Follow the written directions for the exact system. Do not remove a step because another brand works differently.
Can you use any LED lamp with any gel polish?
Do not assume that every LED lamp cures every gel correctly. Use the lamp type and curing schedule named by the gel manufacturer, or obtain written compatibility guidance from that manufacturer.
Do you need a nail drill for gel polish?
No. A nail drill is not required for a basic gel-color application. It is a separate tool that calls for control and removal training. Begin with the manual preparation and removal method specified by your gel system.
Should a beginner buy primer and dehydrator?
Buy them only when your chosen system instructs you to use them. Extra prep products are not universal requirements, and adding them without directions makes it harder to identify the cause of lifting or irritation.
What should you do if gel polish touches the skin?
Keep uncured gel off the skin. If contact happens, stop and follow the product directions for cleanup before curing. Stop using the product and tell an adult if you develop burning, itching, redness, swelling, a rash, or another unexpected reaction. The FDA advises contacting a healthcare provider about a cosmetic reaction and reporting the problem to the agency.
Is gel polish suitable for every nail?
No. Do not cover a nail that is painful, swollen, discolored, lifting, or otherwise abnormal just to hide it. Ask a parent and a qualified healthcare professional to assess a persistent nail problem before applying another coating.
Is OPI or Sally Hansen better for a beginner?
They answer different needs. OPI GELement is a lamp-cured at-home gel system with a matching LED lamp, base, color, top, and separate removal kit. Sally Hansen Miracle Gel is a two-step, air-drying color-and-top-coat system that says no UV lamp is needed. Choose by the application method you want, then follow that system’s current directions; the names are not interchangeable.
Key takeaways
A useful beginner gel kit is small and complete: a documented soak-off system, the compatible lamp, basic prep tools, and the correct removal supplies. Start with one color and learn the complete cycle before adding advanced materials.
Product directions control the process. Match the lamp to the gel, keep uncured product off the skin, ventilate the workspace, and remove the coating as instructed. Teens should practice with adult awareness and supervision.
Sources
- U.S. Food and Drug Administration: Nail Care Products
- U.S. Food and Drug Administration: How to Report a Cosmetic Product Related Complaint
- American Academy of Dermatology: Gel Manicures, Tips for Healthy Nails
- American Academy of Dermatology: Removing Gel Nail Polish at Home
- American Academy of Dermatology: Manicure and Pedicure Safety
- Occupational Safety and Health Administration: Health Hazards in Nail Salons
- European Commission Scientific Committee on Consumer Safety: HEMA and Di-HEMA Opinion
- OPI: GELement Gel Essentials Kit
- Le Mini Macaron: Gel Nail Kits
- DND Gel: Always In Style Gel Polish Starter Kit
- Sally Hansen: Miracle Gel
- Oh!Nice SPACE lessons: Nail Products and Materials; Tools for Gel Polish Removal and Manicure; Base Gel Leveling and Gel Polish Application. Private course materials used with the school’s authorization.
Frequently Asked Questions
How many gel colors does a beginner need?
One color is enough for the first practice sessions. Use it to learn thin coats, clean edges, complete curing, and correct removal. Add more shades after you know the system works for you.
Do beginners need both base coat and top coat?
Most three-step gel systems use both, but some products combine steps. Follow the written directions for the exact system. Do not remove a step because another brand works differently.
Can you use any LED lamp with any gel polish?
Do not assume that every LED lamp cures every gel correctly. Use the lamp type and curing schedule named by the gel manufacturer, or obtain written compatibility guidance from that manufacturer.
Do you need a nail drill for gel polish?
No. A nail drill is not required for a basic gel-color application. It is a separate tool that calls for control and removal training. Begin with the manual preparation and removal method specified by your gel system.
Should a beginner buy primer and dehydrator?
Buy them only when your chosen system instructs you to use them. Extra prep products are not universal requirements, and adding them without directions makes it harder to identify the cause of lifting or irritation.
What should you do if gel polish touches the skin?
Keep uncured gel off the skin. If contact happens, stop and follow the product directions for cleanup before curing. Stop using the product and tell an adult if you develop burning, itching, redness, swelling, a rash, or another unexpected reaction. The FDA advises contacting a healthcare provider about a cosmetic reaction and reporting the problem to the agency.
Is gel polish suitable for every nail?
No. Do not cover a nail that is painful, swollen, discolored, lifting, or otherwise abnormal just to hide it. Ask a parent and a qualified healthcare professional to assess a persistent nail problem before applying another coating.
Is OPI or Sally Hansen better for a beginner?
They answer different needs. OPI GELement is a lamp-cured at-home gel system with a matching LED lamp, base, color, top, and separate removal kit. Sally Hansen Miracle Gel is a two-step, air-drying color-and-top-coat system that says no UV lamp is needed. Choose by the application method you want, then follow that system's current directions; the names are not interchangeable.