
On this page
- What is reverse nail stamping?
- What do you need for reverse stamping nail art?
- Can you use a sticky base coat for a reverse stamp?
- How do you do reverse nail stamping step by step?
- 1. Choose an outline that is easy to color
- 2. Pick up a clean outline
- 3. Remove extra details
- 4. Let the outline dry completely
- 5. Prepare a tacky nail or practice tip
- 6. Place small drops of color on a palette
- 7. Color the back of the stamped image
- 8. Check the design through the stamper window
- 9. Let the colored image dry completely
- 10. Align, press, and lift the stamper
- Why is reverse stamping not transferring?
- How can beginners practice reverse stamping?
- Where can you learn more stamping techniques?
- Key takeaways
- Sources
- Frequently Asked Questions
Reverse nail stamping is a way to turn a single-color stamped outline into a multicolor nail design. Pick up the outline with a clear silicone stamper, let it dry, color the back of the image with stamping polish, let those colors dry, and press the finished design onto a nail or practice tip with a tacky surface.
This tutorial uses original frames from Irina Kolobovnikova’s reverse-stamping lessons for Oh!Nice SPACE. It explains the complete technique without publishing the paid videos.
Quick answer:
- Start only after you can pick up a complete stamped outline.
- Use a clear stamper, an outline image with closed sections, a fine nail-art brush, colored stamping polishes, and air-dry foil glue.
- Let the black outline dry before adding color.
- Paint on the back of the image so the clean outline stays visible from the front.
- Let the colored design and the foil glue dry fully before transfer.
- Look through the clear stamper to position the design, then press lightly and lift.
What is reverse nail stamping?
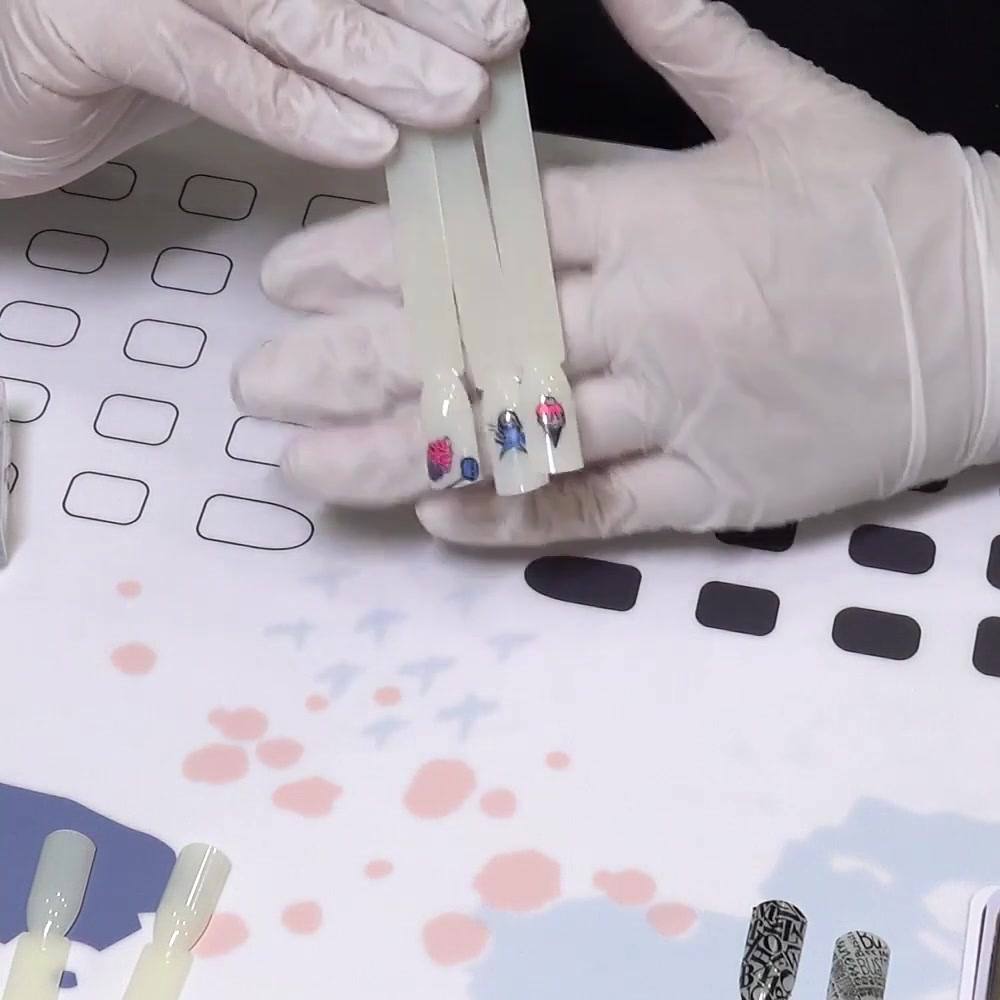
Reverse nail stamping, sometimes called reverse stamping nail art, means coloring a stamped image while it is still on the stamper. In basic stamping, you pick up a design from an engraved plate and transfer it immediately. In reverse stamping, the picked-up outline becomes a tiny coloring page. You fill selected spaces from the back, wait for the layers to dry, and then transfer the completed image.
The technique is useful when you want detailed, multicolor nail art but do not feel ready to draw every line by hand. The plate supplies the clean outline; you choose the colors and placement. It works especially well with simple images that have clear borders, such as flowers, fruit, animals, sweets, or cartoon-style motifs.
If basic pickup is still inconsistent, begin with our nail stamping tutorial for beginners. Reverse stamping adds drying, coloring, and alignment steps, so a reliable outline makes the process much easier.
What do you need for reverse stamping nail art?
The lesson method uses traditional air-dry stamping polish and air-dry foil glue. A gel stamping system may require different products and curing instructions, so do not mix the two methods unless every label says the products are compatible.
| Tool or product | Purpose | What to check |
|---|---|---|
| Engraved stamping plate | Provides the outline | Choose an image with spaces large enough to color |
| Dark stamping polish | Creates visible borders | Use an opaque polish made for stamping |
| Colored stamping polishes | Fill the image | Place only small drops on a palette because they dry quickly |
| Clear silicone stamper | Holds and positions the design | The window should be clean enough to see through |
| Scraper | Clears extra polish from the plate | Keep the edge clean and smooth |
| Tape or lint roller | Removes unwanted picked-up details | Use the cleaning method approved for your stamper |
| Fine nail-art brush | Colors small sections | Choose a point that fits inside the outline |
| Palette or practice tip | Holds drops of color | Use a clean, protected surface |
| Air-dry foil glue | Creates a tacky transfer layer | It should be intended for nail use and used as labeled |
| Practice nail tips | Make first attempts easier | Prepare one tip for each design |
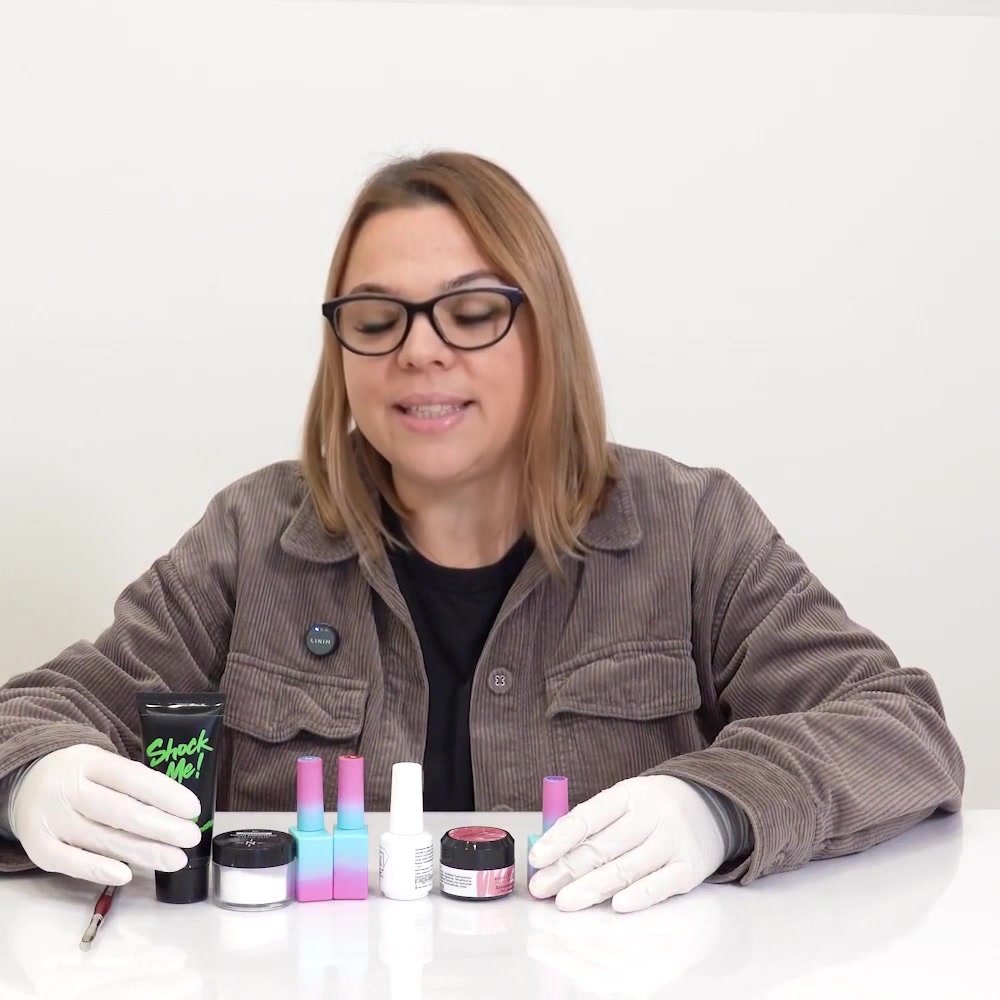
Set everything out before opening the polish. Keep the stamping plate, scraper, stamper, tape, colors, brush, palette, prepared tips, and glue within easy reach. Multiple stamper heads are helpful because one design can dry while you color another, but one stamper is enough if you work patiently.
Can you use a sticky base coat for a reverse stamp?
A sticky base coat can replace foil glue only when its label says it creates a tacky layer for a stamped design. Use a detail brush or small dotting tool to dab color inside the stamp. A nail art mat can hold each polish dot while you paint. After transfer, use a clean up brush around the cuticle and finish with a compatible smudge free top coat. Acetone may damage a clear stamper head, so use it only where a product label allows it and never as a default stamper cleaner.
For a first reverse stamp manicure, select a simple motif rather than a detailed rainbow pattern. If a decal extends beyond a practice tip, do not trim the edges with scissors or a sharp orange stick near skin. Clean the area with the method approved for the formula.
How do you do reverse nail stamping step by step?
Read the full sequence once before starting. The outline must dry before coloring, and the colored image must dry before transfer. Rushing either pause is the most common way to smear the design.
1. Choose an outline that is easy to color
Look for a plate image with a strong outer line and several closed areas. Large, simple sections are easier for a first attempt than thin lettering or a pattern made from many tiny lines.
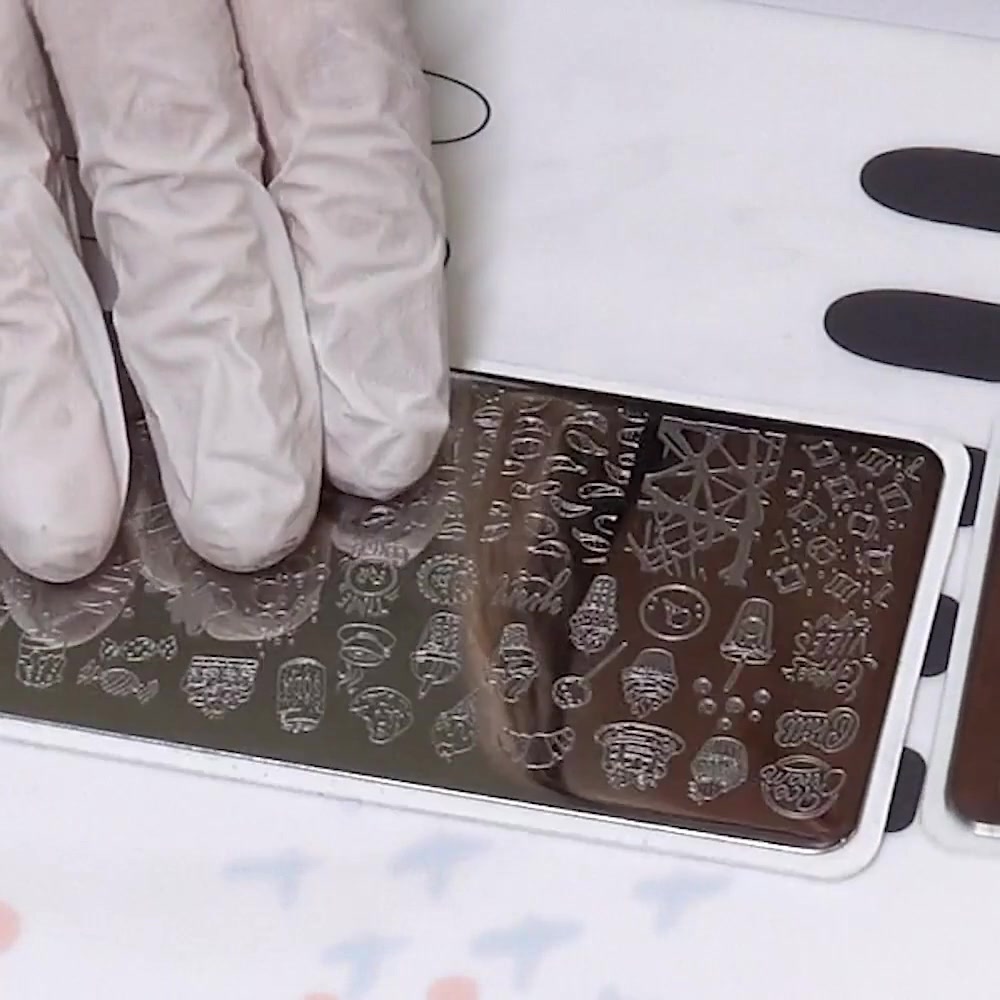
Check that the design fits the nail or practice tip. You can color only part of a larger image, but decide which section you want before applying polish.
2. Pick up a clean outline
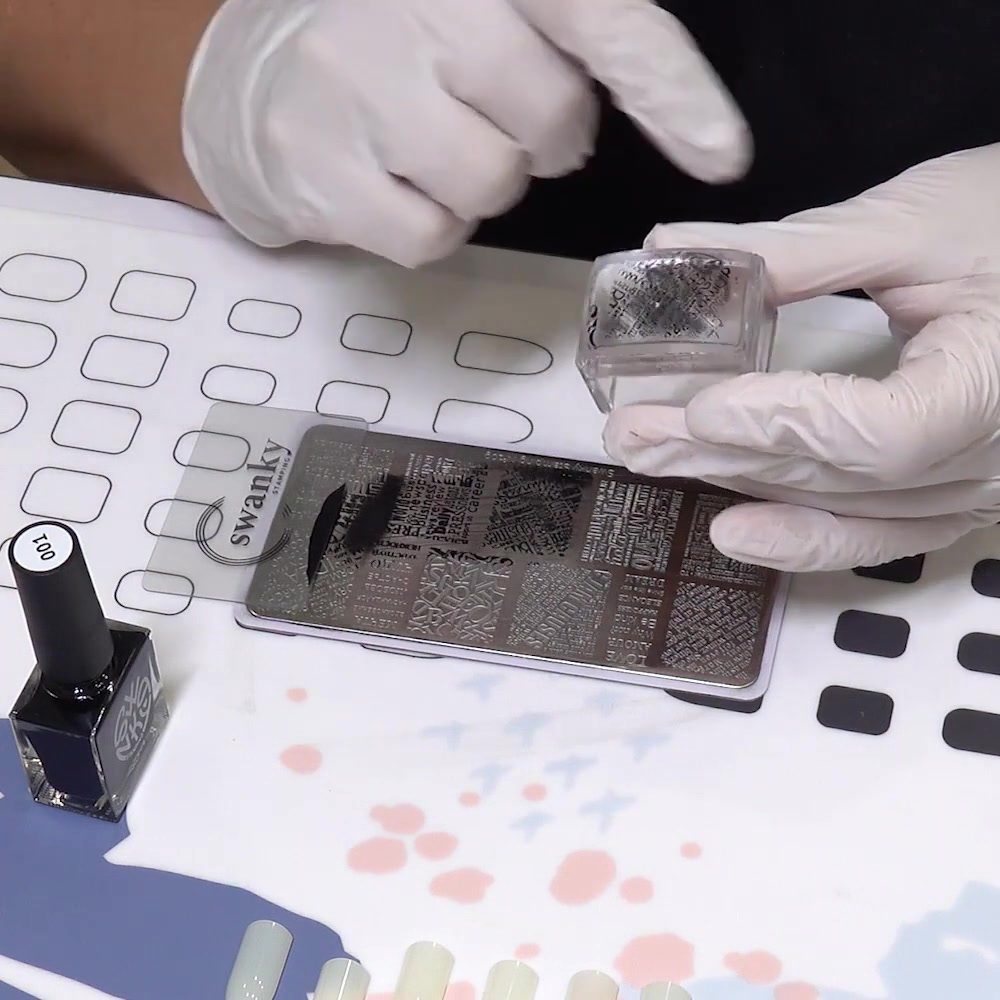
Apply dark stamping polish over the engraving, scrape once, and immediately pick up the image with the stamper. Use the same light, controlled motion that works for basic nail stamping.
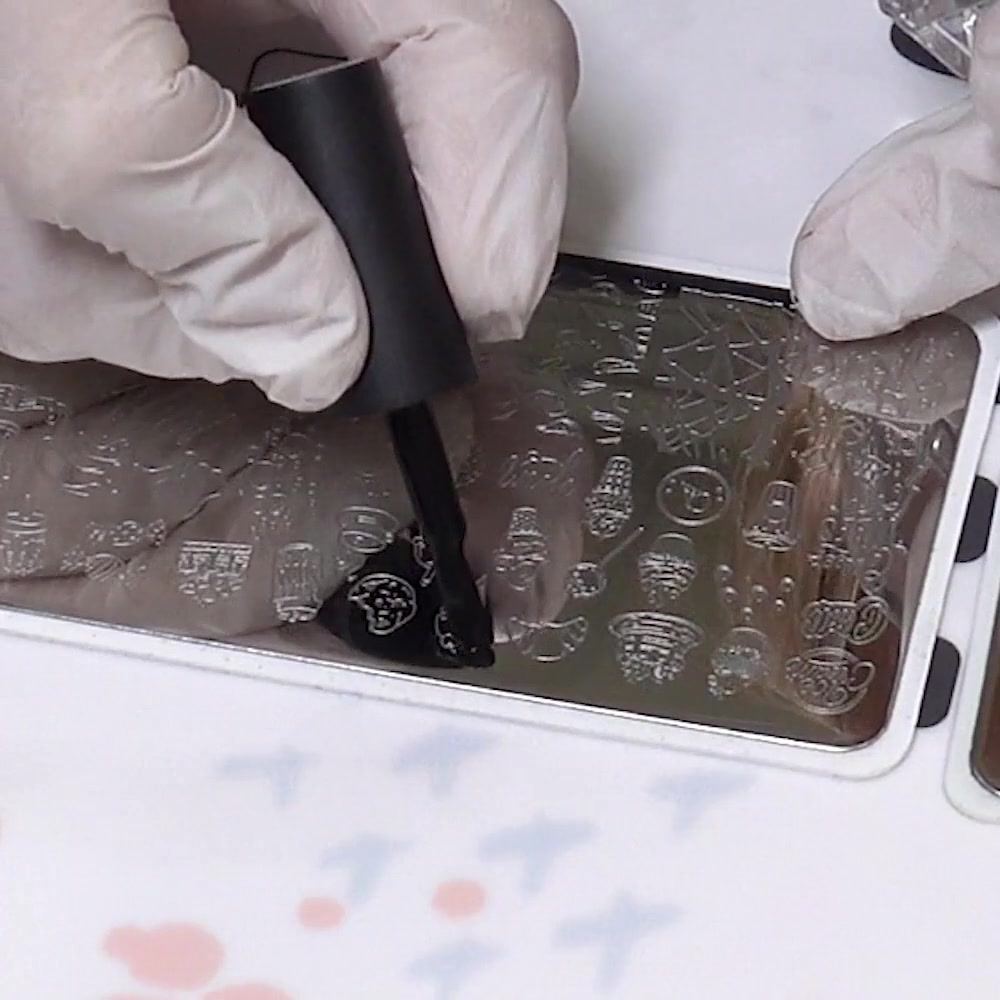
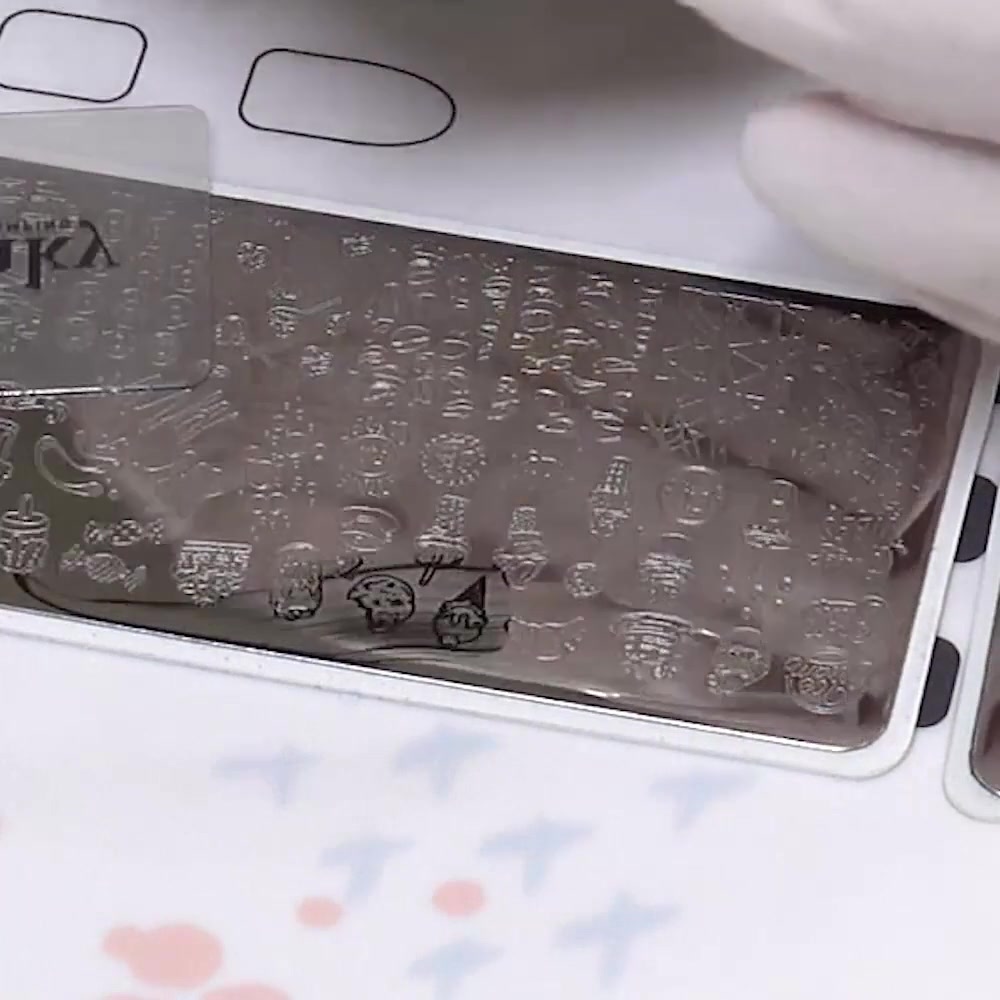
Inspect the result through the clear head. The outline should be complete and easy to read. If a central line is missing, clean the stamper and repeat the pickup rather than trying to redraw the gap with a brush.
3. Remove extra details
Use a small piece of tape or a lint roller to lift nearby lines, words, or parts of other images that came up with the outline. Touch only the unwanted polish so you do not pull away the design you plan to color.
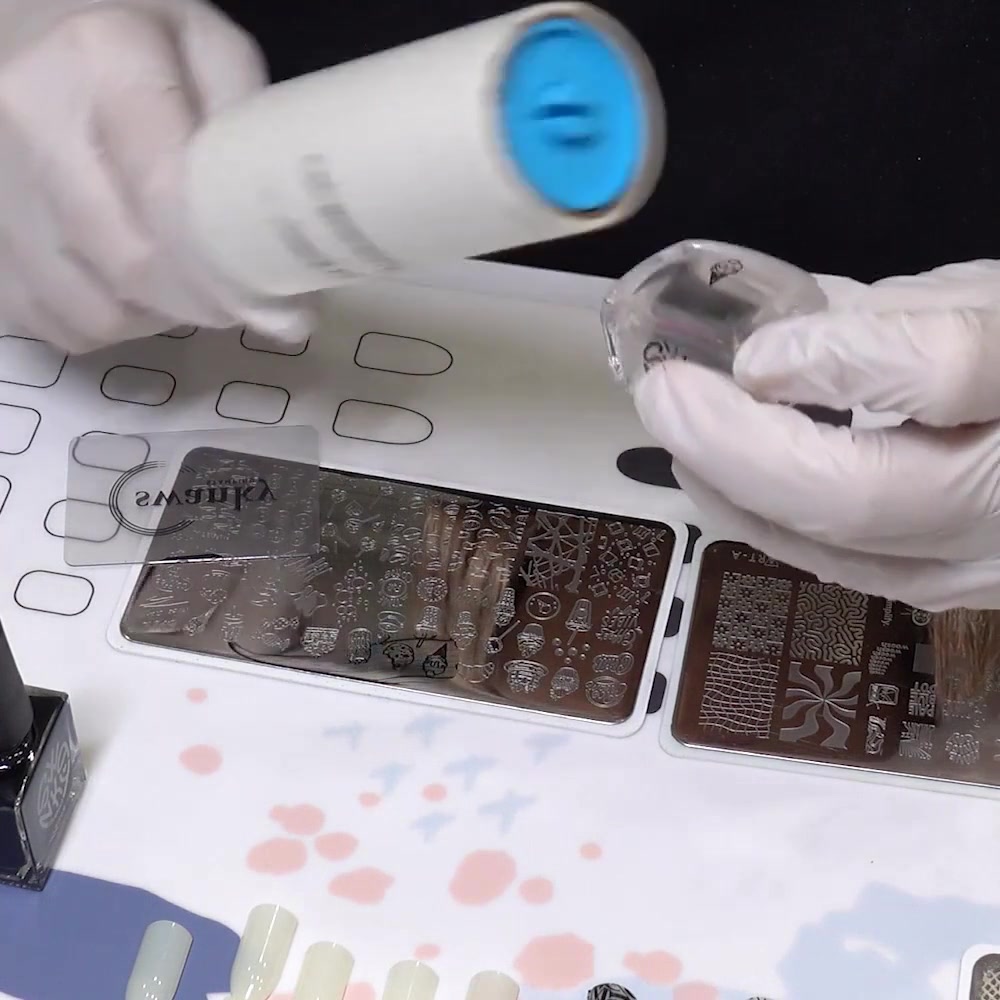
Follow the care directions for your stamper. Some soft clear heads can be clouded or damaged by solvents, so the cleaning method should come from the product maker.
4. Let the outline dry completely
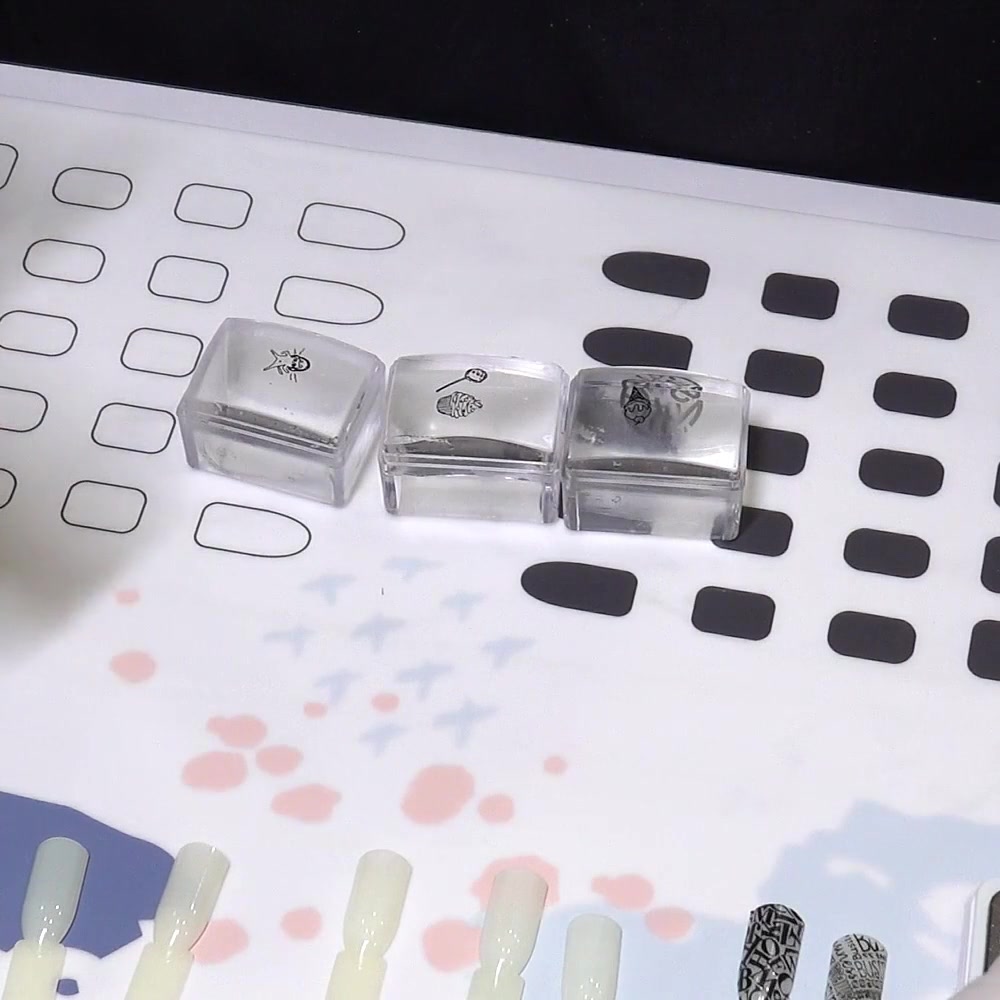
Set the stamper down with the image facing up. In Irina’s lesson, the outline rests for about five minutes. Treat that as a classroom example rather than a universal timer: drying changes with the polish, room temperature, humidity, and layer thickness. Continue only when the outline is dry and does not move under a very gentle check at the edge.
Several stamper heads make this waiting period more efficient. You can prepare two or three outlines first, then color them in the same order.
5. Prepare a tacky nail or practice tip
The dried image will not attach reliably to a completely dry, smooth tip by itself. For the method shown here, brush a very thin coat of air-dry foil glue onto the tip. Keep it off the skin and follow its label.
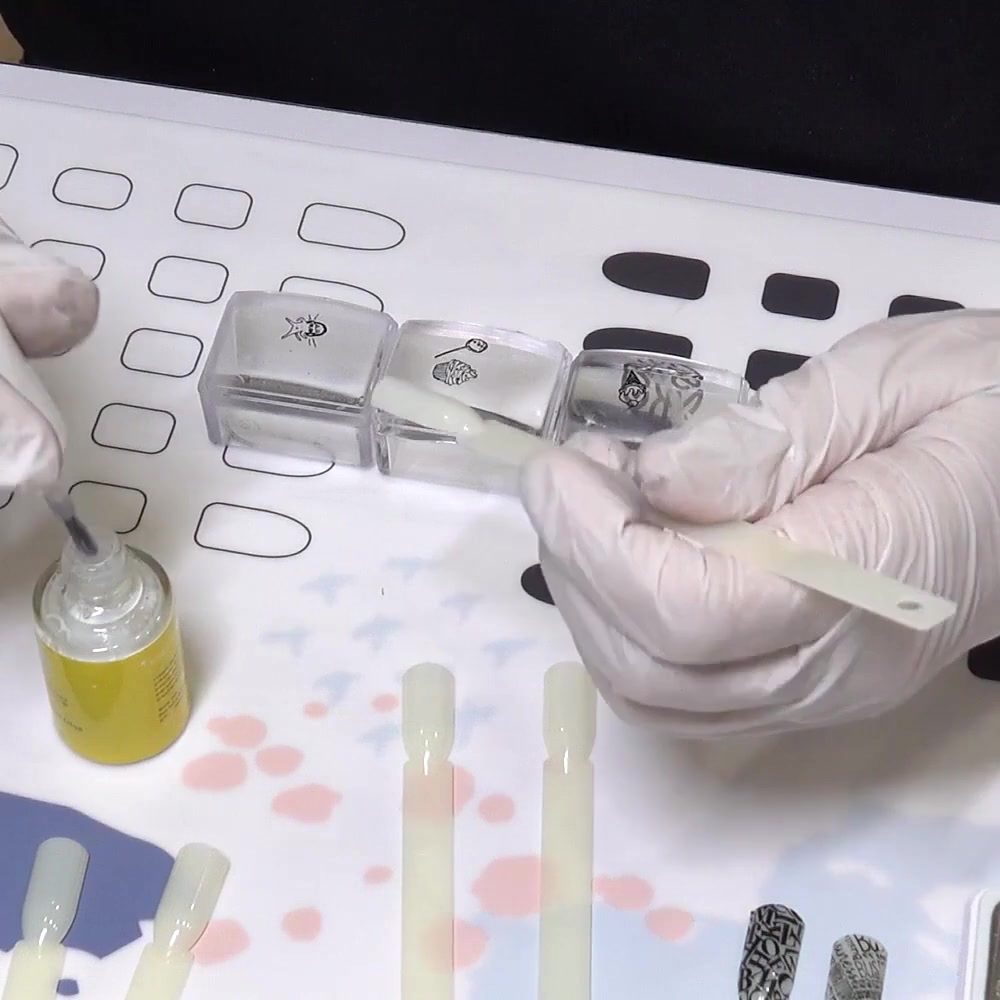
Wait until the glue reaches the ready state described by its manufacturer. In the lesson, the white glue becomes transparent as it dries and leaves the tack needed for transfer. Do not press the stamper into visibly wet glue; the image can slide or wrinkle.
6. Place small drops of color on a palette
Mix each bottle only as its label directs, then place a small drop of stamping polish on a clean palette or spare tip. Start with one or two colors. Large drops are wasteful because the exposed polish dries quickly.
Keep the bottles closed between uses. If a drop becomes stringy or dry, replace it with a fresh small drop rather than thinning it with an unapproved product.
7. Color the back of the stamped image
Hold the clear stamper so you can reach the back of the outline. Pick up a little color with the fine brush and place it inside one section. Use short, light strokes and avoid pushing polish across the black borders.
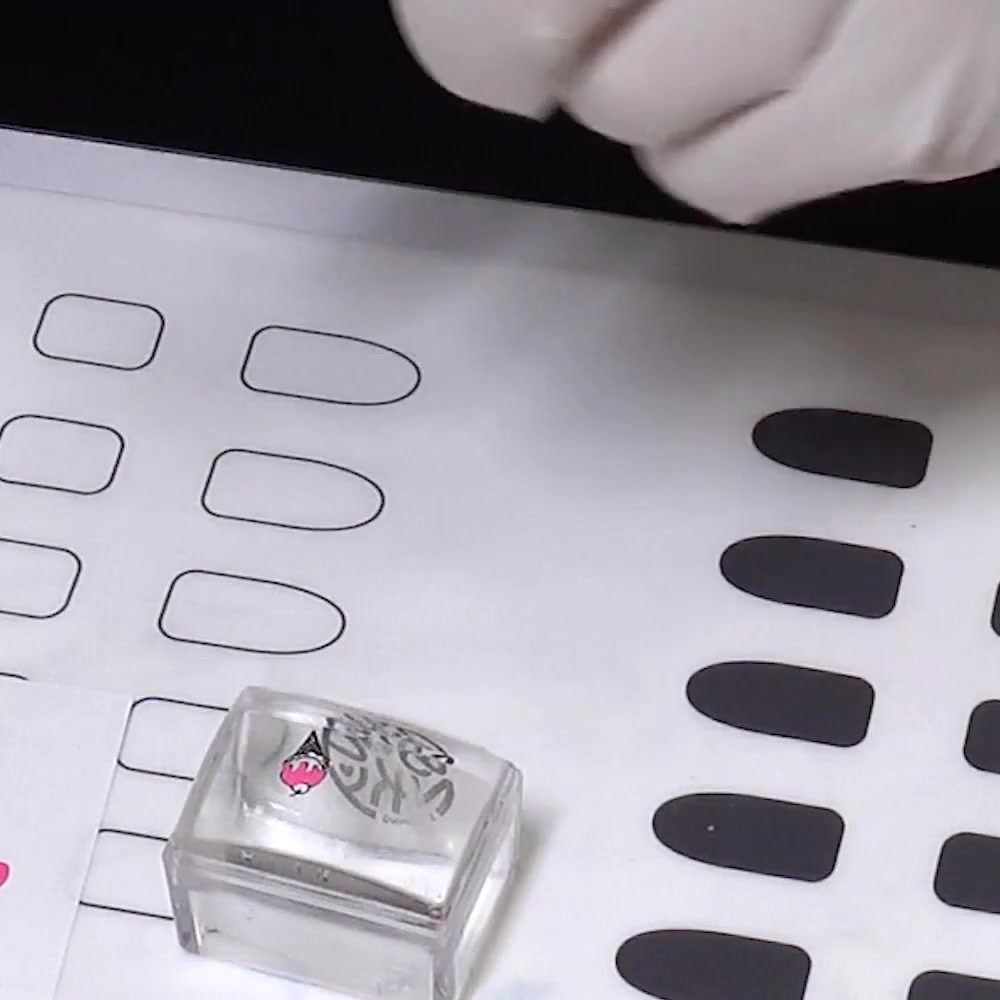
You do not need perfect-looking brushwork on the working side. The viewer will see the image from the opposite side, where the black outline sits in front of the color. Fill each section to the edge, but avoid a thick mound that will take longer to dry.
8. Check the design through the stamper window
Turn the stamper toward you and look through the clear head. This front view shows the result that will appear on the nail. Add color only where you can see an empty patch; repeated strokes over a finished area can soften the dry outline.
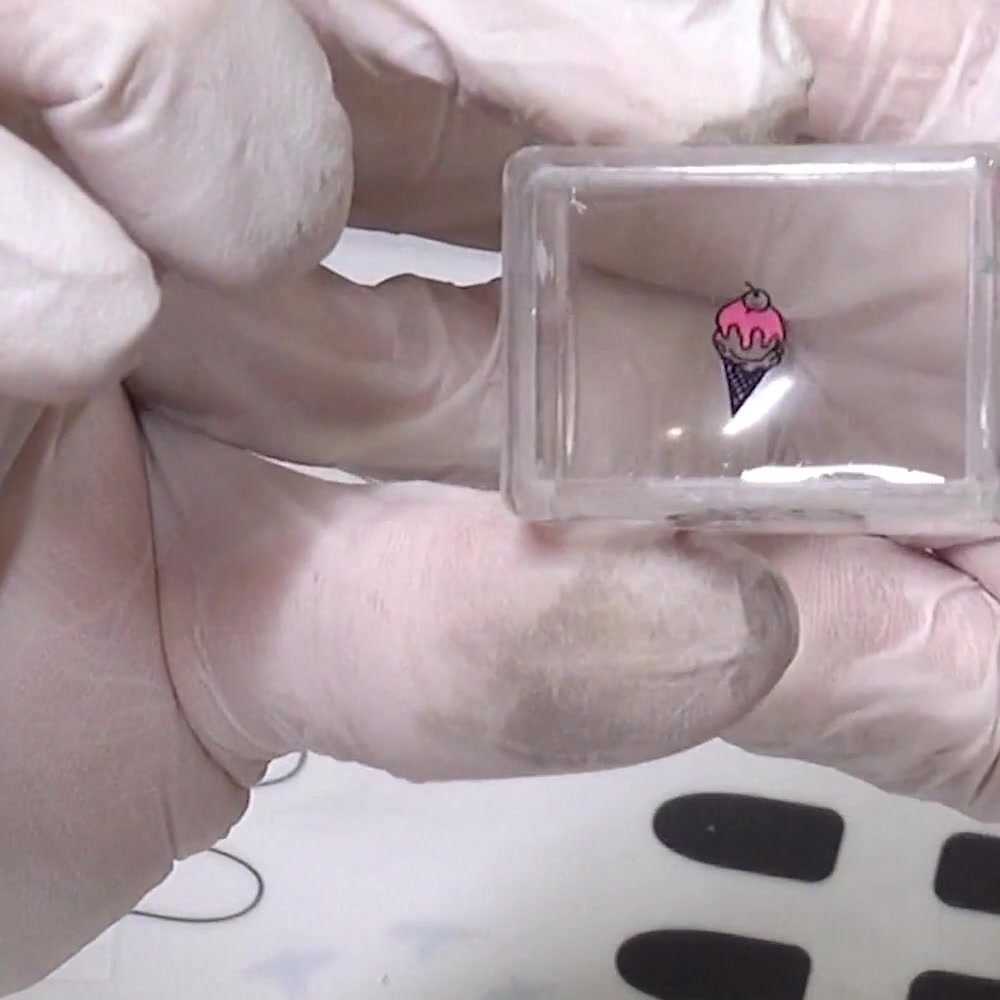
If a tiny color mark crosses a border, decide whether it will be visible at normal viewing distance. Trying to scrape a wet correction can damage several lines. A major mistake is usually faster to restart than to repair.
9. Let the colored image dry completely
Set the stamper aside again. Irina allows about five minutes in the demonstrated conditions, but your product may need a different pause. The colored areas must dry through, while the prepared nail surface remains tacky enough to receive the decal.
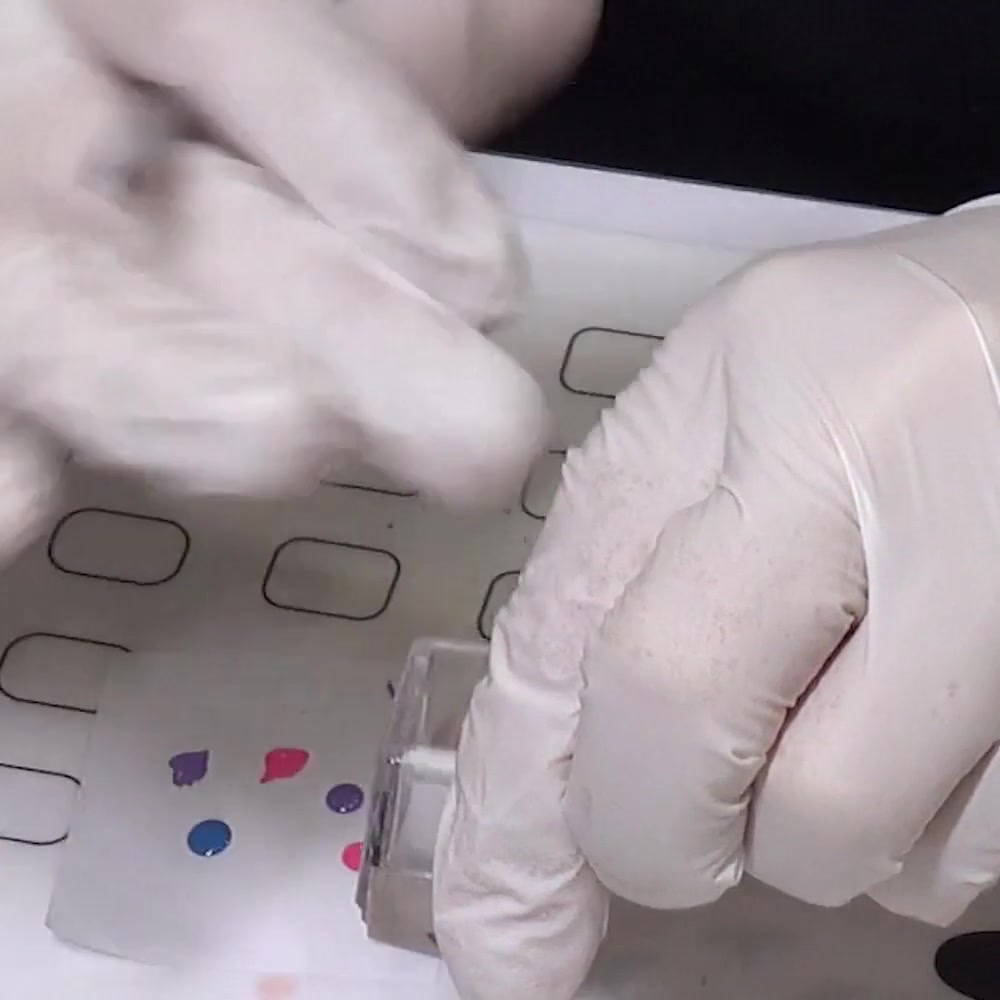
This is the timing balance behind reverse stamping: dry artwork and a ready, tacky base. Wet artwork smears; a base that is no longer receptive may not pick up the design.
10. Align, press, and lift the stamper
Look through the clear window and hover the design over the nail without touching it. When the position is right, lower the stamper, press lightly, and hold it just long enough for the image to contact the tacky surface. Lift the stamper carefully.
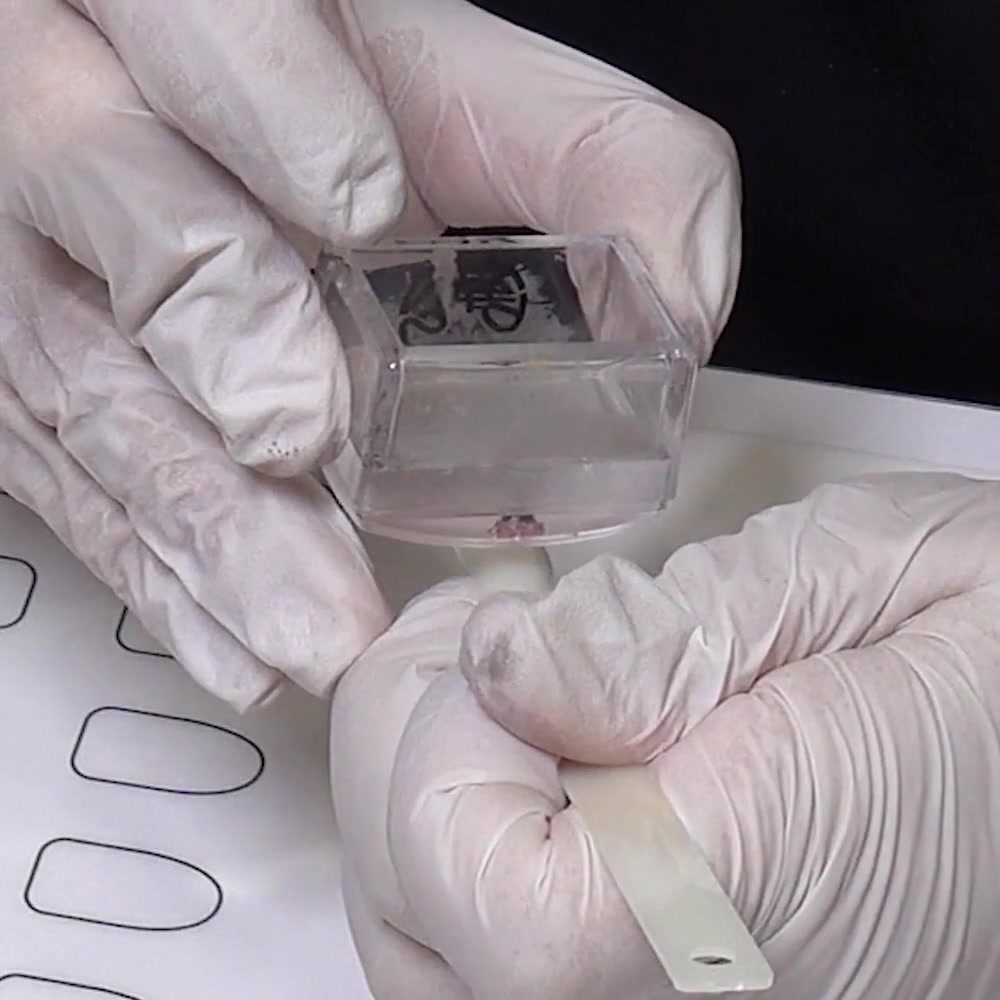
Do not slide the stamper sideways. If an edge does not attach, pressing harder after the image has shifted can create a double outline. Practice on tips until you can lower and lift in one controlled movement.
Let the transferred design settle, clean around the edges if needed, and seal it with a compatible top coat according to its directions. Use a light touch so the brush does not drag through the artwork.
Why is reverse stamping not transferring?
Successful reverse stamping depends on two surfaces reaching different states at the same time: the colored decal must be dry, and the nail or tip must still be tacky enough to accept it.
| Problem | Likely cause | What to try next |
|---|---|---|
| Outline smears while coloring | The first stamped layer was still wet | Let the outline dry longer before adding color |
| Color covers the black lines | Too much polish or too much brush pressure | Use less polish and place it inside each border |
| Small gaps show from the front | A section was not filled to the outline | Check through the stamper window before drying |
| Design stretches or wrinkles | The stamper slid during transfer | Lower it once, press lightly, and lift without twisting |
| Design stays on the stamper | The receiving surface was not tacky enough | Follow the foil-glue label and transfer at its ready stage |
| Design sticks unevenly | Glue layer was thick or patchy | Apply a thinner, more even coat on the next tip |
| Top coat smears the result | Artwork was not dry or brush passes were repeated | Wait longer and float on a compatible top coat gently |
Change one variable at a time. If you adjust the drying time, glue amount, brush load, and pressure all at once, you will not know which change solved the problem.
How can beginners practice reverse stamping?
Begin with one small image and two colors on a practice tip. Repeat the same design several times instead of changing the plate, polish, and brush on every attempt. Repetition makes it easier to compare outline quality, drying, coloring, and transfer pressure.
Use a simple practice routine:
- Make three clean outlines on separate stampers if you have them.
- Color the first design with one shade and the next two with two shades.
- Check every design from the front before setting it aside.
- Prepare one thin glue layer per tip.
- Transfer in the order the outlines were created.
- Write down which drying pause and glue stage worked with your products.
Teens should practice with a parent or responsible adult aware of the products in use. Work in a ventilated space, keep bottles away from eyes, food, flames, and heated tools, and avoid getting nail products on the skin. The U.S. Food and Drug Administration recommends reading nail-product labels, following warnings, and using these products with good ventilation. Stop if a product causes burning, itching, swelling, or a rash, and tell an adult.
Where can you learn more stamping techniques?
The paid Online Nail Stamping Course from Oh!Nice SPACE is taught by nail-art instructor Irina Kolobovnikova. The current program contains 10 self-paced English video lessons covering tools, pickup and transfer, common mistakes, reverse stamping, gradient stamping, and shadow stamping. It costs $15 as a one-time payment. A parent or legal guardian should manage a teen learner’s purchase and account, and the course does not provide professional certification or a nail-technician license.
Key takeaways
Reverse nail stamping works when you separate the process into dry outline, careful coloring, dry design, tacky base, and controlled transfer. Use a clear stamper, keep the color on the back of the image, and inspect the front before committing to the nail.
Patience matters more than speed. The outline and color must dry fully, while the glue must reach the transfer stage named on its label. Practice with simple images and a small number of colors before attempting detailed compositions.
Sources
- U.S. Food and Drug Administration: Nail Care Products
- Oh!Nice SPACE lessons 5–6: Reverse Stamping Part 1 and Reverse Stamping Part 2. Private paid course materials used with the school’s authorization.
Frequently Asked Questions
Is reverse stamping the same as making a nail decal?
Reverse stamping creates a small colored image on a stamper, so the finished piece behaves like a decal during transfer. The exact application method varies. This tutorial uses a thin layer of air-dry foil glue on the nail or practice tip because that is the method shown in the Oh!Nice SPACE lesson.
Can you use regular nail polish for reverse stamping?
A highly pigmented regular polish may work in some combinations, but stamping polish is more predictable for a thin, opaque outline and small colored sections. Test unfamiliar products on a practice tip and follow every label.
Do you color the front or back of the stamped image?
Color the back while the outline remains on the stamper. When you look through a clear stamper, the black lines stay in front of the color and appear crisp. Painting over the viewing side can cover those lines.
How long should reverse stamping dry?
There is no universal drying time. In Irina's classroom demonstration, the outline and colored design each rest for about five minutes. Your polish, layer thickness, temperature, and humidity can change that timing, so use the product directions and check that each layer is fully dry before the next step.
Why do you need foil glue for reverse stamping?
In this method, the dried design needs a tacky surface to leave the stamper and attach to the nail tip. A very thin layer of air-dry foil glue supplies that tack. Apply it only as its label directs and wait for the stated ready stage before transfer.
Can you reverse stamp without a clear stamper?
You can color a design on an opaque stamper, but alignment is harder because you cannot see the nail through the head. A clear stamper makes it easier to inspect the front of the artwork and place a small design accurately.