
On this page
- What tools do you need for a gel polish manicure at home?
- How should you prepare natural nails before gel polish?
- How do you apply gel nail polish at home step by step?
- 1. Apply a thin coat of base
- 2. Apply the first thin color coat
- 3. Clean the outline before curing
- 4. Cure according to the product instructions
- 5. Apply two coats of color if the product calls for them
- 6. Seal the manicure with top coat
- Beginner checklist for a DIY gel manicure
- Can you apply gel nail polish without a UV or LED lamp?
- How can a teen practice a gel manicure more safely?
- What causes gel polish to lift, wrinkle, or look uneven?
- How long does a gel manicure last, and how can you help it wear well?
- How do you remove gel polish at home without damage?
- What is a gel manicure, and how is it different from regular nail polish?
- Learn the complete gel manicure process
- Key takeaways
- Sources
- Frequently Asked Questions
To apply gel nail polish at home, start with clean, dry natural nails. Shape them gently, remove surface oil, add a thin base coat, apply thin color coats, and finish with top coat. Cure each layer with the UV or LED lamp and timing specified by the product manufacturer. Remove any uncured product from the skin before your hand goes into the lamp.
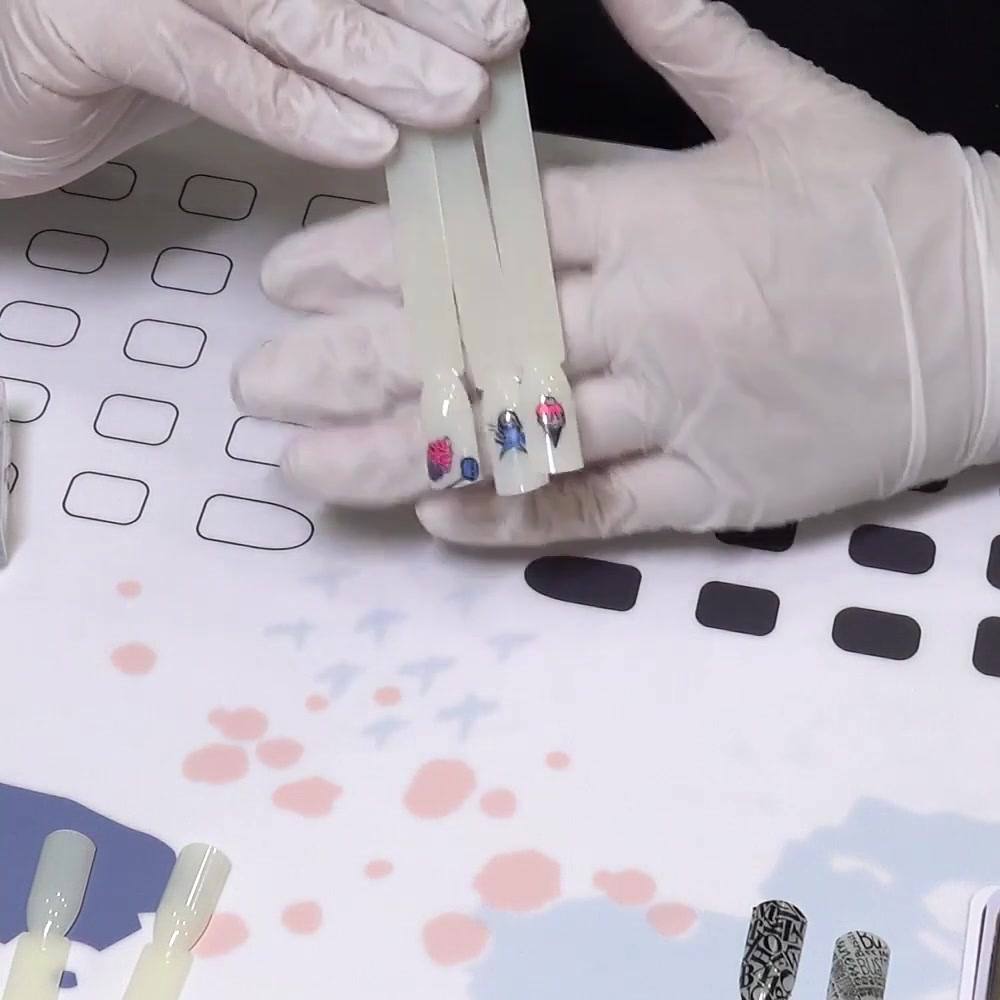
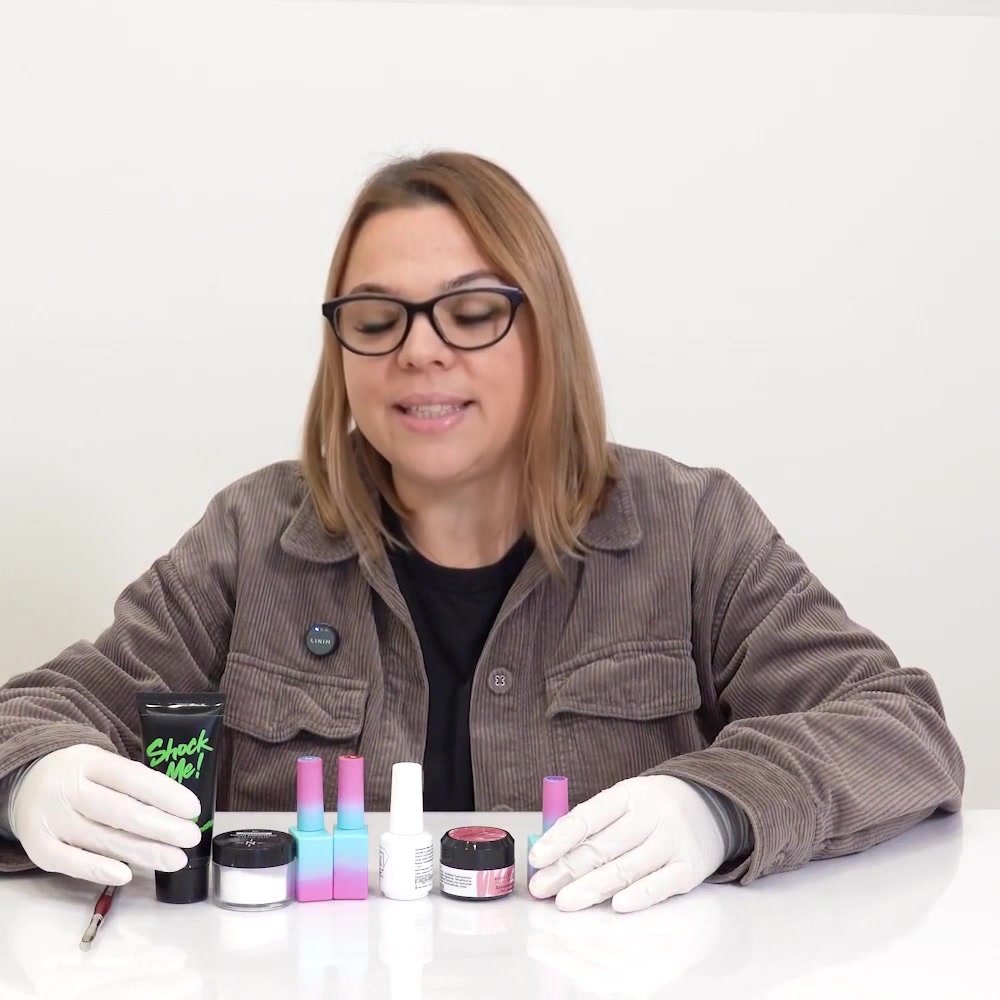
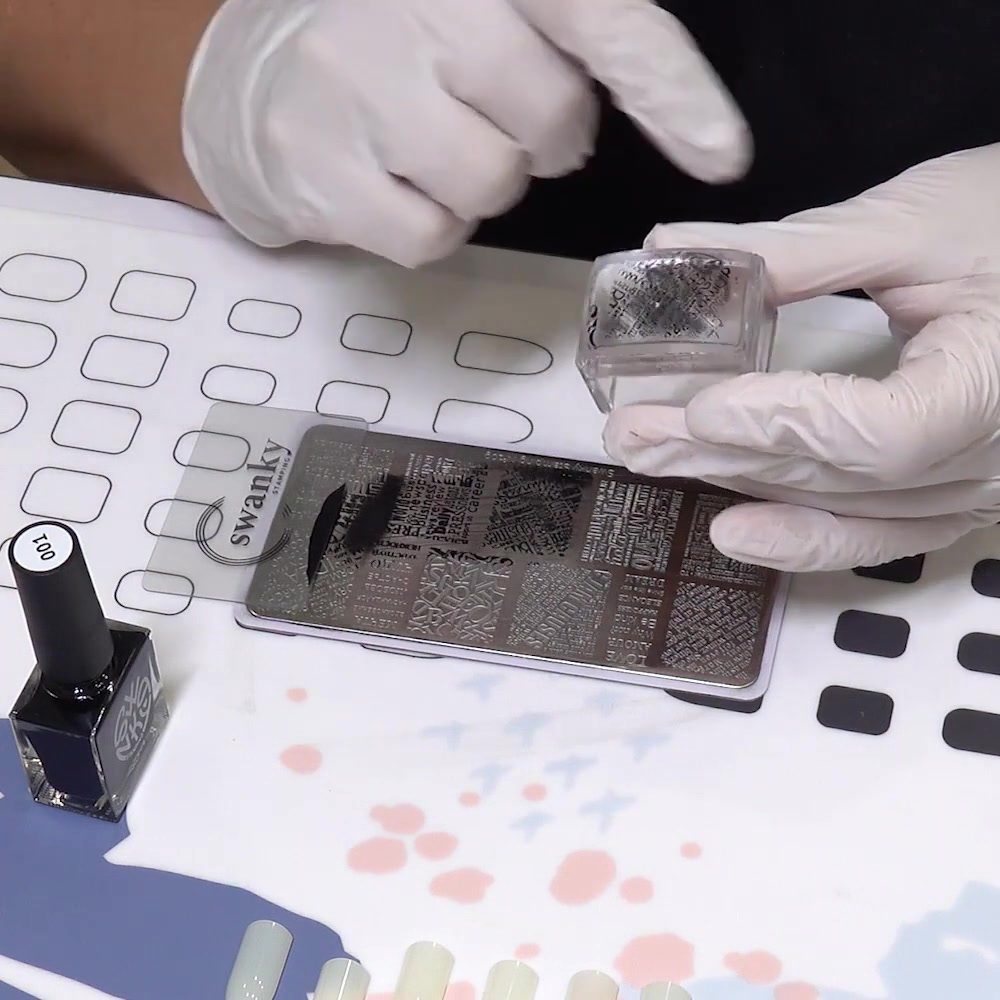
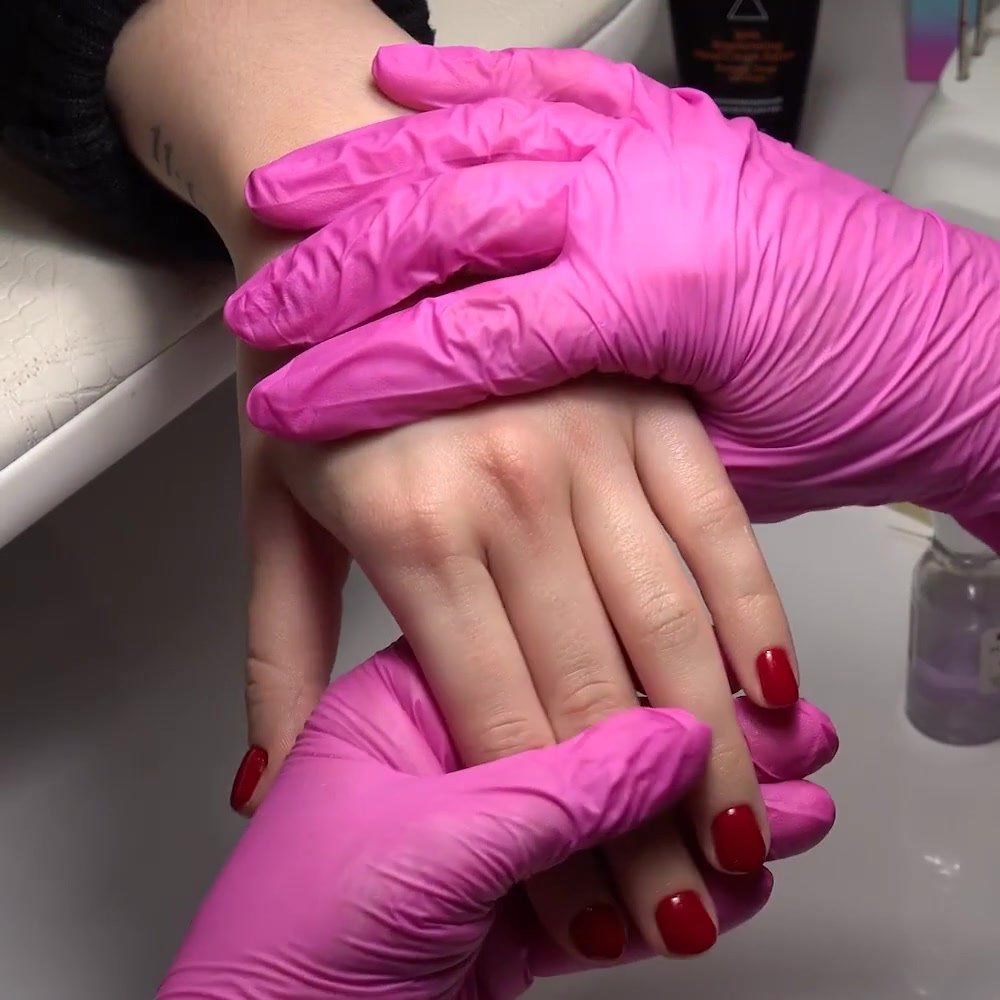
This beginner gel polish tutorial uses original frames from the Oh!Nice SPACE course demonstration. The lesson shows a short red manicure on a real model, including base application, two color coats, detail work, and top coat. The free guide simplifies the process for home practice and leaves e-file work, cuticle cutting, and structural leveling to supervised training.
What tools do you need for a gel polish manicure at home?
Set up your supplies before opening a bottle. Your gel products and curing lamp must be compatible, so check the labels rather than mixing an unknown lamp with an unrelated gel system.
| Item | What it does |
|---|---|
| Hand soap and clean towel | Cleans hands before nail prep |
| Nail file | Shapes the free edge without cutting the nail |
| Fine buffer, if the system requires it | Lightly removes surface shine |
| Lint-free wipes and nail cleanser | Removes dust, oil, and residue |
| Base coat | Creates the foundation for the color |
| Gel polish color | Adds the colored coating |
| Top coat | Seals the color and adds the final finish |
| Compatible UV or LED lamp | Cures each light-reactive layer |
| Orange wood stick or small cleanup brush | Removes wet gel from the skin before curing |
Use the cleanser, base, color, and top coat according to their own labels. Some gel manicure kits package compatible products and a lamp together, but you still need to read every instruction. A primer, dehydrator, builder gel, or liquid polygel is not automatically necessary for a basic manicure. The full course demonstration uses liquid polygel to level the model’s very short nails, but leveling is a separate technique from color application.
How should you prepare natural nails before gel polish?
Good nail prep leaves the nail plate clean, dry, and free of loose skin or product. It should not hurt. The American Academy of Dermatology advises against cutting or forcefully pushing back cuticles because the cuticle helps protect the nail area from infection.
Wash and dry your hands, then look closely at the nails and surrounding skin. Do not cover a nail that is painful, swollen, discolored, lifting from the nail bed, or otherwise unusual. Ask a parent and a healthcare professional what to do instead of hiding the change under gel.
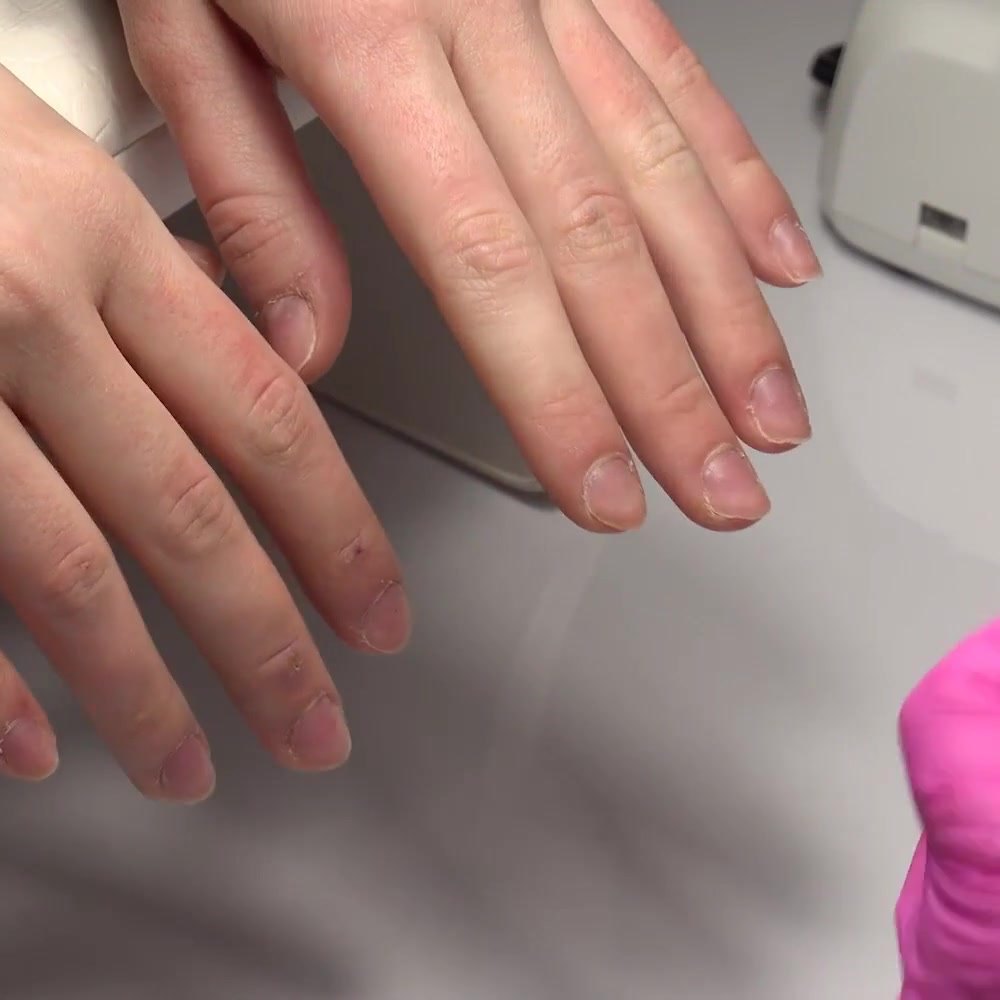
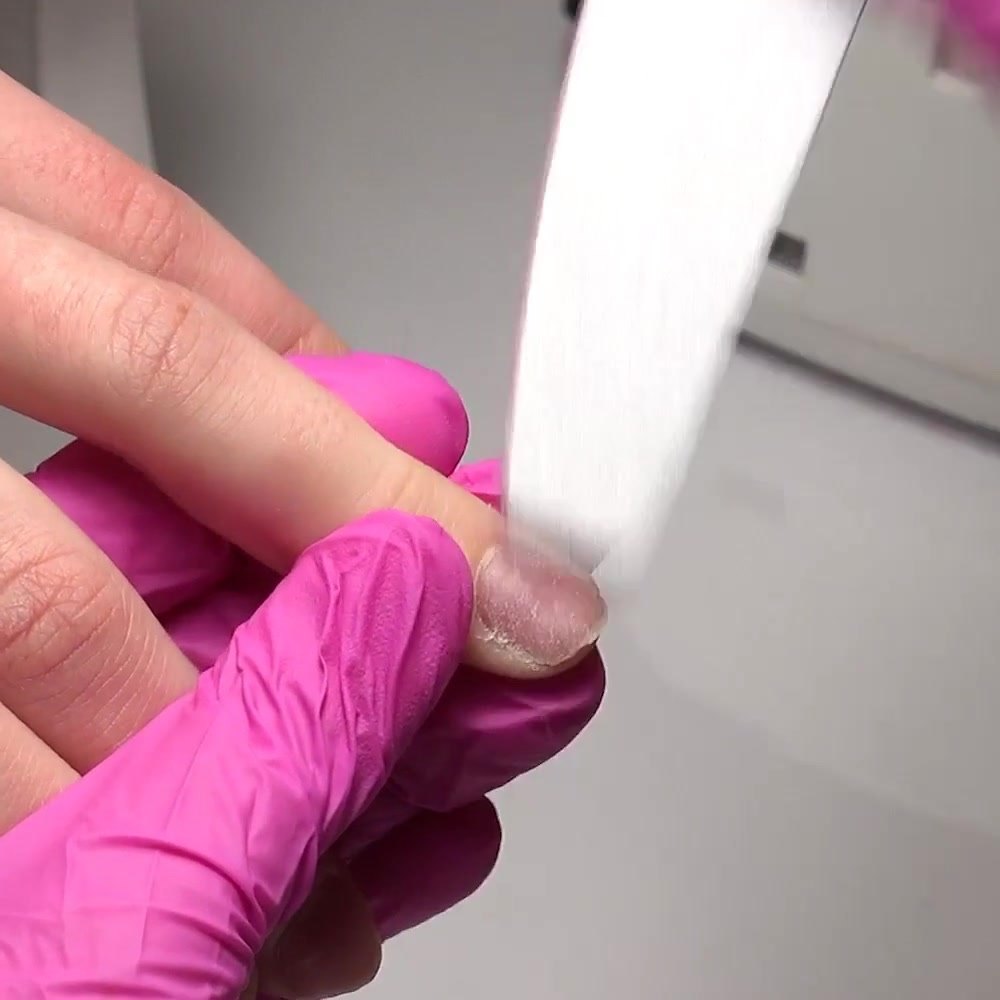
File your nails to the nail shape you want, then file the free edge smooth. If your system directs you to remove surface shine, use a fine buffer with light movements. The lesson demonstrates gentle one-direction strokes and warns against filing down the natural nail plate. Do not use a cuticle pusher to push back your cuticles aggressively.
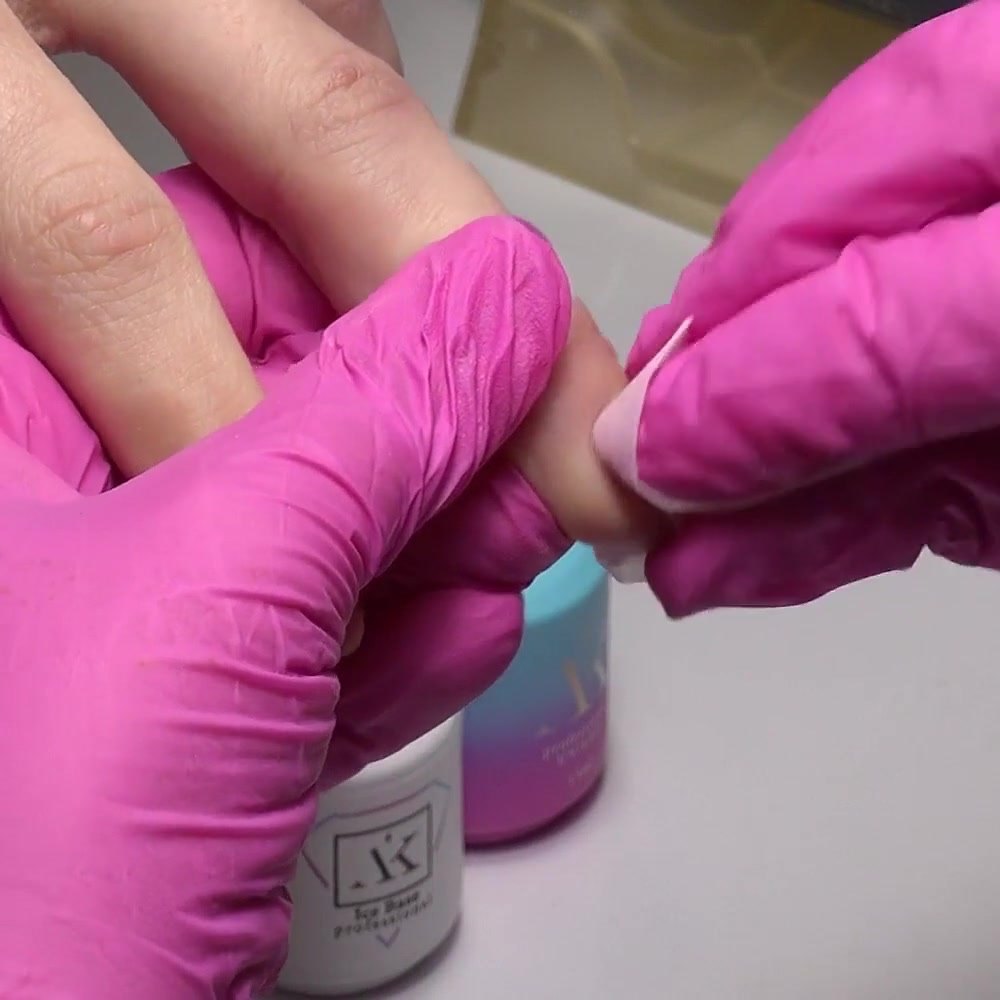
Brush away the dust. Wipe each nail with the cleanser recommended for your system, including the side areas, then let the nail dry completely. Do not touch the prepared nail plate with your fingertips because that can put oil back on the surface.
How do you apply gel nail polish at home step by step?
The basic order is base coat, color, color if needed, and top coat. Use thin, controlled layers. A thick layer can flood the skin or cure unevenly, while a nearly dry brush gives a beginner more control near the sidewalls.
1. Apply a thin coat of base
Wipe excess base from one side of the bottle brush. Place the brush in the center of the nail, guide a thin layer close to the cuticle without touching the skin, then pull it smoothly to the free edge. Cover the whole nail plate without creating a bulky ridge. If the label tells you to cap the free edge, sweep the brush lightly across the edge of your nail.
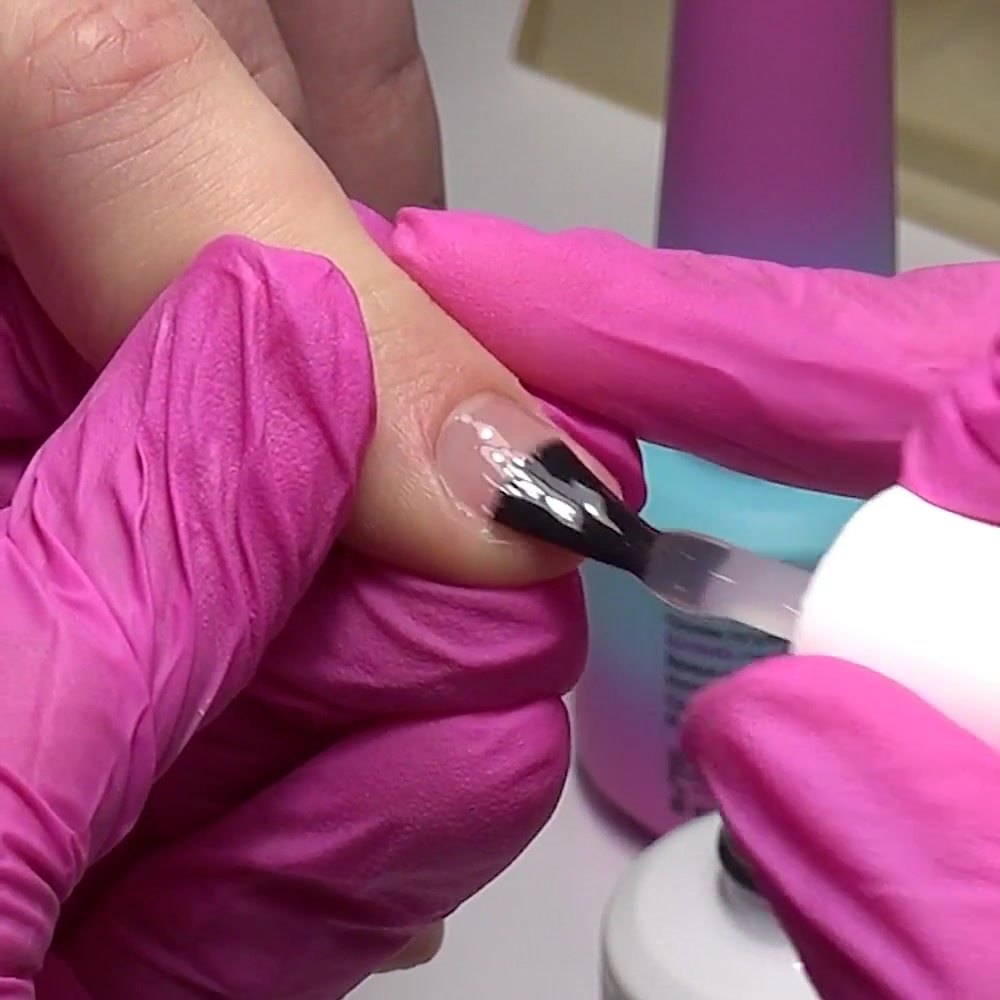
Check the sidewalls and the skin around the cuticle. If the base has run onto the skin, remove it while it is still wet. Cure the base only after the outline is clean, following the time listed for your product and lamp.
2. Apply the first thin color coat
Remove most of the color from the brush. Lay the brush almost parallel to the nail and apply the gel polish toward the tip. The first coat does not need to look fully opaque. A thin first layer gives you a cleaner foundation for the next coat.
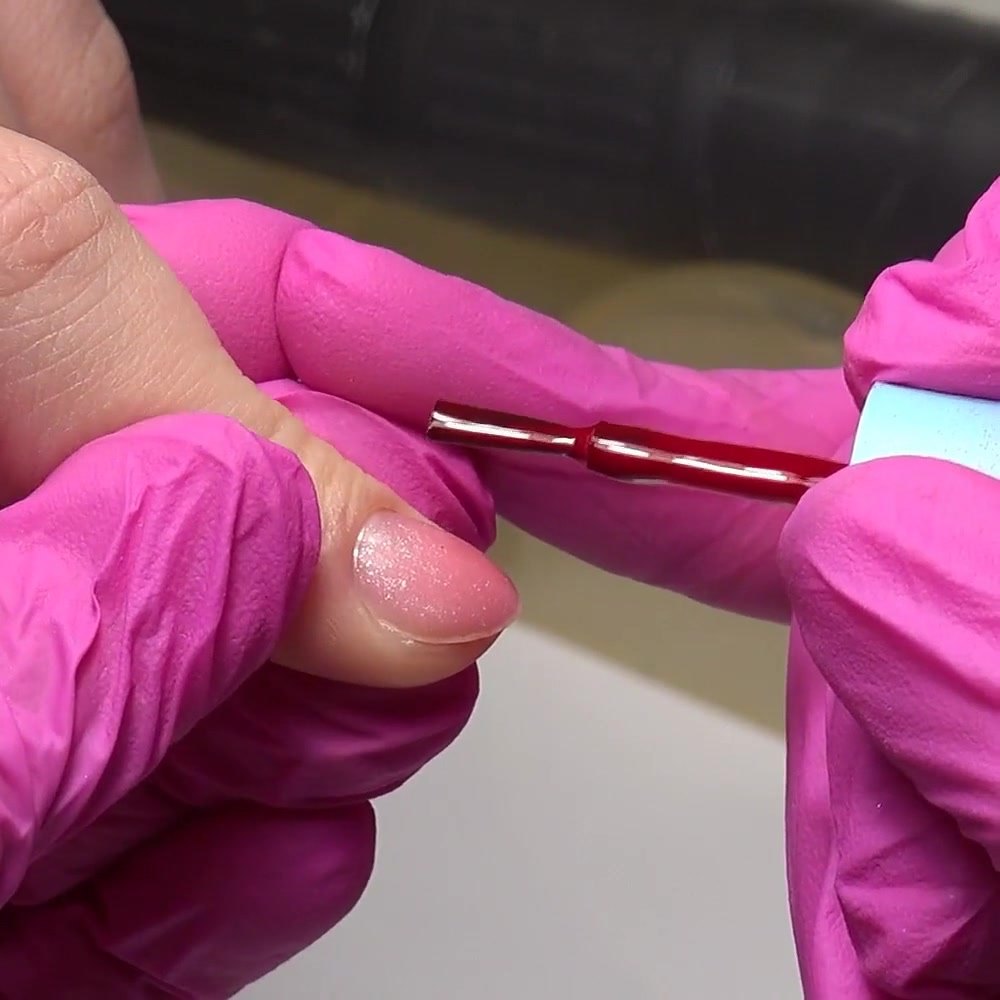
Keep a small gap between the wet gel and the skin. Painting farther onto the skin does not make the manicure last longer. It increases the chance that uncured product will touch the skin.
3. Clean the outline before curing
Inspect the nail from the front and both sides. Use a clean orange wood stick or the cleanup tool recommended for your system to lift away any wet product that touched the skin. Do this before curing because cured gel is harder to correct safely.
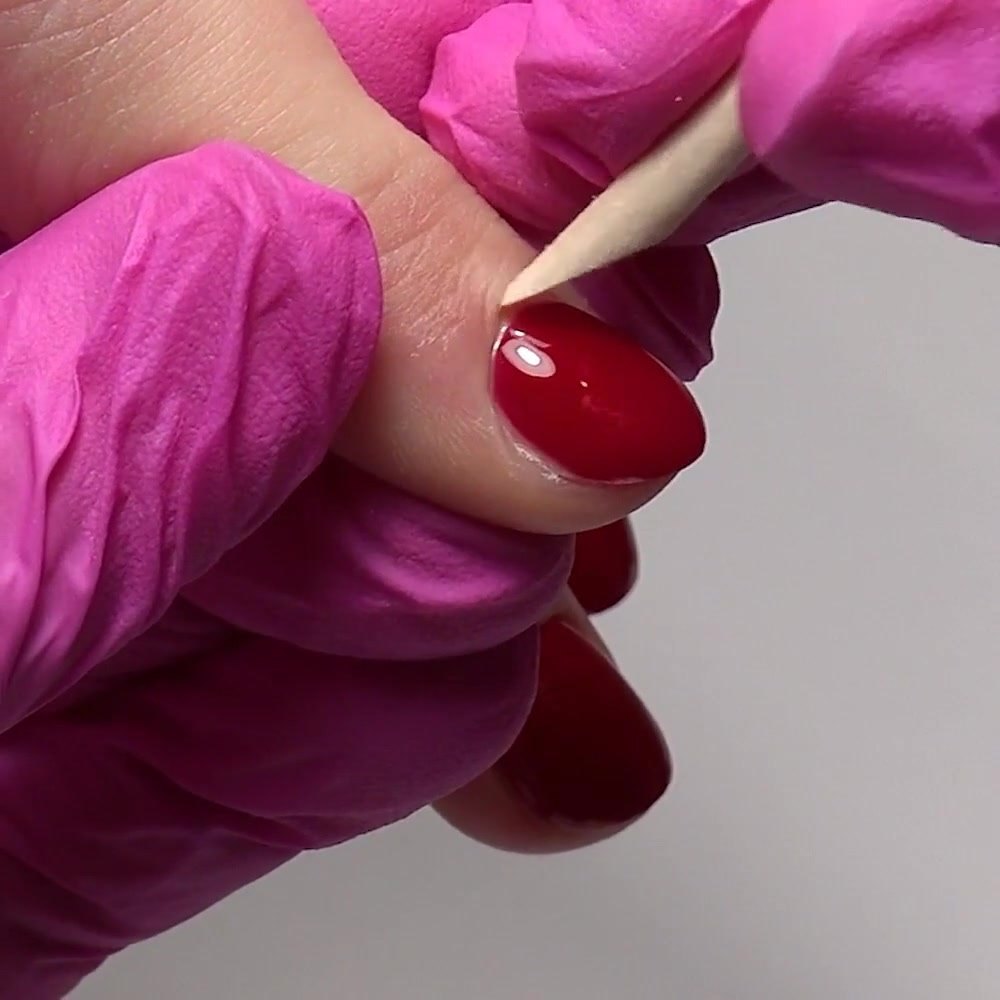
The U.S. Food and Drug Administration advises consumers to follow nail-product directions and warnings, maintain good ventilation, and avoid skin contact with sensitizing methacrylate ingredients. If wet gel repeatedly reaches the skin, stop and practice brush control on a nail tip before trying again.
4. Cure according to the product instructions
Place the whole hand flat inside the compatible lamp. Keep the fingers separated so each nail receives the intended light. Cure each coat for the exact time specified by the manufacturer. A tutorial cannot supply one correct time for every formula and lamp.
Do not interrupt the cycle because the surface looks dry. Gel cures through a light-triggered reaction; incomplete curing can leave reactive material in the coating. If a brand specifies its own lamp, base, color, and top as a system, follow that system.
5. Apply two coats of color if the product calls for them
Repeat the same controlled polish application after the first coat has cured. The photographed lesson uses two coats of color, both thin, for even red coverage. A small detail brush helps the instructor refine the edge without loading the nail with extra product.
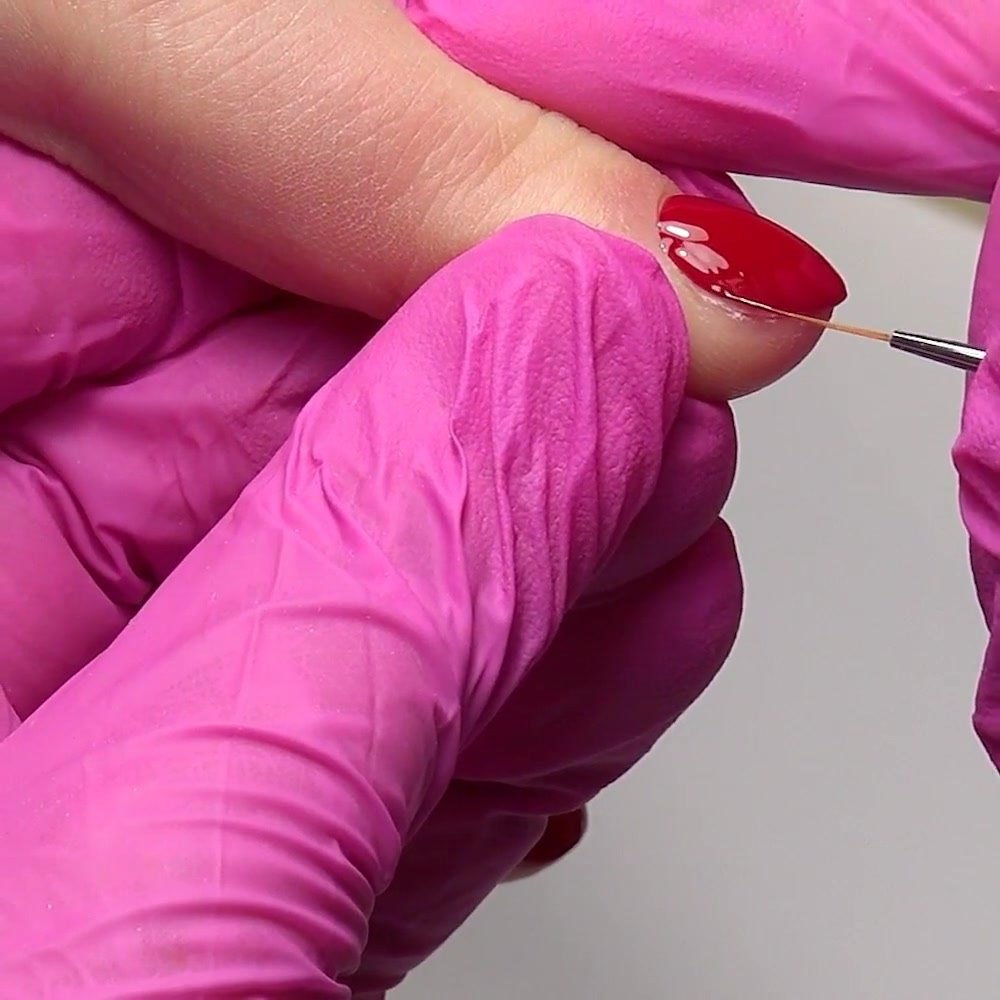
Check for gel on the skin again, clean it while wet, and cure according to the label. Avoid adding an extra thick coat to hide streaks. Thin layers are easier to control and cure as the manufacturer intended.
6. Seal the manicure with top coat
Apply top coat in a thin, even layer. Look at the reflection on the nail to find dry gaps, then smooth the surface without repeatedly brushing it. This final layer seals in the color and creates the glossy finish. Clean the skin once more and complete the specified cure.
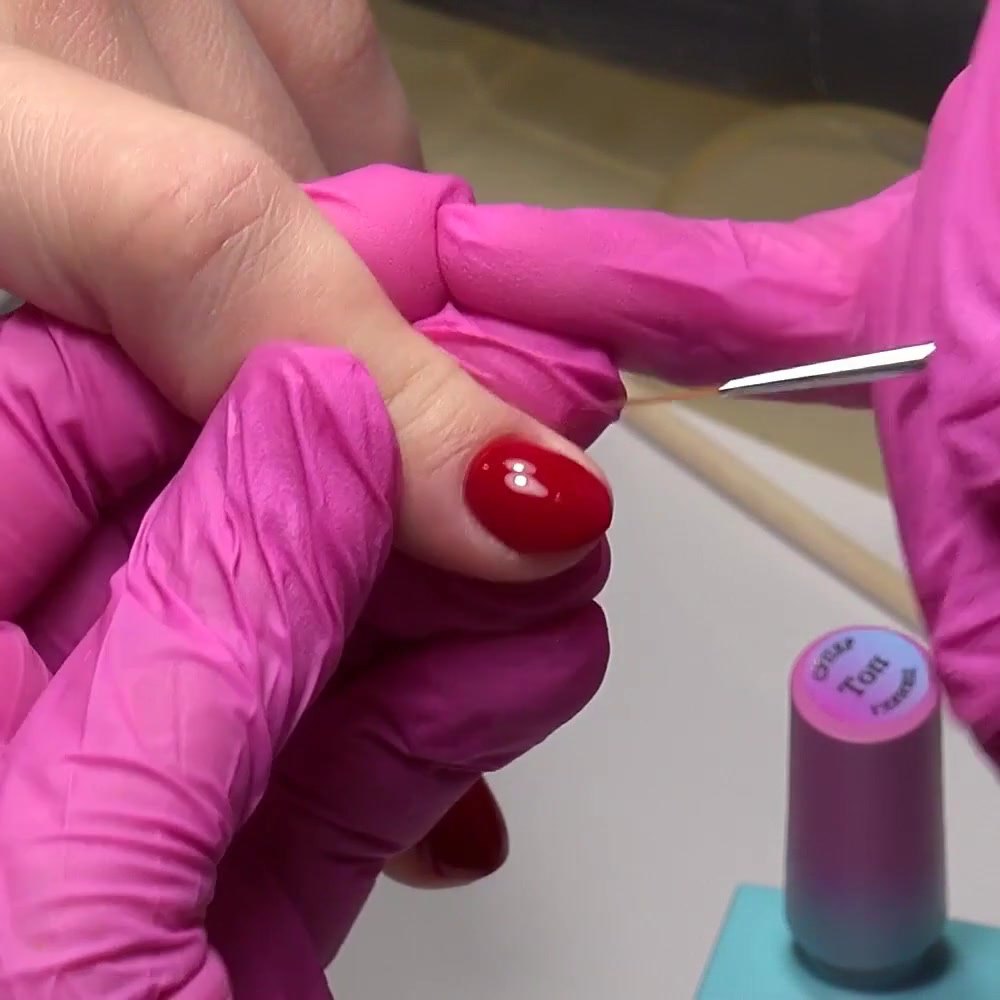
Some top coats are no-wipe. Others leave a tacky inhibition layer that must be removed with a specified cleanser after curing. Read the bottle before wiping. Finish with cuticle oil only after the coating is fully cured and any required cleansing is complete.
Beginner checklist for a DIY gel manicure
This guide to gel nails at home comes down to a short repeatable sequence: clean your nails, create a smooth surface without thinning them, apply a thin layer at each stage, and clean the edges of the nail before curing. Careful prep helps the coating adhere. The goal is control, not learning to polish perfectly on the first try.
Can you apply gel nail polish without a UV or LED lamp?
No. True gel nail polish contains light-reactive ingredients and needs the compatible lamp named by its manufacturer. A product described as “gel-like” may air-dry like regular nail polish, but it is a different formula. Do not expect a true gel coating to set safely in room light.
Both traditional UV lamps and LED nail lamps expose the hands to ultraviolet light. The American Academy of Dermatology notes that an LED lamp cures more quickly and emits less UV radiation than a traditional UV curing light, but neither choice replaces the product maker’s compatibility and exposure directions.
How can a teen practice a gel manicure more safely?
An adult should supervise practical work with gels, electrical equipment, removers, and sharp tools. Start with a straightforward color manicure on healthy natural nails. Skip the e-file, cuticle scissors, extensions, and structural gel until you have hands-on instruction and enough control to use them without touching skin or thinning the nail plate.
Keep uncured product from getting onto your skin. The FDA notes that nail products can cause allergic reactions, and advises reading the label and following warnings. Stop using the product if you develop itching, burning, redness, swelling, blisters, or another reaction. Tell a parent and contact a dermatologist or other healthcare professional; do not cover the reaction with another manicure.
UV exposure also deserves attention. The American Academy of Dermatology recommends applying a broad-spectrum, water-resistant SPF 30 or higher sunscreen to the hands before a gel manicure, or wearing dark opaque gloves with the fingertips cut out. Keep sunscreen off the prepared nail plate so it does not interfere with adhesion.
Work in a ventilated room, close bottles when you finish, and keep gel and remover away from heat, flames, eyes, younger children, and pets. Follow the product label for storage and disposal.
What causes gel polish to lift, wrinkle, or look uneven?
The coating lifts near the cuticle. Wet gel may have touched skin, or oil, dust, and loose tissue may have remained on the nail plate. Clean the nail carefully and leave a controlled gap around the skin on the next attempt.
The color wrinkles after curing. The layer may be too thick, the lamp may be incompatible, or the curing cycle may be incomplete. Remove the coating according to the brand instructions and review the full system before reapplying.
The surface has streaks. Use less product and keep the brush nearly parallel to the nail. Let the first coat remain translucent instead of trying to create full coverage at once.
The gel runs into the sidewalls. Wipe more product from the brush and work one nail at a time. Clean the outline before curing.
The top stays tacky. Check whether the top coat has an inhibition layer. If it is supposed to be no-wipe, a tacky finish can signal an incompatible lamp, the wrong cure, or a product problem.
The gel starts peeling. Do not pick it off. Peeling can lift layers from the natural nail. Follow the manufacturer’s removal directions or ask a trained nail professional for help.
How long does a gel manicure last, and how can you help it wear well?
Longevity starts with prep and application: clean your nails, keep oil and dust off the prepared surface, use thin layers, remove wet product from the surrounding skin, and cure each coat exactly as directed. Gloves can protect a finished manicure during dishwashing or cleaning. Cuticle oil can moisturize the skin after the coating is fully cured.
No tutorial can promise a fixed wear time. Long-lasting gel manicures are sometimes advertised as lasting weeks without chipping, but nail condition, product compatibility, technique, daily activities, and safe removal all affect the result. Improper prep can cause the polish to lift, and a damaged or thin nail may need time without coating. Using gel safely matters more than making a gel mani last over two weeks. If one edge lifts, do not glue it down or peel the rest away; follow the system’s removal instructions.
How do you remove gel polish at home without damage?
Never scrape or peel gel from the nail surface. Start with the brand’s removal directions because some coatings are soak-off products and others require professional removal. If the system is soak-off, the American Academy of Dermatology recommends applying acetone only to the fingertips and holding acetone-soaked cotton on each nail with small pieces of aluminum foil. The AAD says the polish should come off after about 15 minutes; if it does not, stop rather than forcing it.
Wash your hands afterward and moisturize the nails and cuticles. If the coating does not soften as the instructions describe, stop rather than digging at the nail plate. Ask a trained nail professional for help.
What is a gel manicure, and how is it different from regular nail polish?
Regular nail polish dries as its solvents evaporate. Gel nail polish is a light-reactive coating for natural or artificial nails and needs a compatible UV light or LED lamp. Proper nail prep supports adhesion, while correct removal helps keep nails healthy. Those differences change the application, correction, and removal process.
| Feature | Gel polish | Regular nail polish |
|---|---|---|
| How it sets | Cures in a compatible lamp | Air-dries |
| Application | Base, thin color layers, and top coat are cured in stages | Layers dry in air between coats |
| Skin cleanup | Wet product must be removed before curing | Wet polish can be cleaned before it dries |
| Removal | Requires the system’s removal method; a soak-off formula may use acetone | Usually removed with regular polish remover |
| Beginner concern | Compatibility and complete curing | Smudging before fully dry |
Choose regular polish if you want to practice brush control without a lamp. Move to gel when you can keep the outline clean and are ready to follow one compatible product system from preparation through removal.
Learn the complete gel manicure process
The paid Gel Polish Manicure Course for Beginners shows the full sequence from nail anatomy, disinfection, tools, and hand-control exercises to two model demonstrations. The course includes the base-gel leveling and red gel polish application shown in these photos. Visit the course page for the current curriculum, price, access terms, and parent guidance.
For designs you can practice with regular polish, see our guide to easy nail art at home.
Key takeaways
- Prepare clean, dry nails without aggressively filing or cutting the cuticle.
- Apply base, color, and top coat in thin layers, cleaning wet gel from the skin before every cure.
- Use compatible products and follow the manufacturer’s lamp and curing directions.
- Ask an adult to supervise teen practice, and stop if the skin or nails react.
Sources
- American Academy of Dermatology: Gel manicures, tips for healthy nails
- American Academy of Dermatology: Artificial nails, tips for reducing nail damage
- American Academy of Dermatology: Manicure and pedicure safety
- U.S. Food and Drug Administration: Nail Care Products
Frequently Asked Questions
Can beginners apply gel polish at home?
Yes, if you use compatible products and a suitable curing lamp, follow every label, keep uncured gel off your skin, and have an adult supervise teen practice. Start with a simple color manicure rather than an e-file, cuticle cutting, extensions, or advanced gel structure.
Can you apply gel nail polish without a UV or LED lamp?
No. True gel nail polish needs the compatible lamp specified by its manufacturer. Products sold as a gel-like regular polish may air-dry, but they are a different formula.
How many coats of gel polish should a beginner apply?
Apply the number of thin color coats recommended by the polish manufacturer. Two thin coats are common and are used in the photographed lesson, but an opaque or sheer product may have different instructions.
How long should each gel polish layer cure?
Use the curing time printed by the manufacturer for your compatible lamp. Do not copy a universal time from a tutorial because formulas, lamp types, and lamp power vary.
Why does gel polish peel off?
Common causes include product on the skin or cuticle, oil or moisture left on the nail plate, layers that are too thick, incompatible products, or incomplete curing. Do not pick or peel the coating from the nail.
How do you remove gel polish at home?
Follow the removal directions for your product. For a soak-off system, the American Academy of Dermatology recommends applying acetone to the fingertips only, using acetone-soaked cotton held with small pieces of aluminum foil, and never picking the coating off.