
On this page
- What do you need for nail stamping?
- How should you prepare your nails and workspace?
- How do you stamp a nail design step by step?
- 1. Apply stamping polish over the engraving
- 2. Scrape once at an angle
- 3. Roll the stamper over the design
- 4. Remove unwanted parts with tape
- 5. Roll the image onto the nail
- 6. Let the pattern dry and add top coat
- What are the most useful nail stamping tips for beginners?
- Why is your nail stamper not picking up the design?
- How can teens practice nail stamping more safely?
- Where can you learn the complete stamping techniques?
- Key takeaways
- Sources
- Frequently Asked Questions
Nail stamping transfers an engraved pattern from a metal plate to a nail with a silicone stamper. For a clean result, cover the engraving with stamping polish, scrape once at an angle, roll the stamper over the design with light pressure, and roll the image onto the nail before the polish dries.
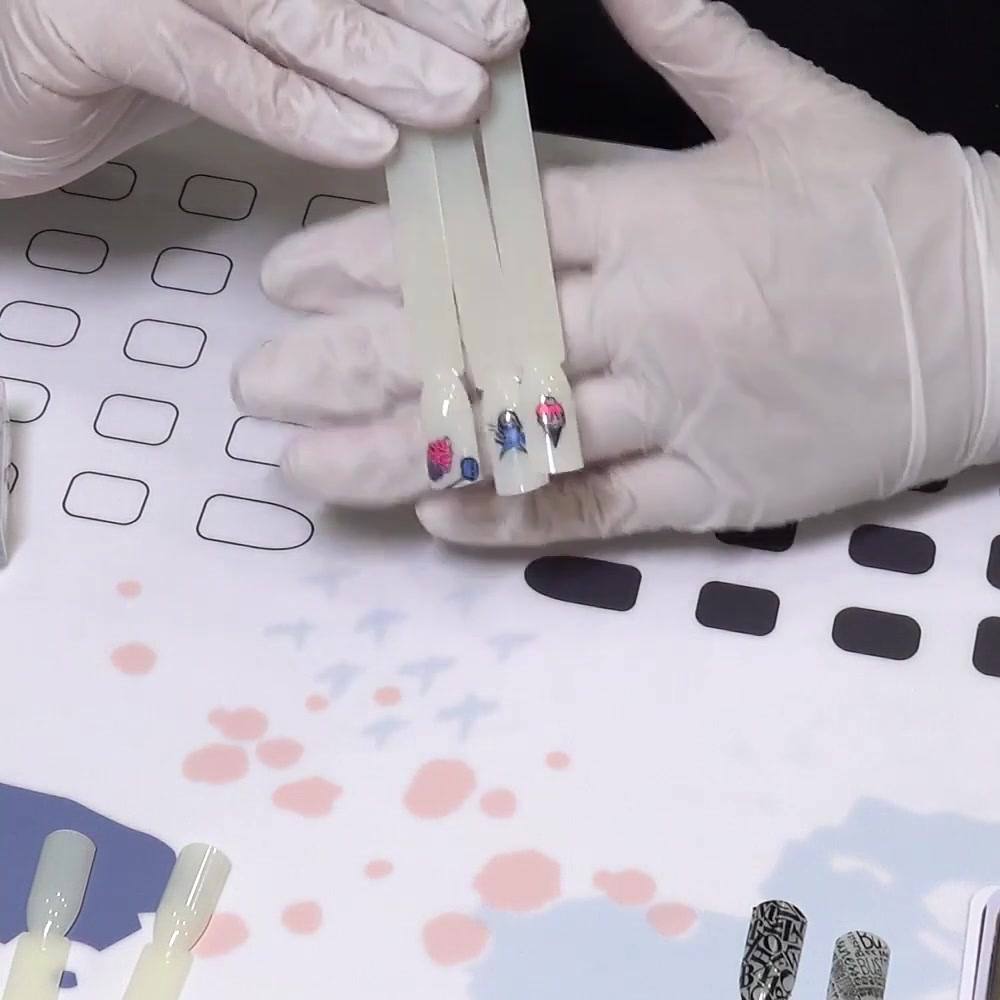
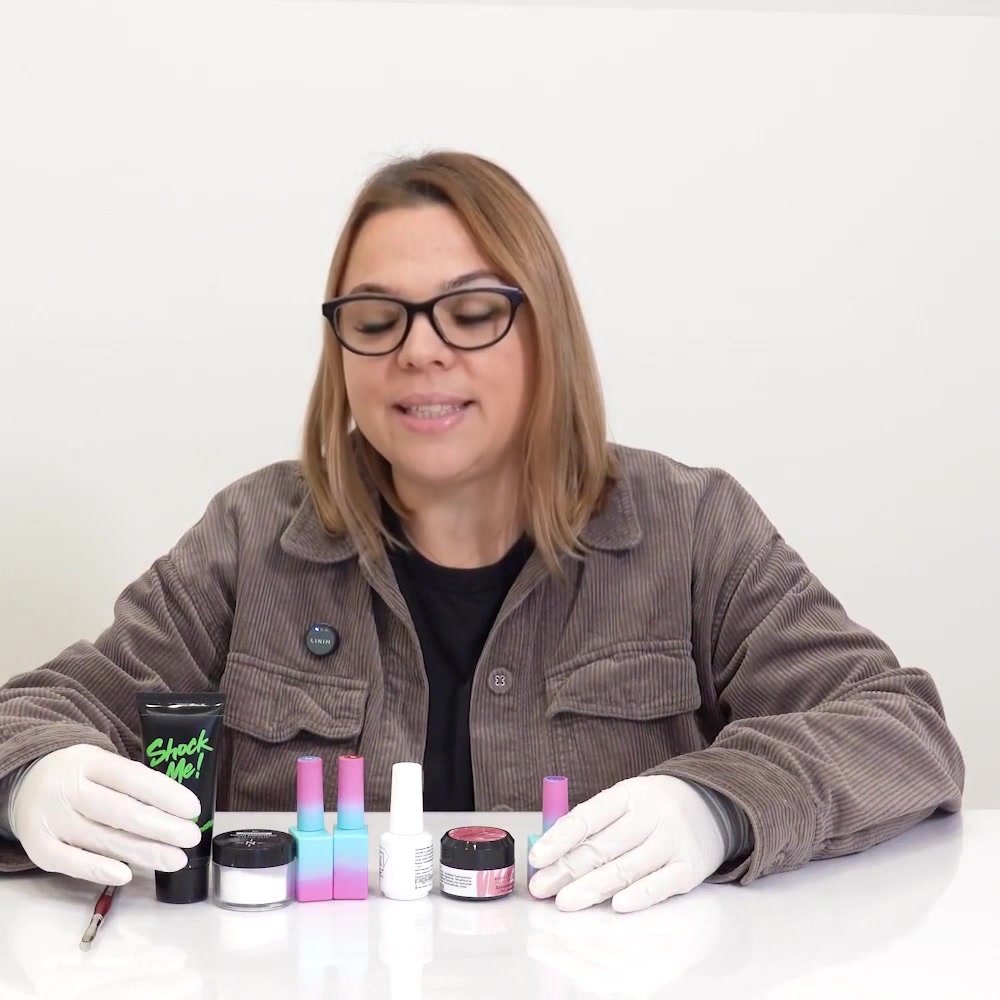
This nail stamping tutorial uses original frames from the first four lessons of the Oh!Nice SPACE stamping course. The photos show the actual tools, hand positions, and pattern-transfer practice demonstrated by the instructor. The complete videos remain inside the paid course.
Quick answer:
- Set out the plate, stamping polish, scraper, stamper, tape or a lint roller, and cleanup supplies before you begin.
- Work quickly because stamping polish starts drying as soon as it is spread across the plate.
- Hold the scraper at an angle and clear the excess with one controlled pass.
- Pick up and transfer the design with a gentle rolling motion. Pressing straight down can leave gaps.
- Clean a soft stamper head with tape or a lint roller unless its manufacturer gives different instructions.
- Practice on nail tips before working on your own nails.
What do you need for nail stamping?
A basic nail stamping kit needs four core tools: an engraved plate, stamping polish, a scraper, and a stamper. Add a sticky lint roller or tape for cleaning the stamper head, plus the cleanup supplies recommended for your plate and polish.
| Tool | What it does | Beginner check |
|---|---|---|
| Stamping plate | Holds the design in a shallow engraving | Remove any protective film before the first use |
| Stamping polish | Fills the engraved pattern | Use an opaque formula that the label identifies for stamping |
| Scraper | Pulls excess polish off the plate | Use a flexible card with a clean edge |
| Silicone stamper | Picks up and transfers the image | Keep the head free of lint, oil, and deep scratches |
| Tape or lint roller | Lifts dried polish from the stamper | Touch only the sticky surface to the stamper head |
| Cotton pads or lint-free wipes | Clean the plate and scraper | Use the cleaner recommended by the product maker |
| Practice nail tips | Let you repeat the movement safely | Choose a light tip when learning with dark polish |
| Base color and top coat | Prepare and seal the finished nail | Follow their drying or curing directions |
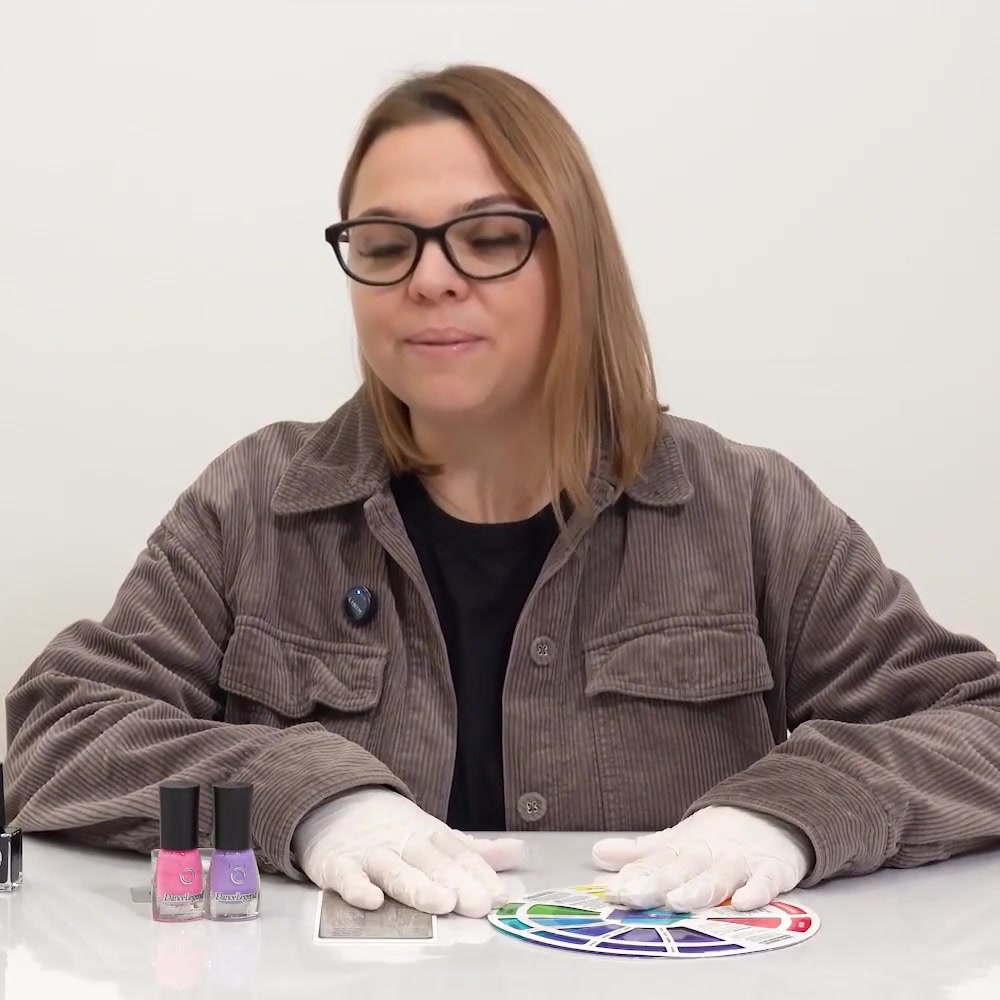
Stamping polish is usually more opaque than regular nail polish and is designed to leave a visible pattern in one transfer. In the lesson, the instructor also explains that it dries quickly. That makes preparation and hand position more useful than trying to correct the image after it has already dried on the plate.
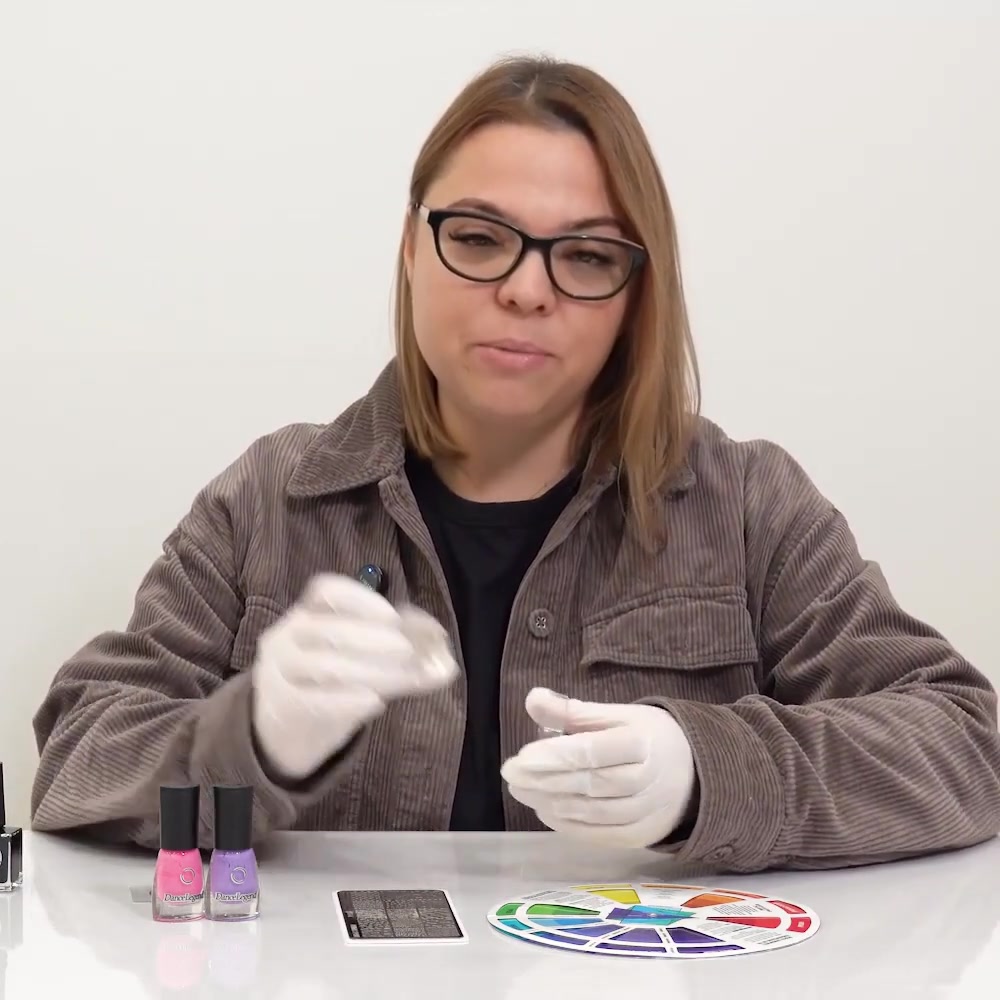
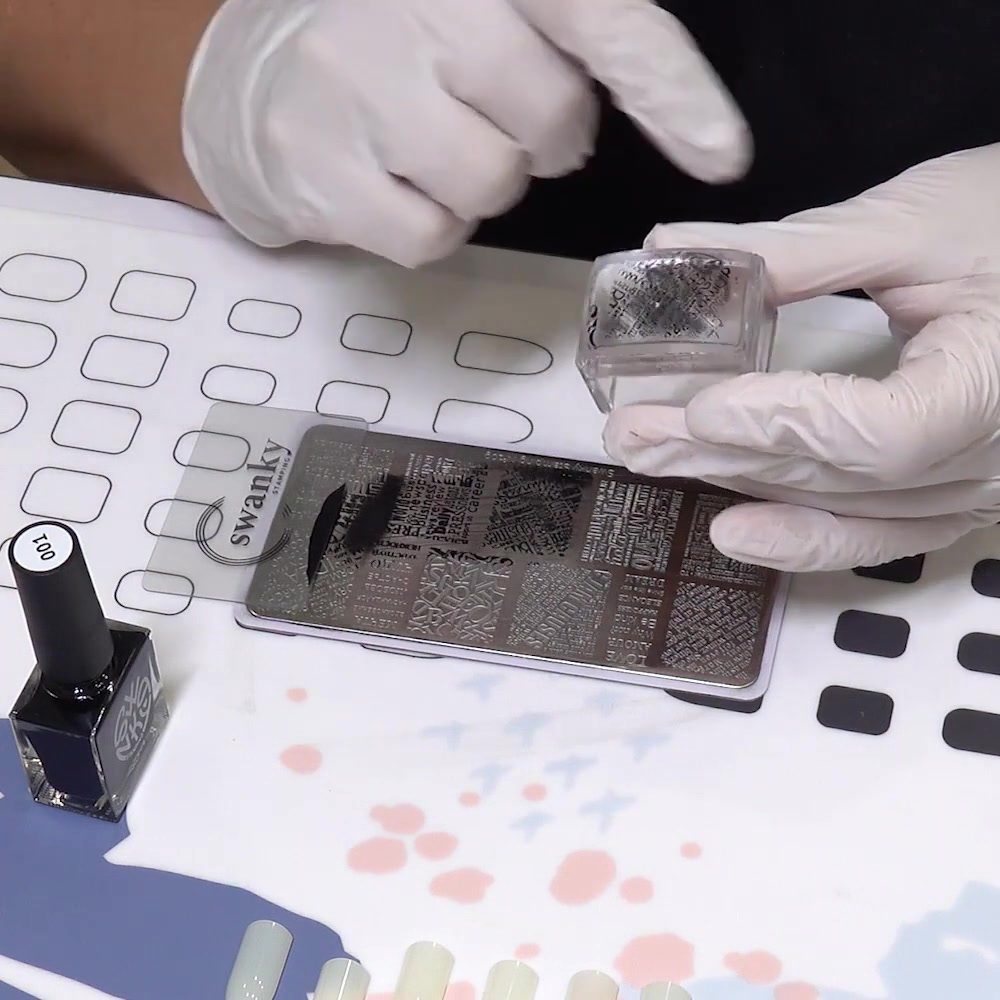
The clear stamper shown in the photos lets you look through the head while positioning the image. An opaque stamper can still transfer a pattern, but you will have less visibility during placement. Whichever type you use, follow its care instructions. Strong cleaners can cloud or damage some soft stamper heads.
How should you prepare your nails and workspace?
Arrange the workspace so every tool is within one hand movement. If you are right-handed, keep the open polish where you can reach it without crossing over the plate. Hold the scraper and stamper ready in the other hand. Reverse the setup if you are left-handed.
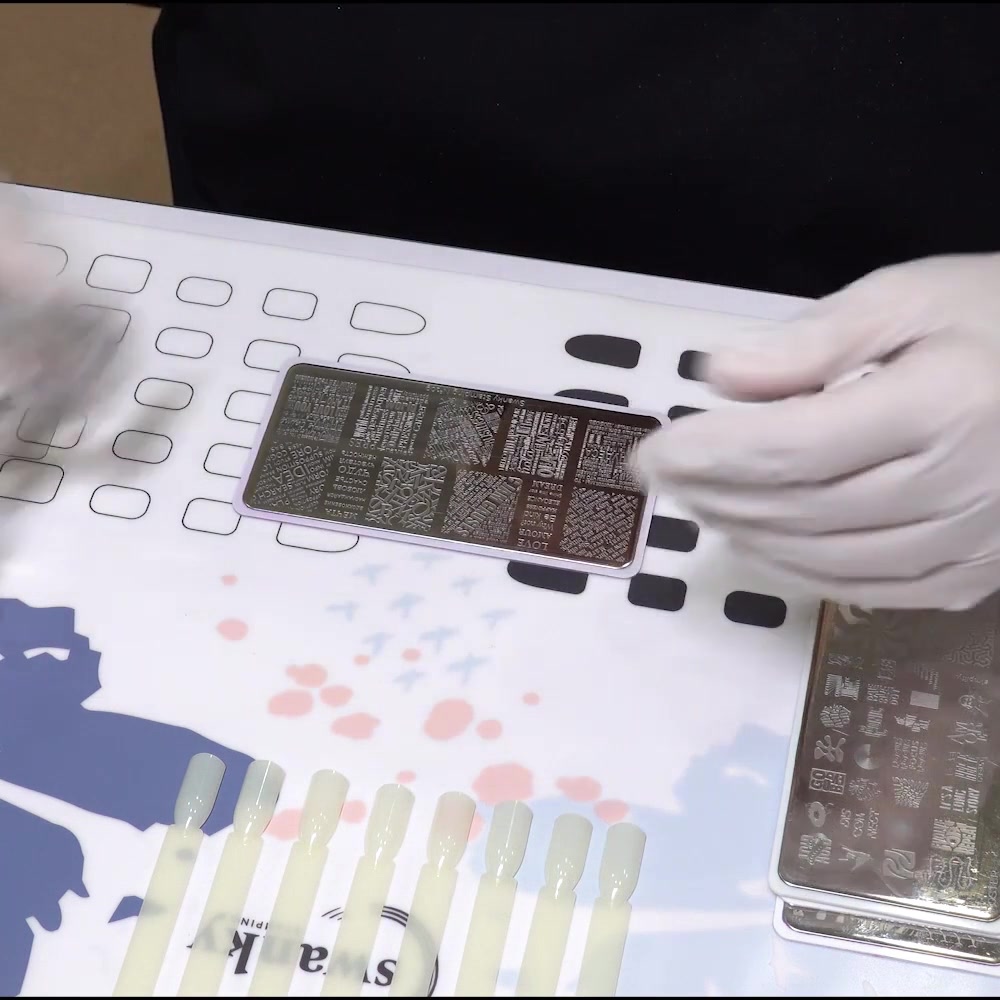
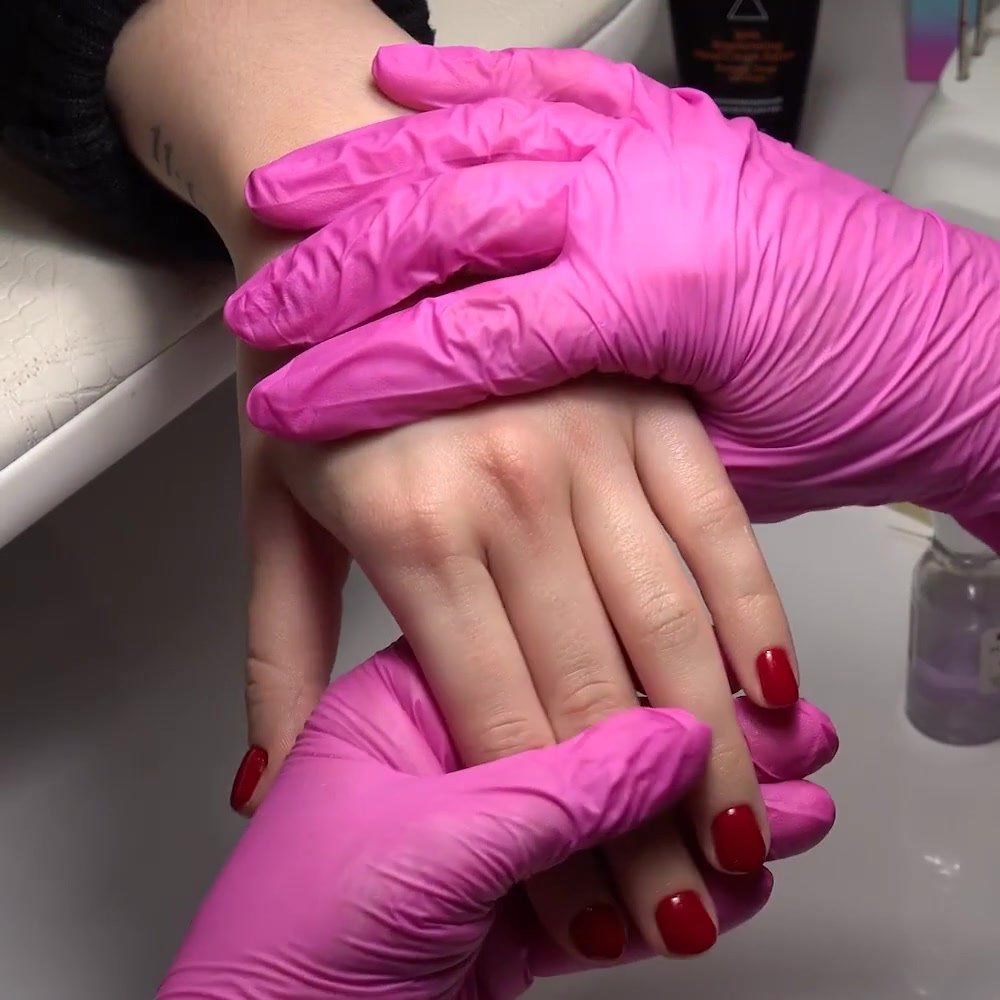
Start with a dry base color. Regular lacquer should be fully dry before stamping. If you use a gel-polish base, cure it exactly as its product system directs before adding the stamped design. The stamping layer itself may use traditional stamping polish, so do not assume that every product on the table cures the same way.
Protect the table with a silicone mat or another surface approved for nail work. Open a window or use another source of good ventilation. The U.S. Food and Drug Administration advises users to read nail-product labels, follow all warnings, keep products away from eyes and heat sources, and maintain good ventilation.
Do not cut or forcefully push back your cuticles to prepare for stamping. The American Academy of Dermatology recommends leaving cuticles intact because they help protect the nail area from infection. If the skin around a nail is cut, swollen, painful, or irritated, wait until it has recovered instead of covering the area with polish.
How do you stamp a nail design step by step?
The working sequence is short: apply, scrape, pick up, inspect, transfer, and seal. Read through all six steps before opening the polish so you do not have to pause in the middle.
1. Apply stamping polish over the engraving
Shake or roll the bottle only as its label recommends. Pull out enough polish to cover the chosen engraving, then brush the color across that section of the plate. You do not need to paint the whole plate when you are using one small design.
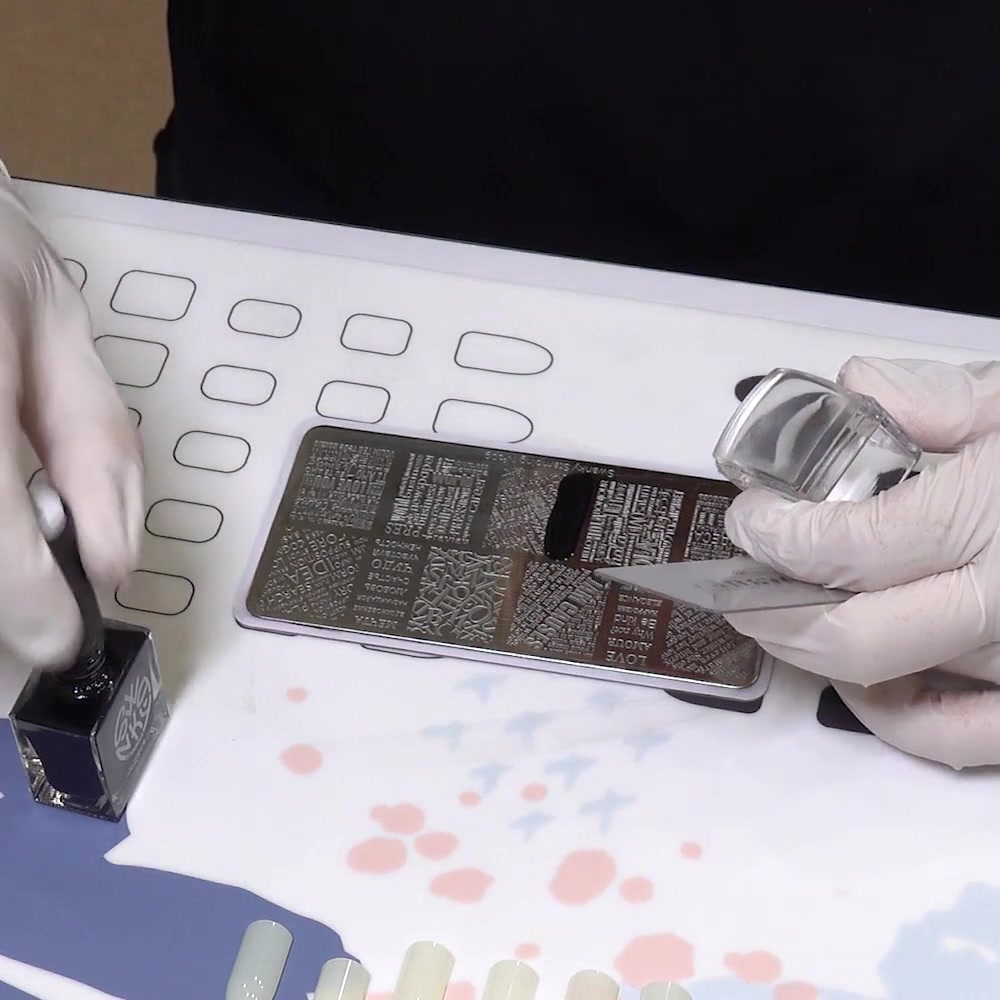
Use enough polish to fill the grooves. A tiny, nearly dry brushstroke can leave parts of the pattern empty. Close the bottle between attempts if you are pausing to clean or reposition tools.
2. Scrape once at an angle
Place the scraper at an angle instead of holding it upright. Pull it across the design in one quick, controlled pass. The aim is to remove the surface polish while leaving color inside the engraving.
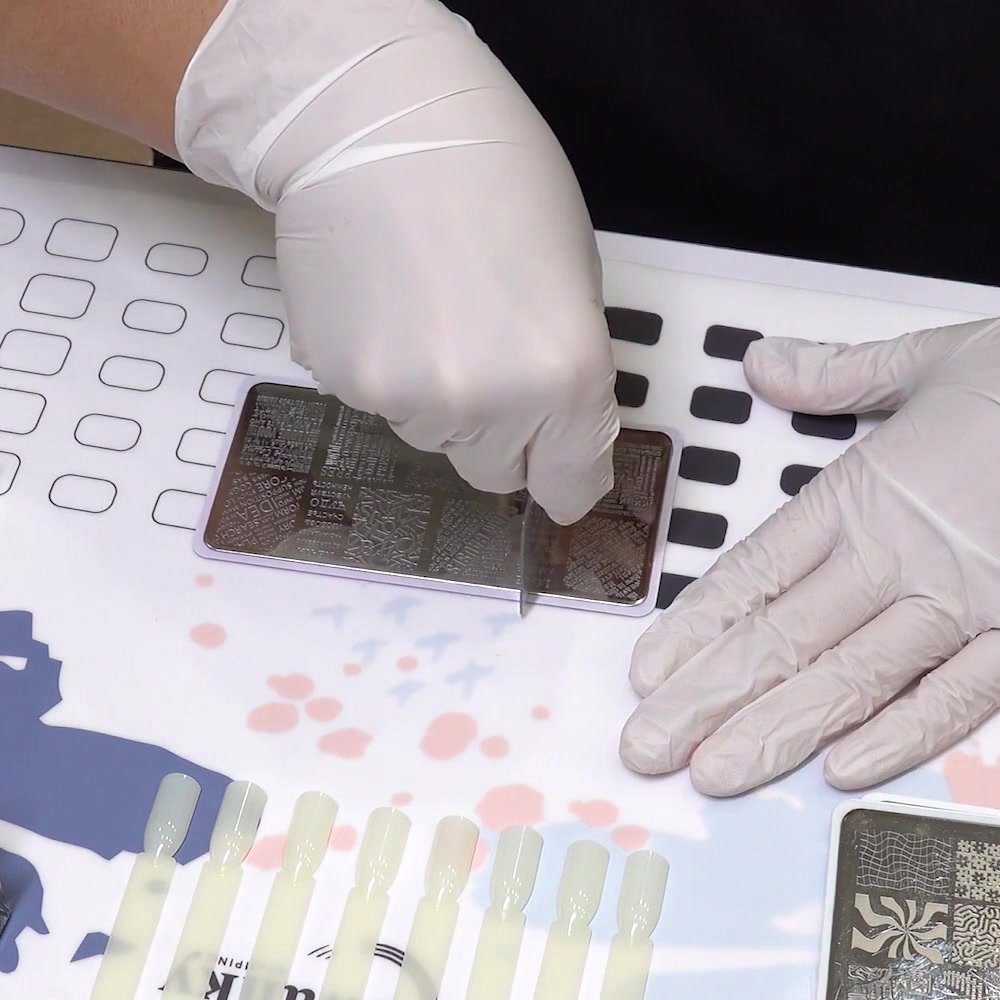
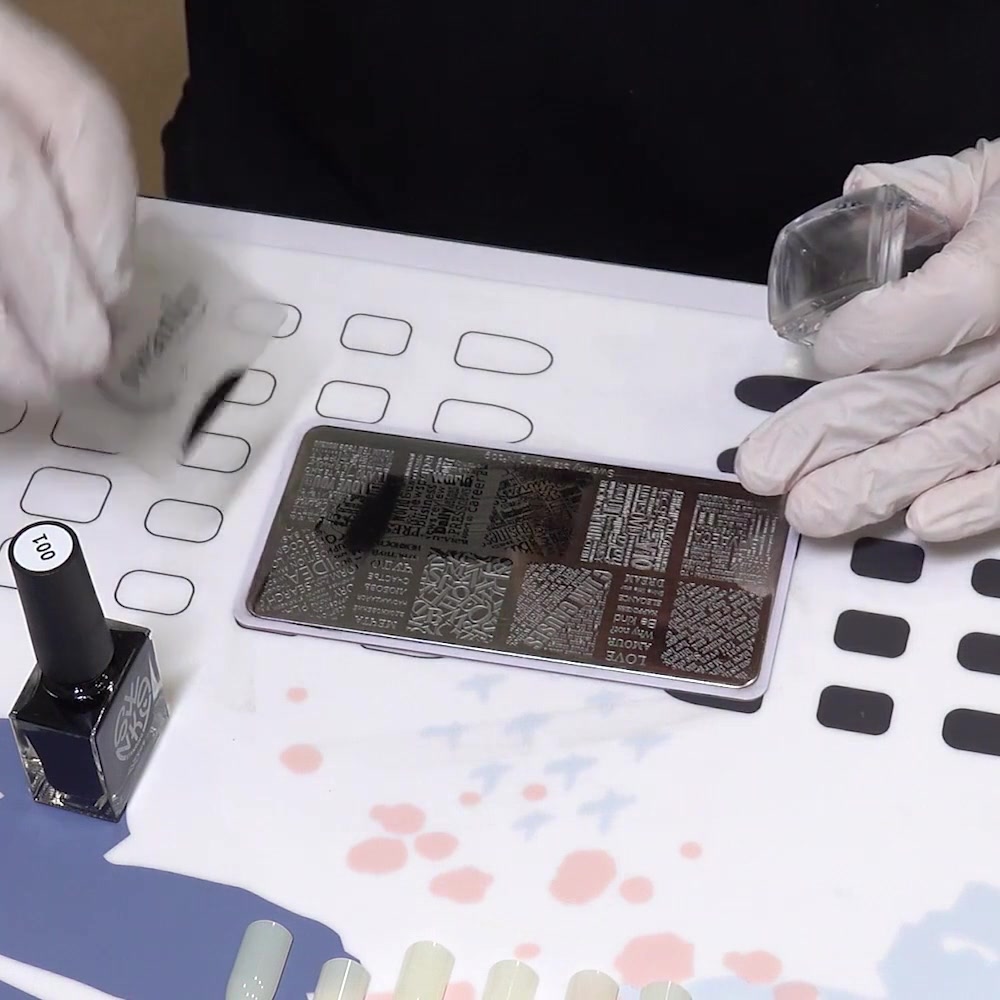
Pressing too hard can pull polish out of the grooves. Moving too slowly gives the thin layer more time to dry. If the plate still has a heavy puddle after the pass, clean it and start again rather than scraping the same design repeatedly.
3. Roll the stamper over the design
Immediately roll the stamper across the engraved image. Use light pressure and one smooth motion. Do not push the stamper straight down as if it were a hard office stamp.
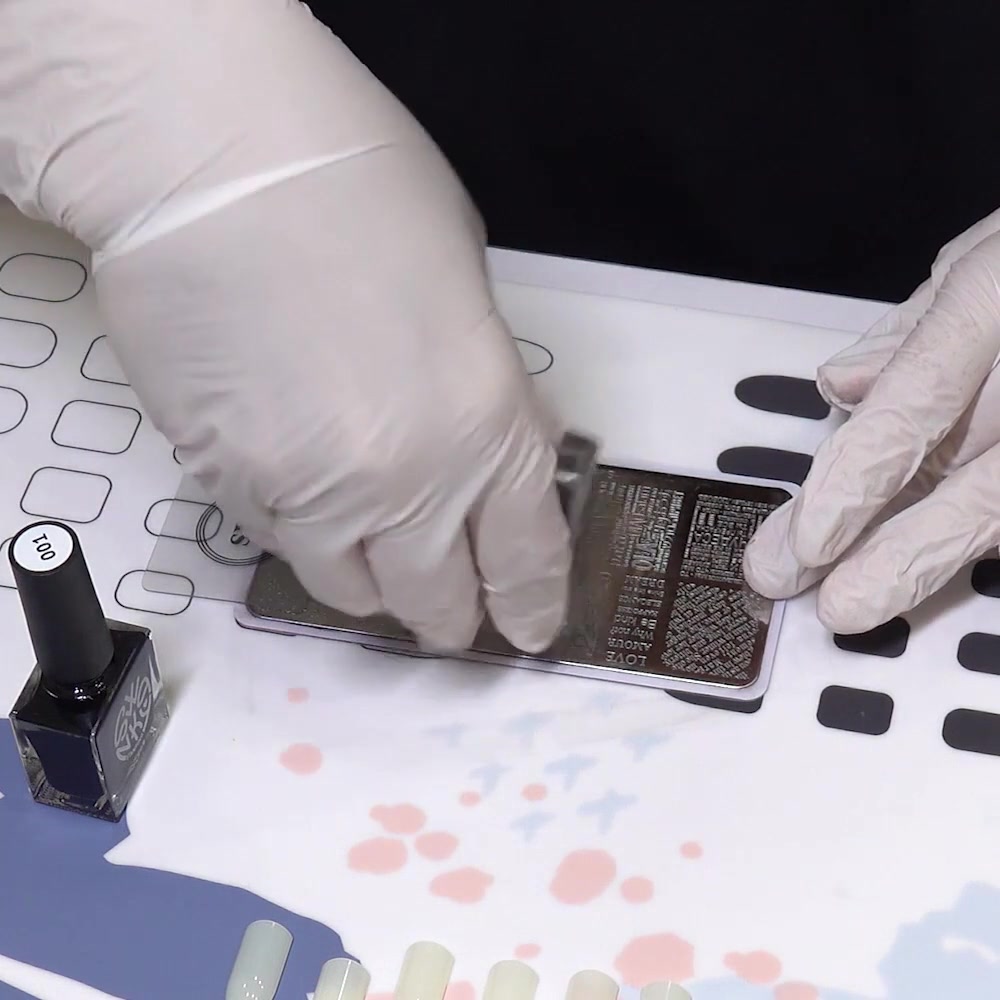
Look through the clear head as you lift it. A usable pickup should show the complete pattern with defined lines. A missing edge, a double line, or a large blank area is easier to fix now than after transfer.
4. Remove unwanted parts with tape
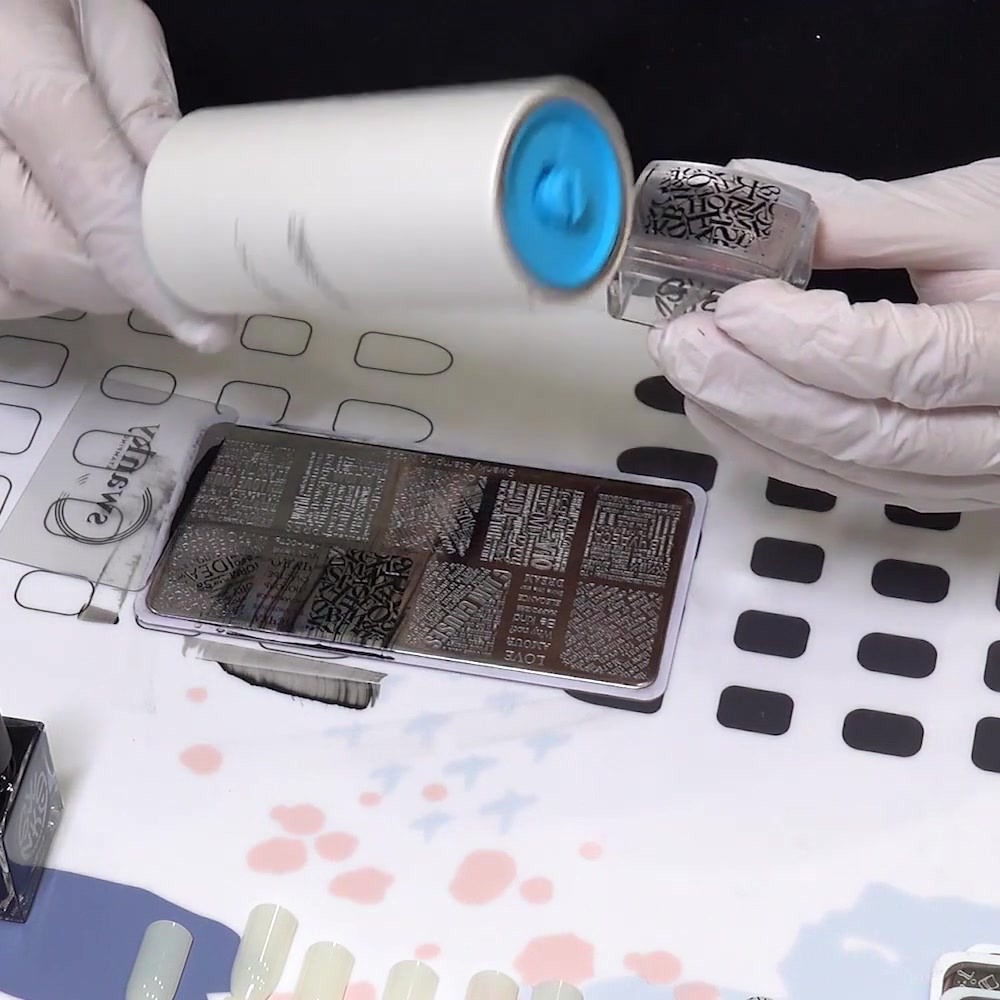
If the stamper picked up a nearby line or another part of the plate, touch a small piece of tape to the unwanted polish. Keep the intended design away from the sticky area.
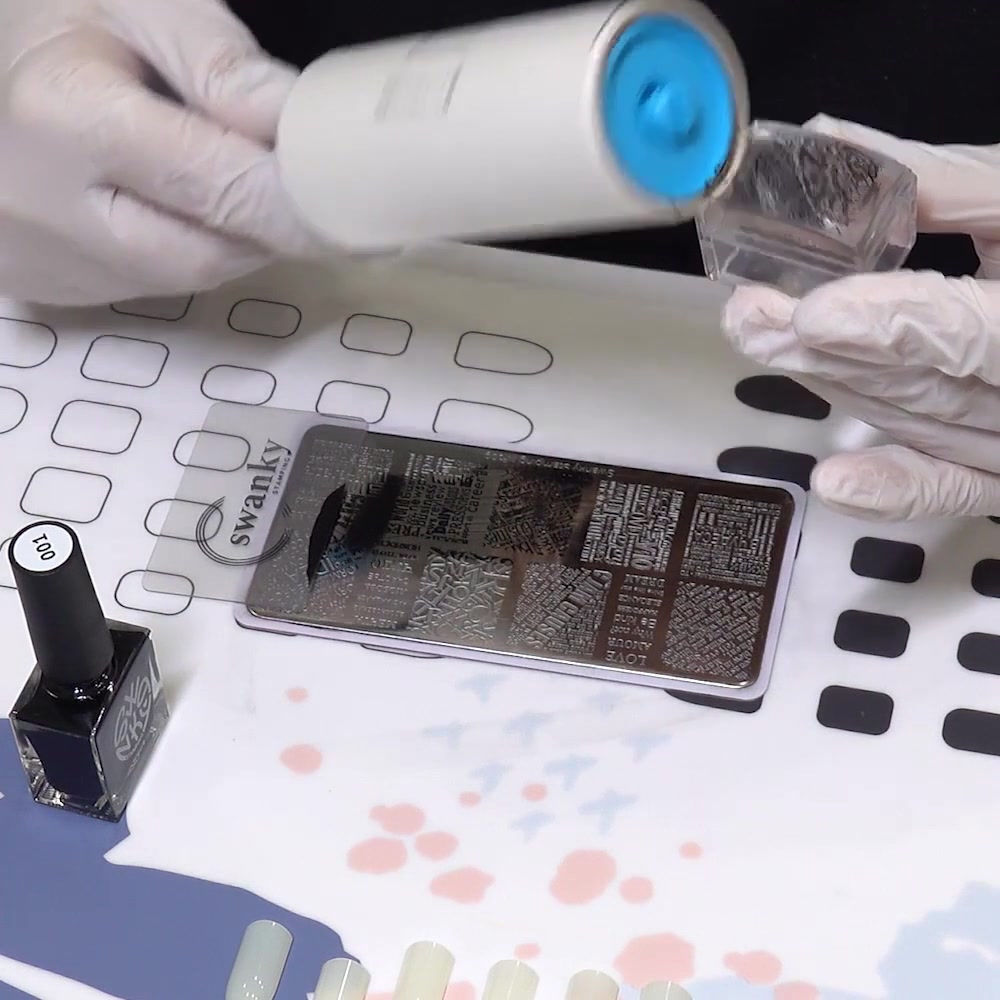
The same method removes dried polish after an attempt. The Oh!Nice lesson uses tape or a lint roller on this soft stamper head instead of liquid cleaner. Check the instructions for your own stamper because care requirements differ by material.
5. Roll the image onto the nail
Align the design before it touches the nail. Start at one side and roll the stamper across the curve with very light pressure. Keep moving in the same direction so the pattern does not shift or print twice.
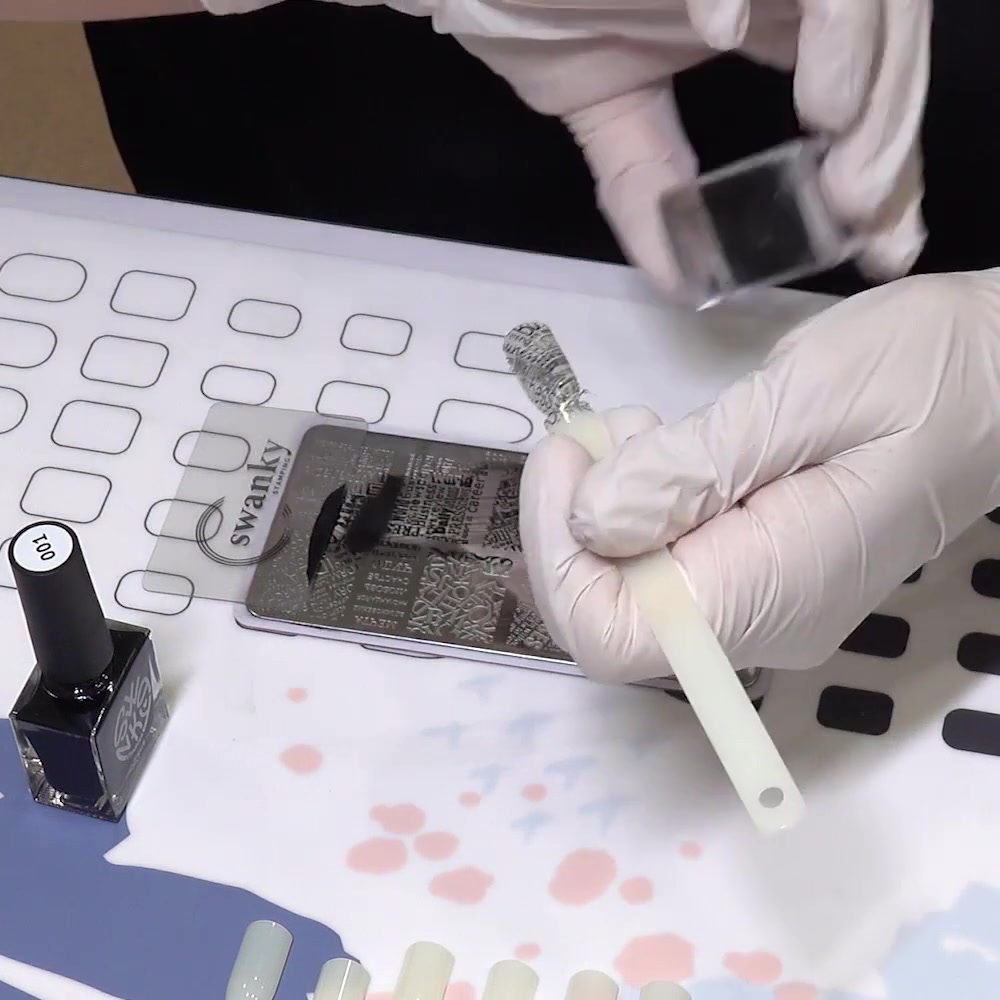
Practice placement on artificial nail tips first. The instructor recommends preparing 10 to 15 tips and repeating the movement until your timing feels natural. Use this as a practice drill rather than a promise that every learner will master stamping in a fixed number of attempts.
6. Let the pattern dry and add top coat
Wait until the stamped image is dry. Apply top coat with as few passes as possible and avoid dragging the brush repeatedly through the pattern. A top coat labeled for stamping or nail art may help reduce smearing, but you still need to follow its directions.
For traditional lacquer, let each layer air-dry as directed. For gel base or top products, use only the compatible lamp and curing time named by the manufacturer. A nail stamping tutorial cannot supply one universal drying or curing time for every formula.
What are the most useful nail stamping tips for beginners?
These eight nail stamping tips solve the problems shown most often during the first practice session.
- Choose a simple, medium-size pattern. Very fine lines make it harder to see whether the plate, scraping motion, or pickup caused the problem.
- Set out every tool before opening the polish. Reaching for tape after scraping gives the image time to dry.
- Use stamping polish for early practice. Its opacity makes the transferred pattern easier to judge than a sheer regular lacquer.
- Scrape in one direction. Repeated back-and-forth passes can remove too much polish and slow the transfer.
- Use light pressure with the stamper. A hard press can distort the soft head and leave parts of the engraving behind.
- Inspect the pickup before touching the nail. Remove an unwanted mark with tape or restart if the central design is incomplete.
- Practice the rolling movement on tips. Repetition separates a timing problem from a placement problem.
- Clean the plate and scraper promptly. Dried residue in the engraving can interfere with the next pickup.
Why is your nail stamper not picking up the design?
A stamper usually fails to pick up a design because the polish dried, the scraper removed too much product, the stamper pressure was too heavy, or residue remains on the plate or stamper head. Change one variable at a time so you can identify the cause.
| What you see | Likely cause | What to try next |
|---|---|---|
| Entire image is missing | Polish dried before pickup | Arrange tools first and shorten the pause after scraping |
| Fine lines are missing | Too little polish or too much scraper pressure | Cover the engraving fully and lighten the scrape |
| One edge is blank | Stamper did not roll across the full design | Start just outside one edge and complete one smooth roll |
| Image looks doubled | Stamper shifted or touched twice | Use one pickup motion and one transfer motion |
| Design smears on the nail | Base was wet or the stamper slid | Let the base dry and roll without sliding sideways |
| Top coat drags the pattern | Stamp was not dry or brush was overworked | Wait longer and float the top coat in fewer passes |
| Pickup worsens after cleaning | Stamper surface has residue or damage | Follow the stamper maker’s cleaning instructions and avoid unapproved solvents |
If every attempt fails, test another engraved section on the same plate. Then try a different compatible polish or stamper. This helps you tell the difference between a technique problem and a tool combination that does not work well together.
How can teens practice nail stamping more safely?
Teen beginners should work in a ventilated space with a parent or responsible adult aware of the products being used. Read the labels together, keep bottles closed when they are not in use, and keep nail products away from food, eyes, flames, cigarettes, and heated styling tools.
The FDA notes that nail products can cause allergic reactions or irritation in some people. Stop using a product if you notice itching, burning, swelling, a rash, or another reaction. Tell a parent and contact a healthcare professional for advice. Do not use nail art to hide a painful, infected-looking, or otherwise unusual nail.
Gloves can keep practice polish off the hands, as shown in the course, but they do not replace label directions or careful application. Avoid skin contact, and use only gloves that the product maker identifies as suitable for the materials involved.
Where can you learn the complete stamping techniques?
The paid Online Nail Stamping Course from Oh!Nice SPACE includes 10 English video lessons taught by nail-art instructor Irina Kolobovnikova. It begins with the tools, basic skills, common mistakes, and pattern transfer used in this guide, then continues with reverse, gradient, and shadow stamping. Visit the course page for the current price, program, and access details.
If you want to prepare the base manicure first, read our gel polish tutorial for beginners. For designs that do not require a stamping plate, see how to do nail art at home.
Key takeaways
Clean nail stamping depends on preparation, speed, and light pressure. Fill the engraving, scrape once at an angle, roll the stamper over the design, inspect the pickup, and roll it onto a dry nail or practice tip. If the image fails, change one variable at a time instead of rushing through several new attempts.
Keep product safety separate from technique. Follow every label, ventilate the room, avoid skin contact, and ask an adult for help when using unfamiliar nail products.
Sources
- U.S. Food and Drug Administration: Nail Care Products
- American Academy of Dermatology: Manicure and Pedicure Safety
- Oh!Nice SPACE lessons 1–4: Stamping Tools and Materials, Practising the Basic Skills, Common Stamping Mistakes, and Pattern Transfer Technique. Private paid course materials used with the school’s authorization.
Frequently Asked Questions
Can you use regular nail polish for stamping?
Some highly pigmented regular polishes can transfer, but results vary. A polish made for stamping is a more predictable starting point because it is intended to leave an opaque image from a thin engraved layer.
Can you use gel polish with a nail stamper?
Ordinary gel polish usually stays wet until it is cured, so it does not behave like fast-drying stamping polish and may smear during pickup. Use a product specifically labeled as stamping gel only with the application and curing process supplied by its manufacturer. Do not flash-cure an unknown gel on a silicone stamper unless both product makers confirm that method.
Do you need a UV or LED lamp for nail stamping?
Traditional stamping polish air-dries and does not need a lamp. You need a compatible lamp only when another layer, such as a gel base, gel top coat, or a labeled stamping gel, specifically requires curing. Follow the directions for each product rather than treating the whole manicure as one system.
How do you clean a clear jelly stamper?
For the soft clear stamper demonstrated here, lift dried polish with tape or a lint roller. Do not apply acetone, alcohol, or another liquid unless the stamper manufacturer says it is safe, because some solvents can cloud or damage the head.
Why does the design dry before it reaches the nail?
The pause between scraping, pickup, and transfer is probably too long. Place the scraper and stamper in your hand before applying polish, make one scraper pass, and transfer immediately.
Why does top coat smear a stamped design?
The stamp may still be wet, or the brush may be dragging through the same area repeatedly. Let the design dry, load enough top coat to glide over the nail, and use a small number of light passes.
Is reverse stamping the same as basic nail stamping?
No. Basic stamping transfers a single picked-up pattern directly to the nail. Reverse stamping adds color to parts of the design on the stamper before the finished image is applied. It is a separate technique and the next step after you can pick up a clean image consistently.