
On this page
- What is the easiest braid for beginners?
- What you need before you start braiding
- Basic three-strand braid tutorial for beginners
- 1. Divide the hair into three even strands
- 2. Cross the right strand over the center
- 3. Cross the left strand over the new center
- 4. Repeat the same alternating pattern
- 5. Move your hands down as the braid grows
- 6. Secure the braid
- The four skills that make every braid easier
- Keep the strands separate
- Use even sections
- Control tension without pain
- Practice the hand exchange
- How a French braid and Dutch braid build on the basic braid
- French braid: add hair and cross over
- Dutch braid: add hair and cross under
- Five easy braids and braided styles to practice
- 1. Low three-strand braid
- 2. Side braid
- 3. Braided pigtails
- 4. Two-strand rope braid
- 5. Beginner fishtail braid
- How to braid your own hair
- Beginner tips for different hair lengths and textures
- Common braid problems and simple fixes
- The strands keep mixing together
- The braid becomes loose at the top
- One side looks wider
- Short layers stick out
- The braid changes direction
- Your arms get tired
- A simple practice plan for beginners
- Learn more braided hairstyles with Oh!Nice SPACE
- Beginner braid questions
- How long does it take to learn how to braid?
- Is it easier to braid wet or dry hair?
- Should a beginner learn a French or Dutch braid first?
- Can beginners braid short hair?
- Why does my braid look messy?
- How tight should a braid be?
- Frequently Asked Questions
The easiest way to learn how to braid hair is to master one repeatable movement: divide the hair into three strands, cross one outside strand over the center, then cross the other outside strand over the new center. Keep alternating sides until you reach the ends. Once that basic three-strand braid feels natural, you can use the same hand control to learn French braids, Dutch braids, braided pigtails, and other easy styles.
Beginner braid formula:
- Detangle the hair.
- Divide it into three even strands.
- Cross the right strand over the center.
- Cross the left strand over the new center.
- Repeat right, left, right, left.
- Secure the end with a small elastic.
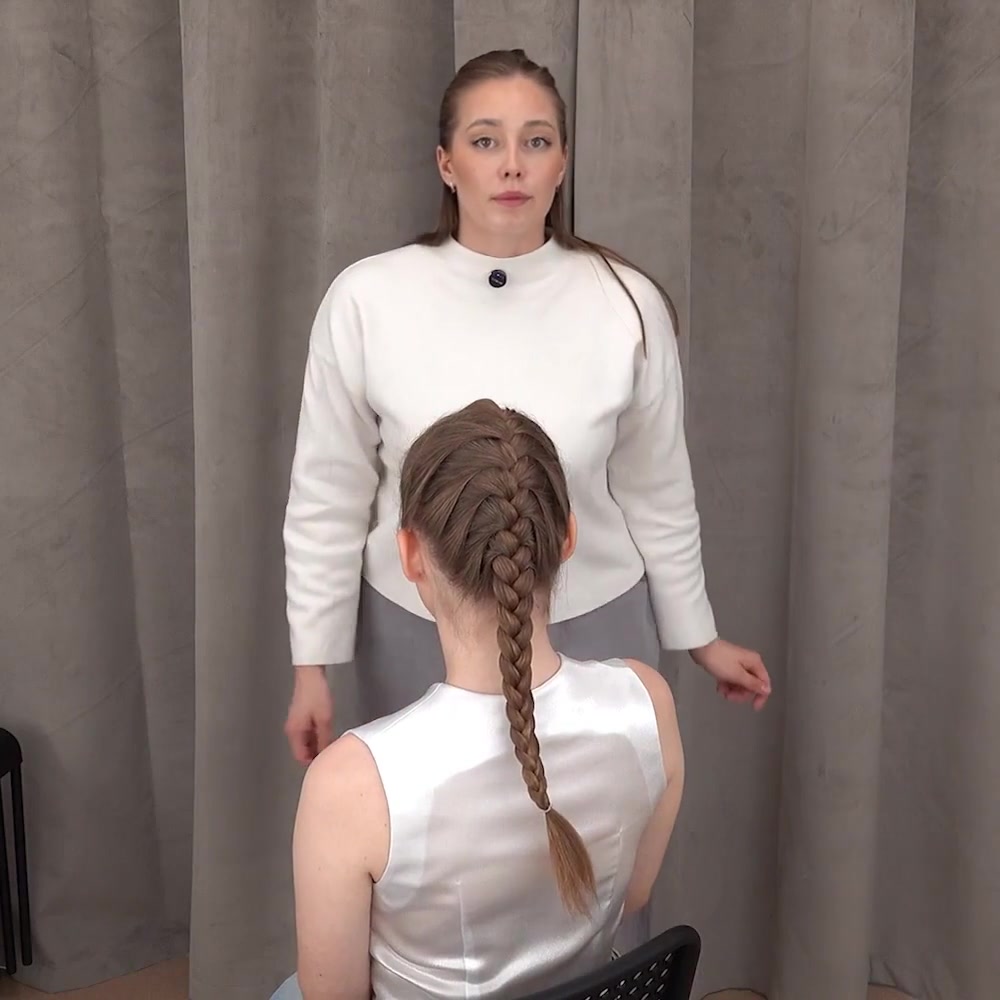
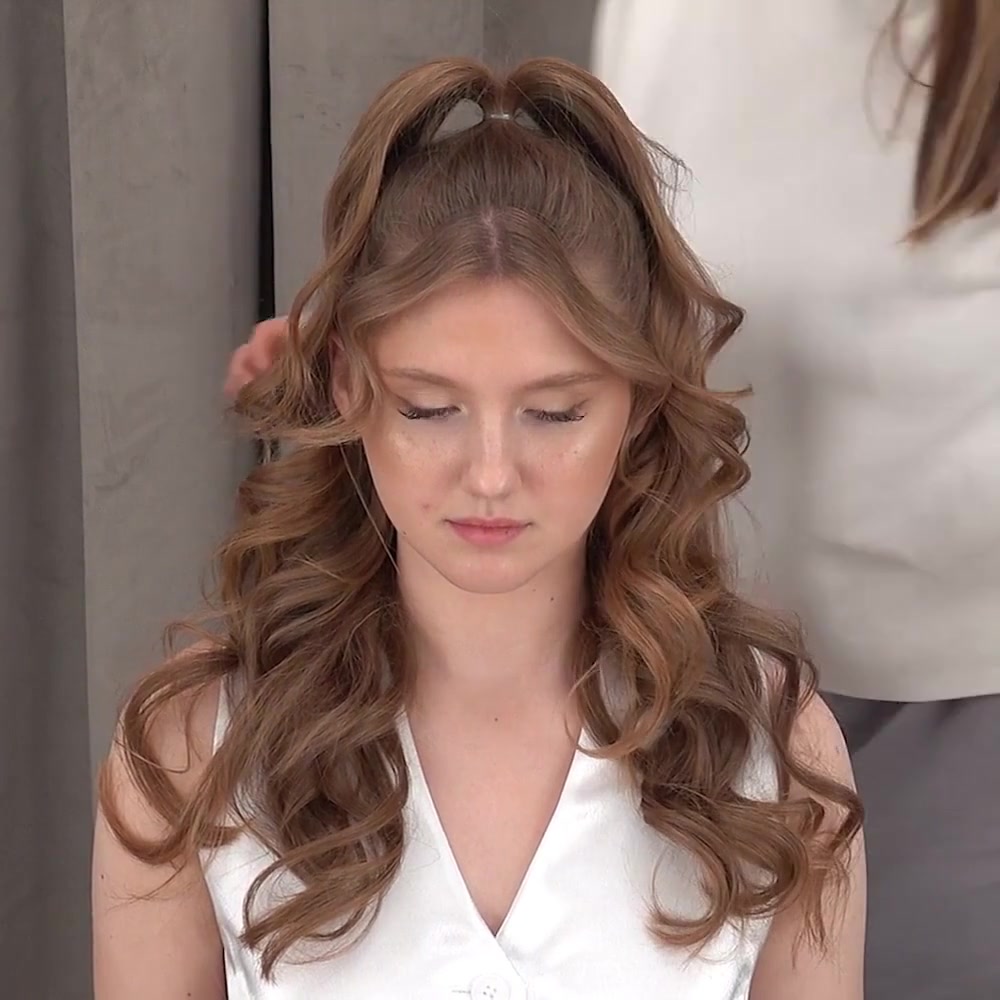
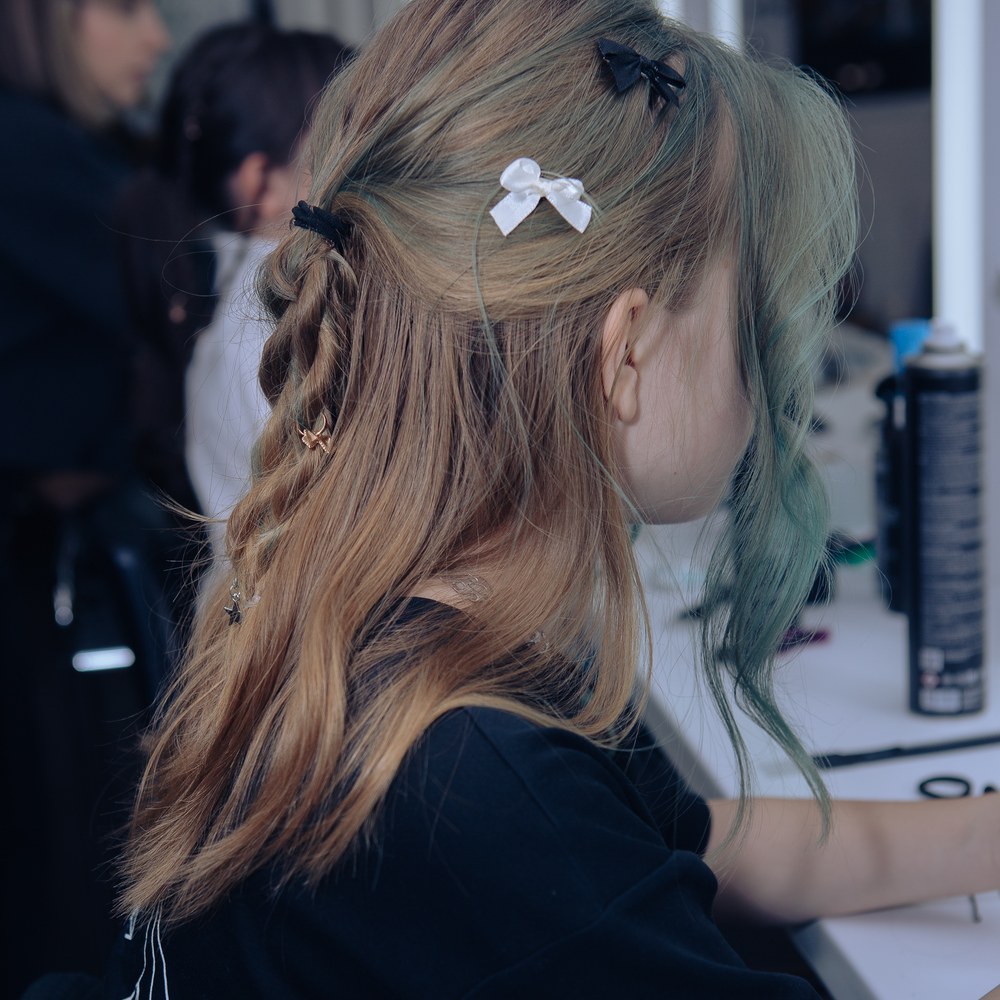
This guide focuses on the basic skills behind braiding rather than repeating our full French or Dutch braid tutorials. The basic-practice photos show observable grip and section control during an Oh!Nice SPACE hairstyling class. Photos from our French Braid lesson appear only where the guide discusses adding hair, sectioning, and progressing to a French braid.
What is the easiest braid for beginners?
A basic three-strand braid is the best first braid for most beginners. It uses three sections of hair and one simple alternating pattern. You do not have to pick up extra hair from the scalp, work in a complicated direction, or remember several movements at once.
Practice first on a low ponytail, a friend, or a mannequin head. This method is practical for beginners with zero experience because the starting elastic keeps the sections in place. A ponytail holds the starting point in place, so your hands only need to manage the three strands. After you can finish a neat basic braid, remove the ponytail elastic and practice starting with loose hair.
Here is a useful learning order:
| Level | Braid or style | Main skill |
|---|---|---|
| 1 | Basic three-strand braid | Alternating the outside strands over the center |
| 2 | Side braid or braided pigtails | Keeping the same pattern while changing position |
| 3 | Rope braid | Twisting two sections without letting them unwind |
| 4 | French braid | Adding hair before each outside strand crosses over |
| 5 | Dutch braid | Adding hair while crossing the outside strands under |
| 6 | Fishtail braid | Moving small pieces between two main sections |
The exact order can change if one movement feels more natural to you. The goal is to learn control, not speed.
What you need before you start braiding
You can practice braiding with a few basic tools:
- A detangling brush or wide-tooth comb
- A rat-tail comb for clean parts, if you want one
- One or two sectioning clips
- Small, snag-free hair elastics
- A mirror, plus a second mirror for checking the back
- A lightweight detangler or smoothing product, if it already works for your hair
Prepare the hair according to its texture. Straight or wavy hair may be easiest to control when it is dry or slightly damp. Curly or coily hair may be easier to section with a familiar leave-in conditioner or detangler. The American Academy of Dermatology advises using a wide-tooth comb on wet hair and detangling gently from the ends upward. It also recommends choosing products and routines that fit your hair type.
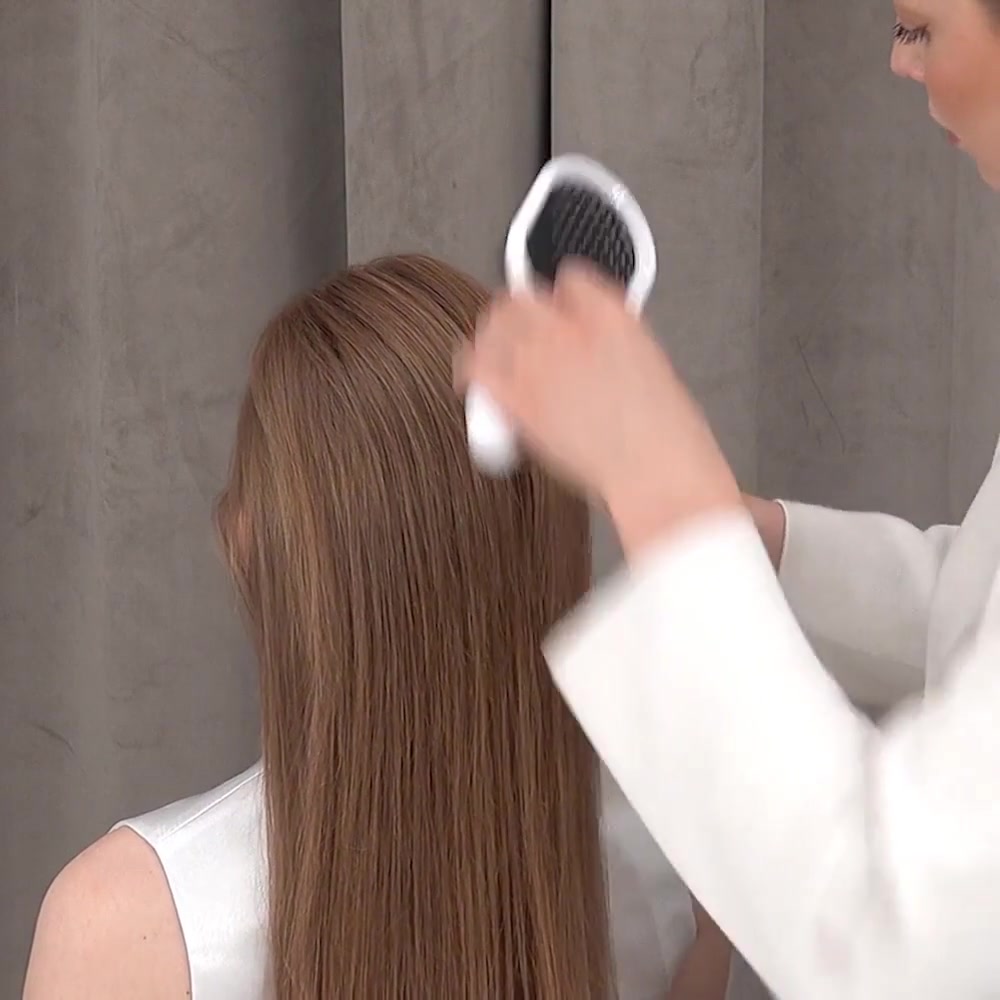
Do not pull a brush through a knot while the rest of the hair is held tightly. Stop, support the section with one hand, and work through the knot gently.
Basic three-strand braid tutorial for beginners
For the first practice session, make a low ponytail at the nape and braid the loose length. When that feels easy, follow the same steps without the ponytail elastic.
1. Divide the hair into three even strands
Separate the hair into a left strand, a center strand, and a right strand. Try to make them similar in thickness. Uneven starting sections are one of the main reasons a beginner braid becomes narrow on one side or twists as it gets longer.
Hold the left strand in your left hand and the right strand in your right hand. Control the center with your fingers while you move the outside strands. Your grip can change as long as the three sections stay separate.
2. Cross the right strand over the center
Move the right strand over the center strand. The right strand now becomes the new center. The old center moves to the right side.
Pause and check the order. You should still have three clear sections. If loose hairs connect two strands, separate them before the next crossing.
3. Cross the left strand over the new center
Move the left strand over the center. The left strand becomes the new center, and the previous center moves to the left side.
You have completed one full braid cycle: right over center, then left over center. Some beginners prefer starting on the left. That works too, as long as you alternate sides.
4. Repeat the same alternating pattern
Continue crossing the outside strands over the center. Say the pattern quietly if it helps: “right over, left over.” Keep the strands separated all the way to the ends so the loose lengths do not tangle underneath your hands.
Use steady, comfortable tension. Pulling harder does not automatically create a neater braid. Clear sections and a consistent rhythm matter more.
5. Move your hands down as the braid grows
Keep your hands close to the most recent crossing. If your hands stay far above the braid, the strands can loosen before the next stitch. After each right-and-left cycle, slide your grip lower.
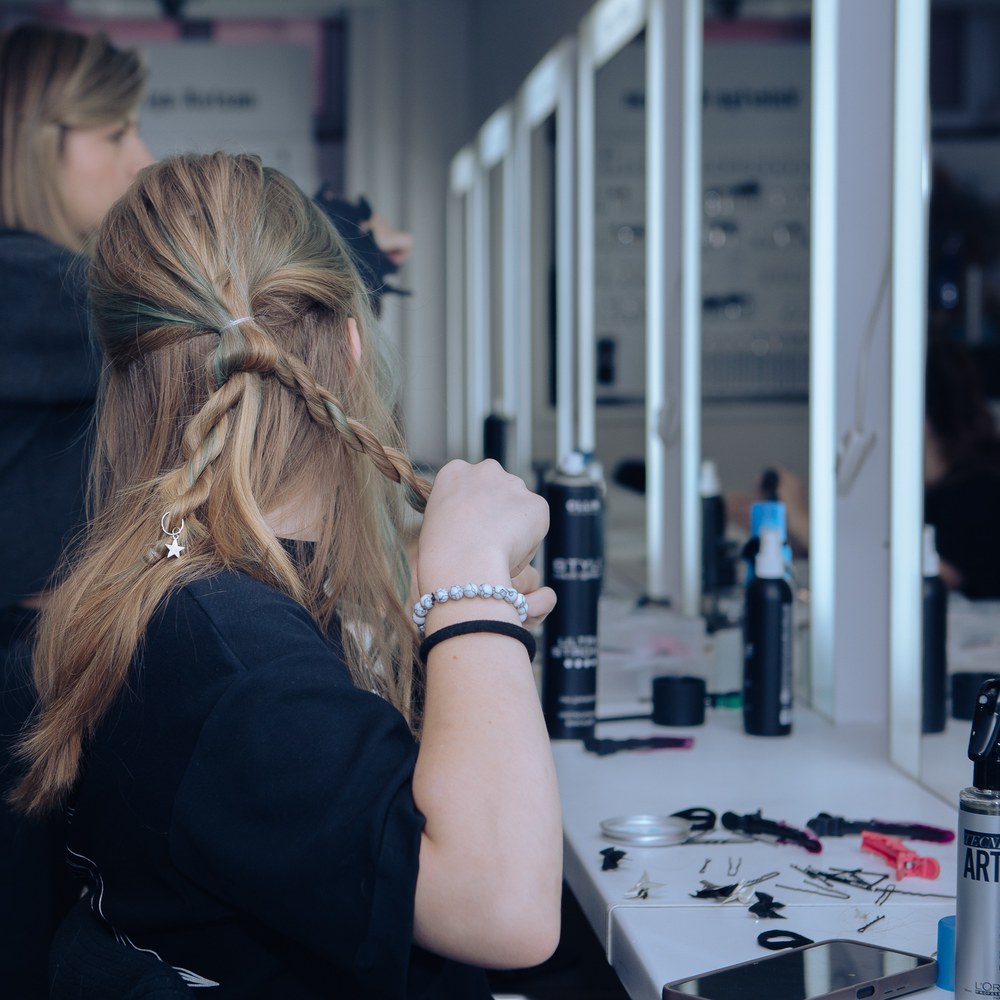
When braiding your own hair, relax your shoulders and lower your elbows whenever possible. Short practice sessions are more useful than trying to finish while your arms are tired and your sections are slipping.
6. Secure the braid
Stop when only a few inches of loose hair remain, or earlier if short layers begin to fall out. Wrap a small elastic around the end until it feels secure without catching or pulling the hair.
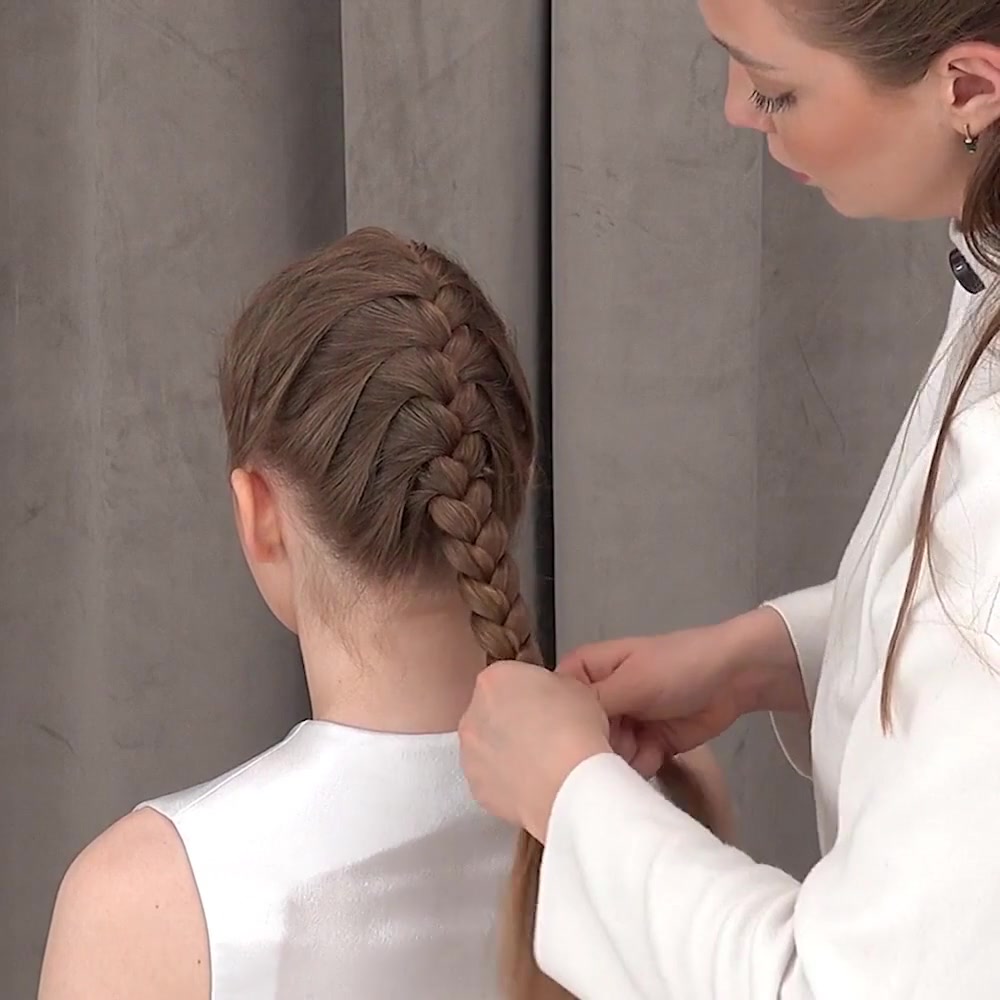
If you want a fuller look, gently pull the outside edges of each completed stitch after the braid is secured. Work from the bottom upward and make small adjustments. Pulling too much at once can undo the shape.
The four skills that make every braid easier
Keep the strands separate
Most beginner problems start when hair from one strand becomes mixed with another. Before each crossing, run your fingers down the loose lengths and separate any connected hairs. This takes a few extra seconds but prevents knots and uneven sections.
Use even sections
The sections do not have to be mathematically identical. They only need to be close enough that the braid keeps a balanced shape. When you move on to French or Dutch braids, add similar amounts of loose hair from matching levels on both sides.
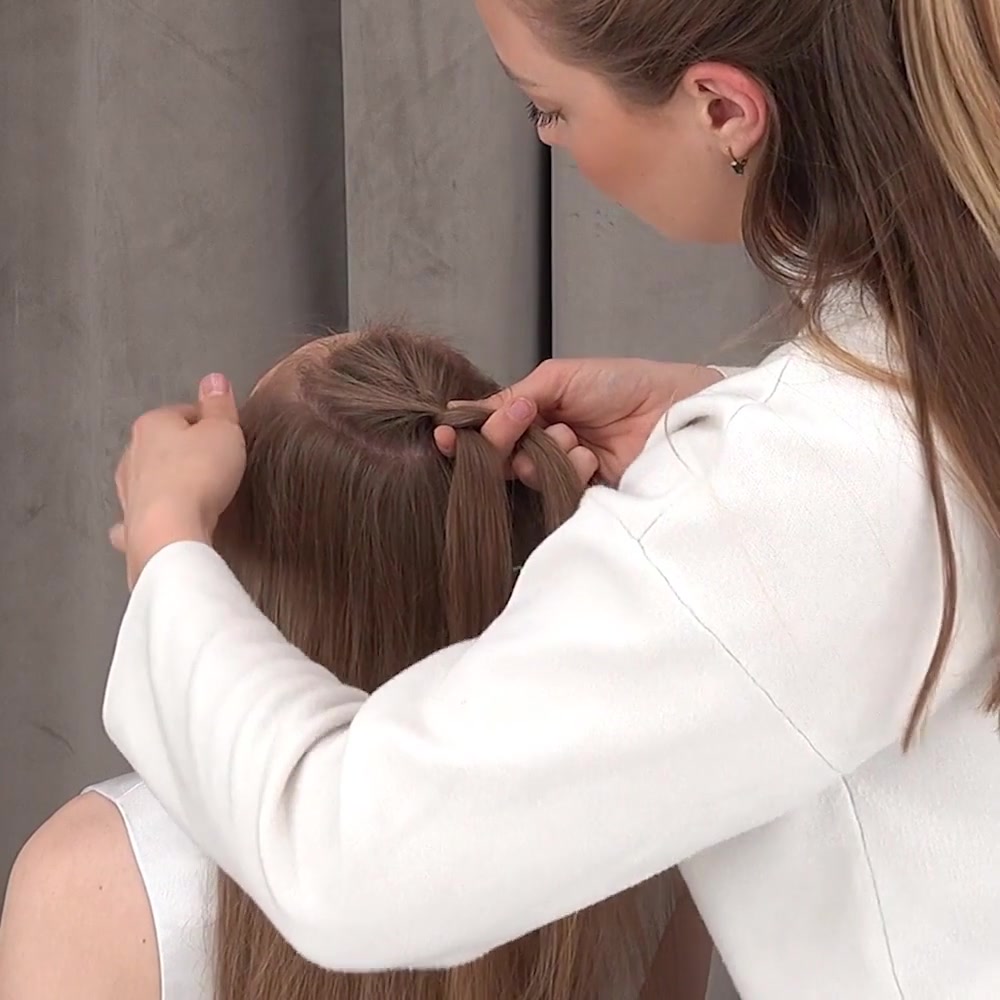
Control tension without pain
A braid should feel secure, not painful. The American Academy of Dermatology says a painful hairstyle is too tight and recommends loosening braids around the hairline. Redness, stinging, visible pulling, or a scalp section lifting like a small tent means the style should be loosened or changed.
Practice the hand exchange
The hardest part is often passing a strand from one hand to the other without losing the other two. Practice ten slow crossings on a ponytail, then undo them and repeat. Your hands learn the pattern through repetition.
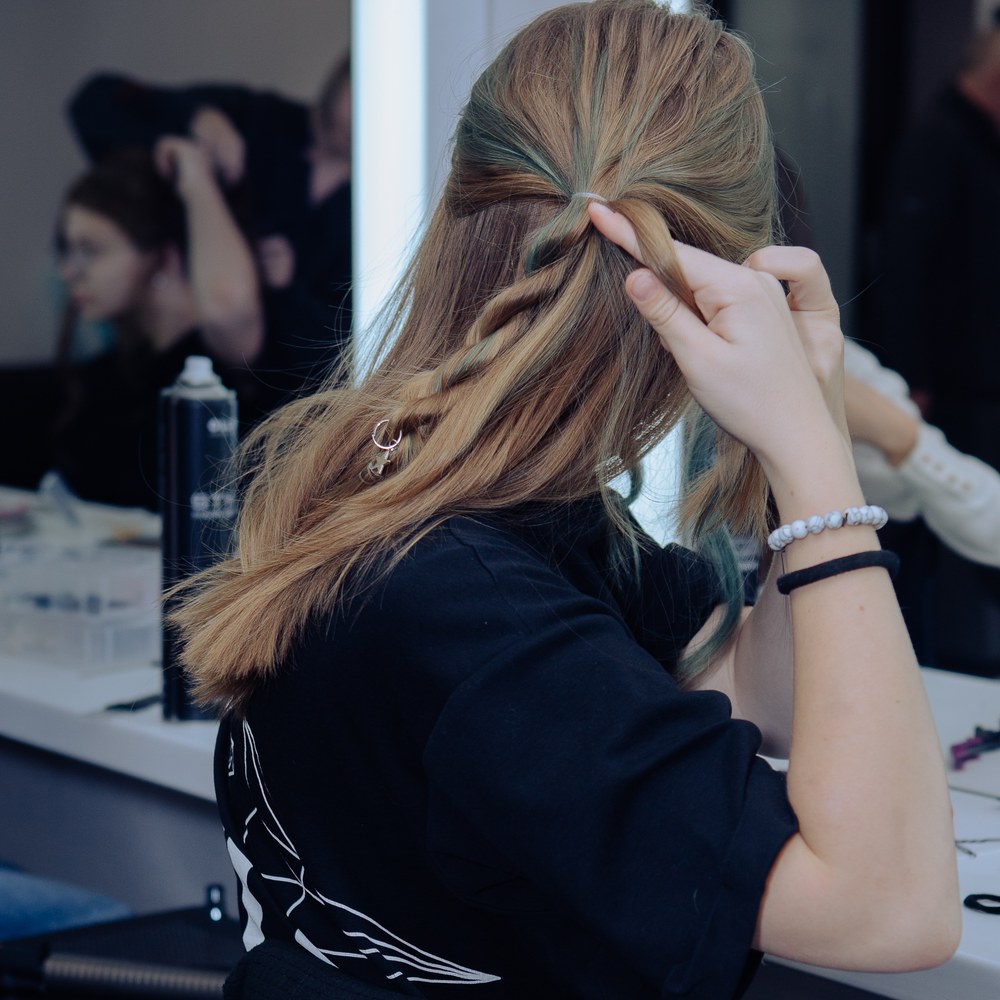
How a French braid and Dutch braid build on the basic braid
French and Dutch braids use the same three working strands as a basic braid. The new skill is adding loose hair before each crossing.
French braid: add hair and cross over
Start with three strands at the crown. Add a small section of loose hair to the right strand, then cross the combined strand over the center. Repeat on the left. Continue alternating until all loose hair has joined the braid.
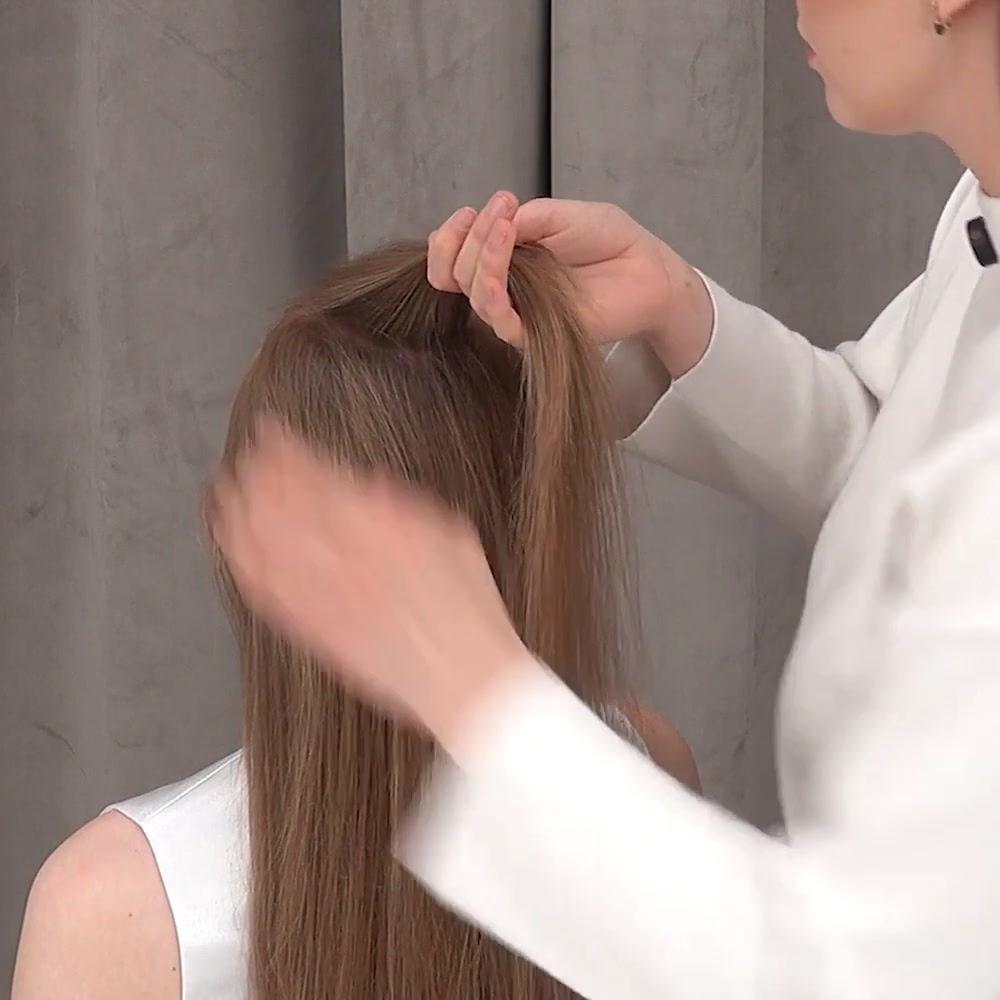
Our separate French braid tutorial shows the complete sequence with close step photos and beginner fixes.
Dutch braid: add hair and cross under
A Dutch braid uses the opposite crossing direction. Add hair to an outside strand, then pass it under the center. The braid sits on top of the hair and looks more raised.
French and Dutch braids are different hairstyles. “Over” makes a French braid; “under” makes a Dutch braid. Use the full Dutch braid guide when you are ready to practice that underhand motion.
Five easy braids and braided styles to practice
1. Low three-strand braid
Gather the hair at the nape, divide it into three sections, and use the basic alternating pattern. This is the easiest place to learn because you can bring the braid over one shoulder and watch your hands.
2. Side braid
Sweep the hair over one shoulder and make the same three-strand braid. A side braid is easy to see and works well on medium or long hair. Leave a few comfortable face-framing pieces loose if shorter layers do not reach.
3. Braided pigtails
Make a center part and divide the hair into two halves. Clip one side away. Create a basic braid on the first side, then repeat on the second. Compare the height of the starting point and the thickness of the three sections if you want the braids to look balanced.
4. Two-strand rope braid
Divide a ponytail into two sections. Twist both sections in the same direction, then wrap them around each other in the opposite direction. For example, twist both sections clockwise and wrap them together counterclockwise. The opposite directions help the rope hold its shape.
5. Beginner fishtail braid
Divide the hair into two main sections. Take a small piece from the outside of the right section and move it to the inside of the left section. Then take a small piece from the outside of the left and move it to the inside of the right. Repeat and secure the end.
A fishtail uses two main sections, so it is different from French and Dutch braids. Smaller transferred pieces create a more detailed pattern, while larger pieces are faster and easier for a first attempt.
For more quick everyday options, see our collection of easy back-to-school hairstyles.
How to braid your own hair
Braiding your own hair feels different because you cannot watch every crossing and your arms work behind your head. Start with a side braid or low ponytail braid before trying a centered French braid.
- Sit or stand where your shoulders can relax.
- Detangle the full length before dividing it.
- Bring the hair over one shoulder so you can see the first attempts.
- Assign each hand a strand and move slowly.
- Use touch to check that three sections remain separate.
- Pause after every few crossings to smooth the lengths.
- Practice for five to ten minutes, then stop before your hands become tired.
A mirror helps you check placement, but watching every movement in a mirror can be confusing because the image is reversed. Learn the hand rhythm first and use the mirror to inspect the result.
Beginner tips for different hair lengths and textures
Short hair: Start with a small side braid, braided bangs, or a half-up section. Smaller pieces make it easier to include short layers. Stop and secure the braid before the layers fall out.
Medium-length hair: Side braids, pigtails, and half-up braids are usually easier than one low braid if the shortest layers do not reach the nape.
Long hair: Separate the loose lengths frequently so they do not tangle below your hands. Bring the braid over one shoulder after the starting section is secure.
Fine or slippery hair: Use smaller sections and a comfortable grip. A small amount of lightweight texture product may help if it is suitable for your hair and used according to the label.
Thick hair: Divide the starting sections carefully and keep the unused hair clipped away. More, smaller additions are often easier to control than a few large handfuls.
Curly or coily hair: Use the detangling and moisturizing routine that works for your texture. Keep the natural texture if you want a fuller braid, and use comfortable tension around the hairline. Do not assume every texture needs to be straightened before braiding.
Common braid problems and simple fixes
The strands keep mixing together
Stop before the next crossing and separate the loose lengths with your fingers. Detangle the tail again if needed. Do not try to pull a mixed section through the braid.
The braid becomes loose at the top
Keep your hands closer to the latest crossing and make the first few stitches smaller. On a scalp braid, add a smaller amount of hair each time instead of one large section.
One side looks wider
Compare the thickness of the working strands. Move a small amount of hair from the thick strand to the thin one before continuing, or undo the last few crossings and make the sections more even.
Short layers stick out
Use smaller sections so the short layers enter earlier. A side braid or half-up braid may hold them better than one low braid. A few soft pieces around the face are normal and do not mean the braid failed.
The braid changes direction
Check your crossing rule. For a basic or French braid, the outside strands cross over the center. For a Dutch braid, they cross under. Mixing the directions changes the shape.
Your arms get tired
Practice on a ponytail, friend, or mannequin head first. When working on yourself, pause while holding the sections securely, lower your shoulders, and continue only when your grip feels controlled.
A simple practice plan for beginners
Use short sessions so the movement stays clear:
- Session 1: Make and undo ten basic three-strand crossings on a ponytail.
- Session 2: Finish one full low braid and focus on even tension.
- Session 3: Try a side braid without a starting ponytail.
- Session 4: Make two basic braided pigtails.
- Session 5: Practice only the first four French braid additions.
- Session 6: Finish the French braid or switch to the Dutch underhand pattern.
Take a photo after each session. Comparing the starting point, section size, and shape is more useful than judging whether the braid looks perfect.
Learn more braided hairstyles with Oh!Nice SPACE
The paid Online Hairstyling Course for Teens includes 10 self-paced video lessons for ages 11–17, including an inside-out dragon braid, two basket-braid variations, a French braid, and a dragon braid from two ponytails. The current course costs $15 as a one-time payment and is taught by Ksenia Bardova and Svetlana Shekhovtsova.
This free guide teaches the foundation. The course adds complete video demonstrations that students can pause and replay while practicing at home.
Beginner braid questions
How long does it take to learn how to braid?
There is no fixed timeline. Many beginners understand the three-strand pattern in one session but need several short practice sessions to keep the sections even and braid their own hair without looking.
Is it easier to braid wet or dry hair?
Dry or slightly damp hair can both work. Wet hair is more delicate, so handle it gently and use a wide-tooth comb rather than pulling through knots. Choose the preparation method that fits your hair type.
Should a beginner learn a French or Dutch braid first?
Learn a basic three-strand braid first. French braid is often the next step because the outside strands continue crossing over the center. Dutch braid uses the opposite underhand motion.
Can beginners braid short hair?
Yes. Try a small side braid, braided bangs, a half-up braid, or short pigtails. Use smaller sections and secure the braid before the shortest layers begin to fall out.
Why does my braid look messy?
The most common causes are tangled lengths, mixed strands, uneven sections, or changing tension. Slow down, separate the strands before each crossing, and keep your hands close to the growing braid.
How tight should a braid be?
Use enough tension to hold the sections together, but the braid should never cause pain, stinging, redness, or visible pulling at the scalp. Loosen or redo it if it feels uncomfortable.
Frequently Asked Questions
How long does it take to learn how to braid?
There is no fixed timeline. Many beginners understand the three-strand pattern in one session but need several short practice sessions to keep the sections even and braid their own hair without looking.
Is it easier to braid wet or dry hair?
Dry or slightly damp hair can both work. Wet hair is more delicate, so handle it gently and use a wide-tooth comb rather than pulling through knots. Choose the preparation method that fits your hair type.
Should a beginner learn a French or Dutch braid first?
Learn a basic three-strand braid first. French braid is often the next step because the outside strands continue crossing over the center. Dutch braid uses the opposite underhand motion.
Can beginners braid short hair?
Yes. Try a small side braid, braided bangs, a half-up braid, or short pigtails. Use smaller sections and secure the braid before the shortest layers begin to fall out.
Why does my braid look messy?
The most common causes are tangled lengths, mixed strands, uneven sections, or changing tension. Slow down, separate the strands before each crossing, and keep your hands close to the growing braid.
How tight should a braid be?
Use enough tension to hold the sections together, but the braid should never cause pain, stinging, redness, or visible pulling at the scalp. Loosen or redo it if it feels uncomfortable.