
On this page
- Which makeup brushes does a beginner actually need?
- How can you identify a makeup brush by its shape?
- Large and fluffy brushes
- Dense and rounded brushes
- Flat brushes
- Angled and pointed brushes
- What are face makeup brushes used for?
- Foundation and complexion brushes
- Powder, blush, bronzer, and highlighter brushes
- Which eyeshadow brushes and brow tools do beginners need?
- Fluffy blending brush
- Flat eyeshadow brush
- Angled brow brush and spoolie
- Pencil and detail brushes
- Are synthetic or natural makeup brushes better for beginners?
- How do you judge a makeup brush set before buying?
- Which brush movement should you use?
- How should beginners clean makeup brushes?
- What mistakes make makeup brushes harder to use?
- Buying a large set before knowing your routine
- Choosing a brush that is too large
- Using the same dirty brush for every shade
- Pressing too hard
- Treating the printed name as a strict rule
- Where can teens learn brush technique step by step?
- Makeup brush guide: the simple way to build your first kit
- Frequently Asked Questions
If a brush set looks like a cup full of nearly identical tools, start with shape, size, and density. A large fluffy brush spreads powder over a wide area. A small flat brush places color exactly where you want it. A dense rounded brush buffs liquid or cream products, while an angled edge helps with brows or liner.
You do not need every brush in a large set. There is no perfect brush or universal set of brushes for everyone. Good makeup application comes from matching a few tools to your products and technique. A practical beginner kit can start with five tools: one complexion brush if you wear foundation, one soft face brush, one fluffy eye brush, one flat eyeshadow brush, and one angled brow brush with a spoolie. Add specialty brushes only when your routine gives them a clear job.
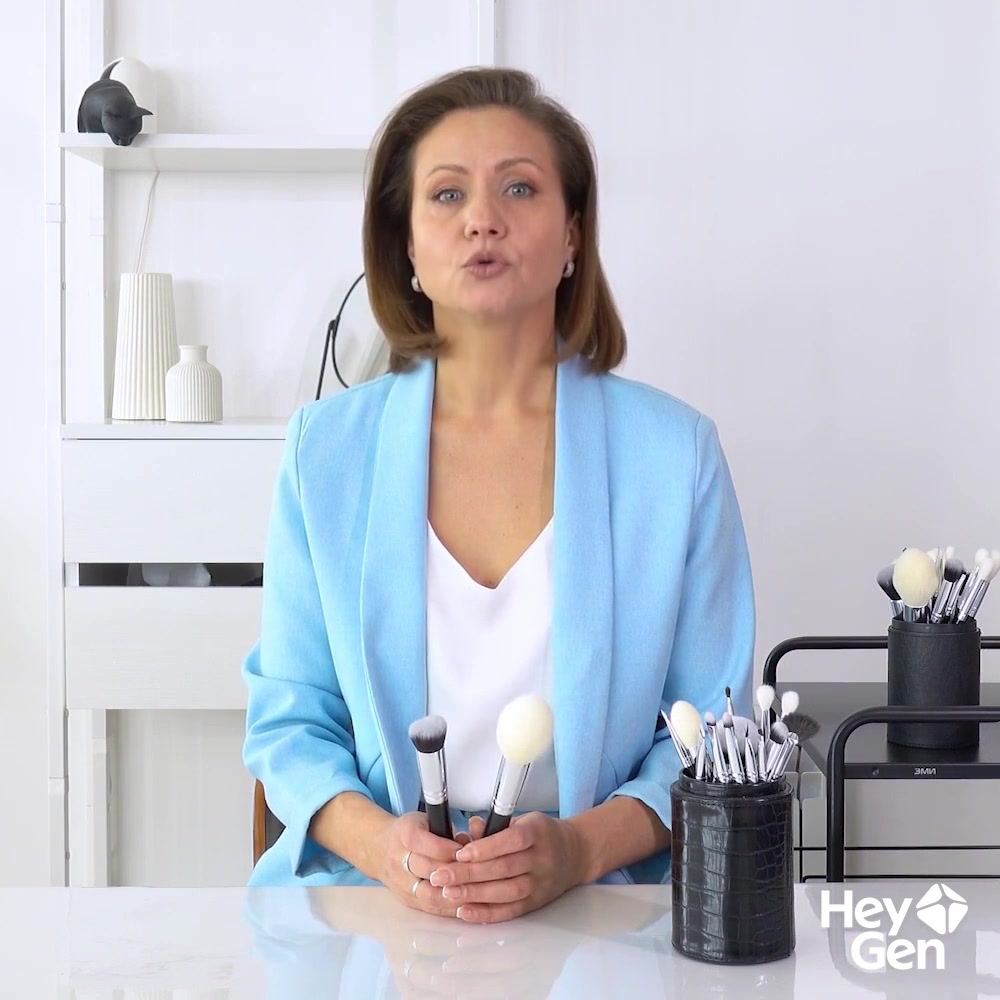
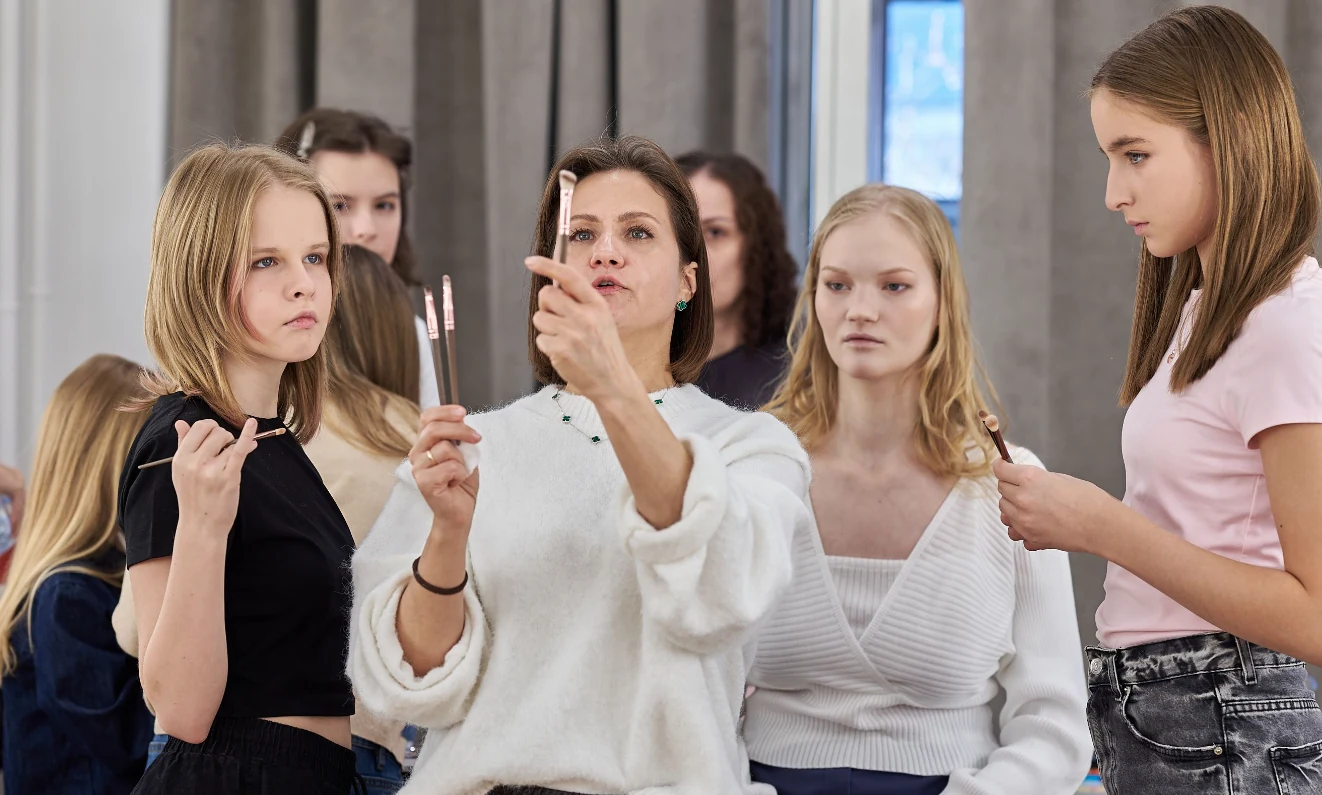
Svetlana shows the difference between larger face brushes and smaller eye brushes in the Oh!Nice SPACE lesson.
Which makeup brushes does a beginner actually need?
A beginner needs brushes that match their own routine. Someone who wears tinted moisturizer, blush, brow gel, and one eyeshadow can use a much smaller kit than someone practicing full-coverage foundation, contour, and detailed eye looks.
| Starter brush | What it does | Use it with | Beginner technique |
|---|---|---|---|
| Dense complexion brush | Blends foundation or skin tint | Liquid and cream formulas | Tap or stipple first, then buff the edges lightly |
| Medium fluffy face brush | Covers the jobs of basic powder and blush brushes | Pressed or loose powder | Pick up a small amount, tap off excess, and build slowly |
| Fluffy eye blending brush | Softens eyeshadow edges and adds crease color | Powder eyeshadow | Use light circular or windshield-wiper motions |
| Flat eyeshadow brush | Places color on the eyelid | Powder or cream shadow when the brush is labeled for it | Press or pat instead of sweeping |
| Angled brush and spoolie | Shapes brows or places liner | Brow powder, pomade, or gel liner | Draw short strokes, then soften with the spoolie |
If you do not wear foundation, skip the complexion brush. If you apply cream blush with clean fingers, your face brush can be reserved for powder. A useful kit is the smallest set that lets you complete your normal look without reusing a dirty brush in several products.
How can you identify a makeup brush by its shape?
Look at three things: the size of the brush head, how tightly the bristles are packed, and the angle or shape of the edge. Brush names vary between brands, but those physical features usually reveal how a brush will place and blend product. Among all the makeup brushes available, this is a more reliable shopping method than choosing by handle color or set size.
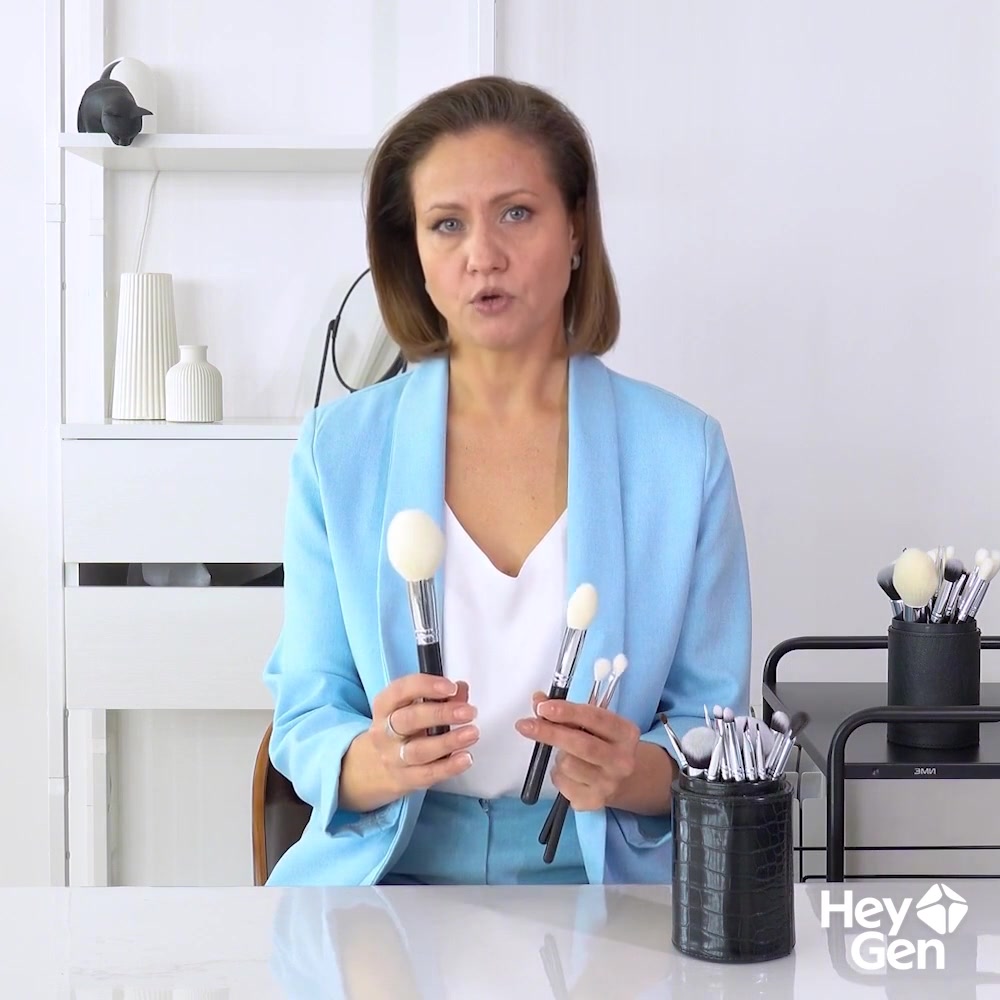
Larger heads cover broader areas; smaller heads give more control around the eyes, lips, and brows.
Large and fluffy brushes
A large, soft brush covers the face quickly and deposits a thin layer. It works well for setting powder. A medium fluffy brush can also handle blush or bronzer if its head fits the area where you want the color.
Dense and rounded brushes
Tightly packed, firm bristles hold their shape and move liquid or cream products evenly across the skin. A dense rounded foundation brush gives more coverage than a loose, airy brush and can create an airbrushed finish with careful buffing. Use less pressure than you think you need. Heavy scrubbing can leave visible brush marks and irritate the skin.
Flat brushes
A flat brush has two useful surfaces. The broad side can press foundation, concealer, or eyeshadow into place. The narrow edge can reach a small corner or create a more precise line. Svetlana demonstrates how one flat eye brush can place lid color, soften a border with its side, and add detail with its edge.
Angled and pointed brushes
An angled brush follows the direction of the brow or lash line. A small pointed or pencil brush places color in the inner corner, outer corner, or along the lower lash line. These tools are useful after you have learned basic placement with a flat and fluffy brush.
What are face makeup brushes used for?
Face brushes work over larger areas than eye brushes. The best size depends on the area you want to cover and the finish you want, rather than on one fixed product label.
Foundation and complexion brushes
A flat foundation brush spreads a thin layer with controlled strokes. A dense buffing brush moves in small circles and usually creates a more blended finish. A smaller synthetic concealer brush can apply concealer around the nose or on a blemish without covering the rest of the face.
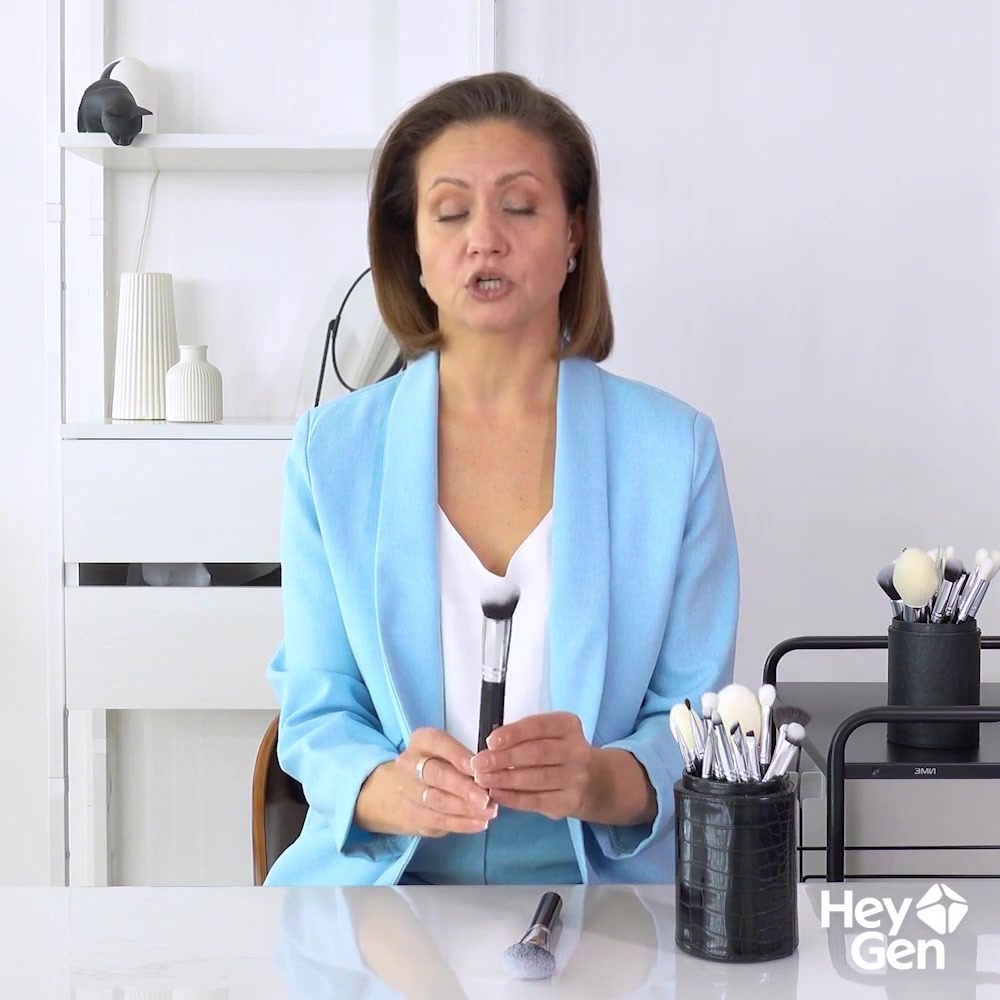
The flatter brush spreads product precisely; the denser rounded brush creates fuller coverage.
Apply a small amount of product to the face first. Then tap, stipple, or buff it outward. This gives you more control over a natural look and helps the formula spread without streaks. Loading a brush with too much foundation makes marks harder to fix and can leave more product inside the bristles.
Powder, blush, bronzer, and highlighter brushes
A large powder brush distributes a light veil over the face and can soften a matte finish. For blush, bronzer, or contour, choose a smaller head that fits the placement area. A tapered or flame-shaped brush can highlight the cheekbone or blend a small area of blush without spreading it across the whole cheek.
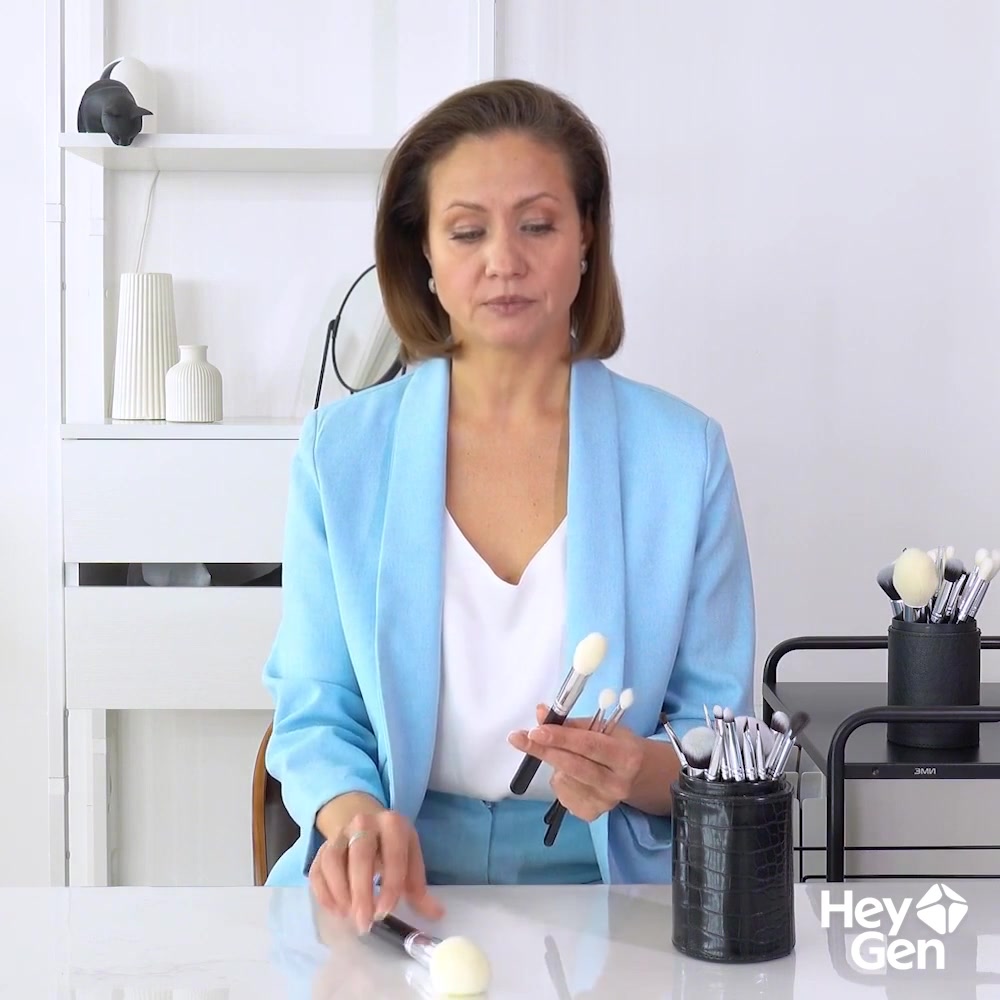
A large brush gives broad, soft coverage. A tapered brush places product more precisely.
One medium face brush can do several jobs, but wipe off the previous color before switching products. Use a separate clean brush when a dark contour shade could muddy a pale blush or setting powder.
Which eyeshadow brushes and brow tools do beginners need?
Eye brushes are smaller because the eyelid, crease, lash line, and inner corner need controlled placement. For a simple everyday look, a flat shader and a fluffy blending brush cover most of the work.
Fluffy blending brush
A fluffy or tapered blending brush has soft bristles. It distributes a small amount of powder and blurs hard edges, including the border between two pigmented eyeshadows. Hold it farther back on the handle to reduce pressure, then use short circular or side-to-side motions.
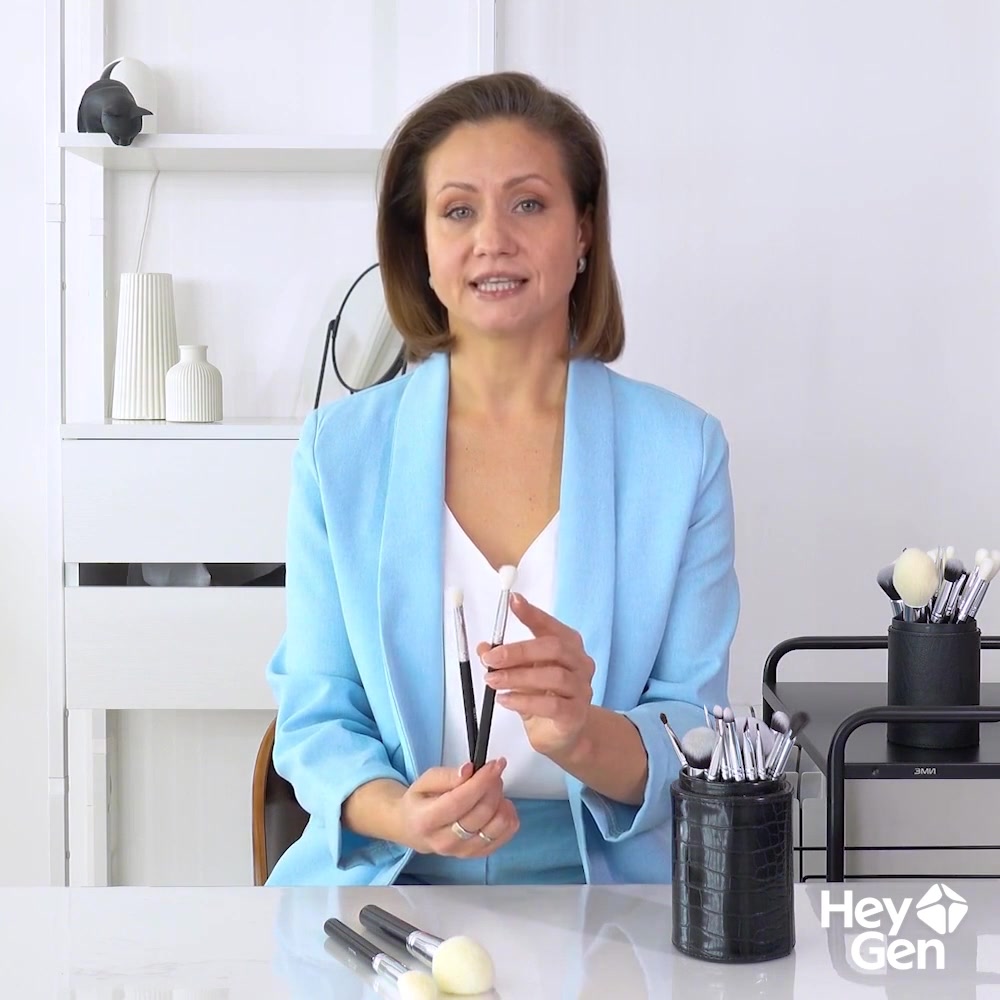
A fluffy eye brush diffuses powder shadow through the crease and softens edges.
Flat eyeshadow brush
A flat shader brush places color on the mobile lid. Press the broad side against the skin instead of brushing back and forth. The narrow side can soften a small border or place shadow near the lash line. To practice placement and blending step by step, follow our beginner eyeshadow tutorial.
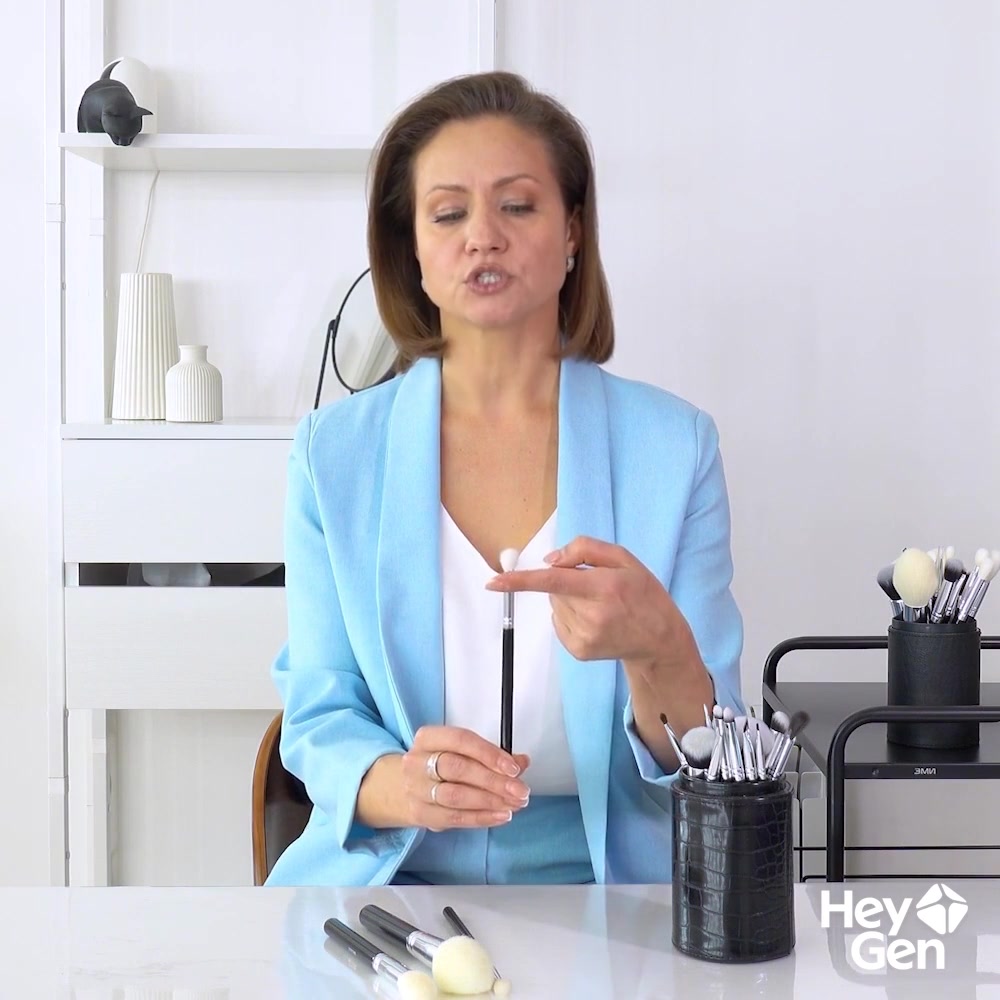
The same flat brush can place color, soften an edge, and add a small detail.
Angled brow brush and spoolie
Use the angled edge for short brow strokes or a thin line at the lashes. The angle adds precision without requiring a long, solid line. Spoolies comb brow hairs and soften excess color. Clean an angled brush before moving it from brow product to eyeliner, especially when the products use different formulas.
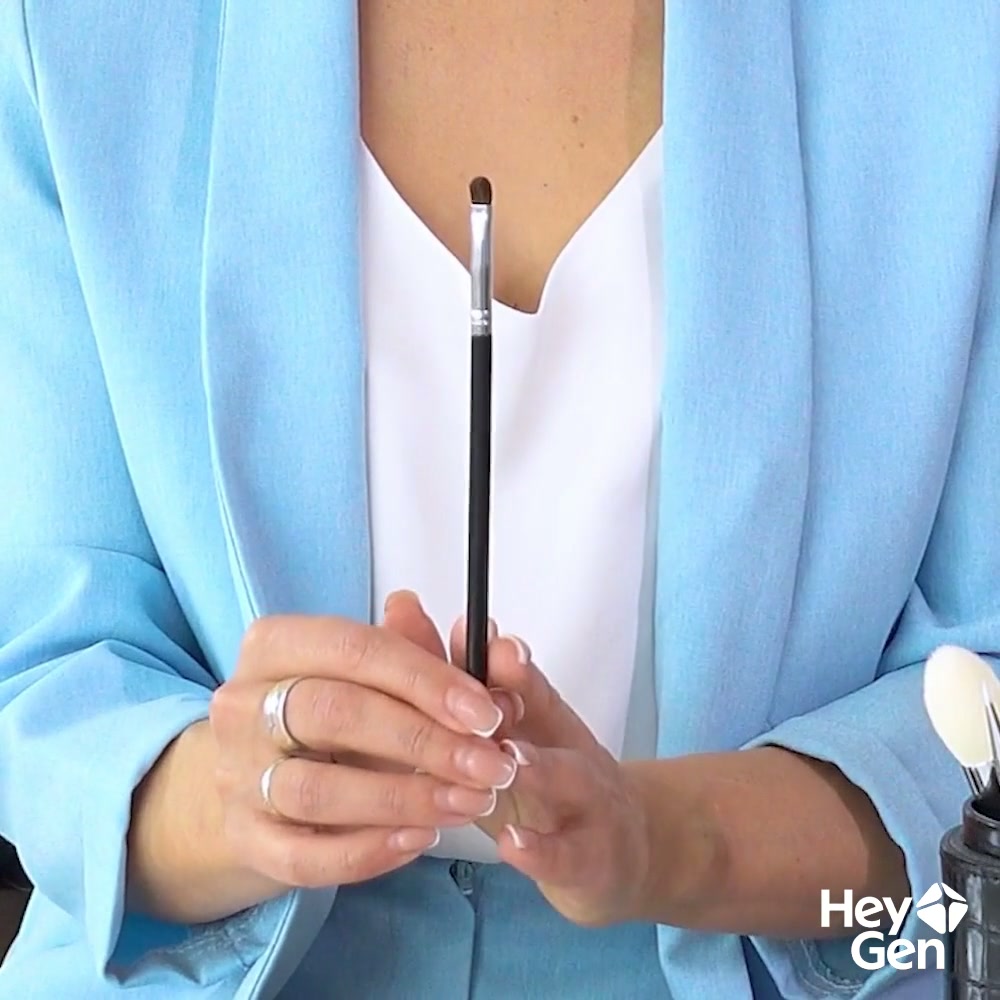
An angled edge follows the brow or lash line; a small accent brush works in the eye corners.
Pencil and detail brushes
Small rounded, pointed, and flat brushes work around the inner corner, outer corner, or lower lash line. They are useful for accents, but they are not required for a first makeup kit.
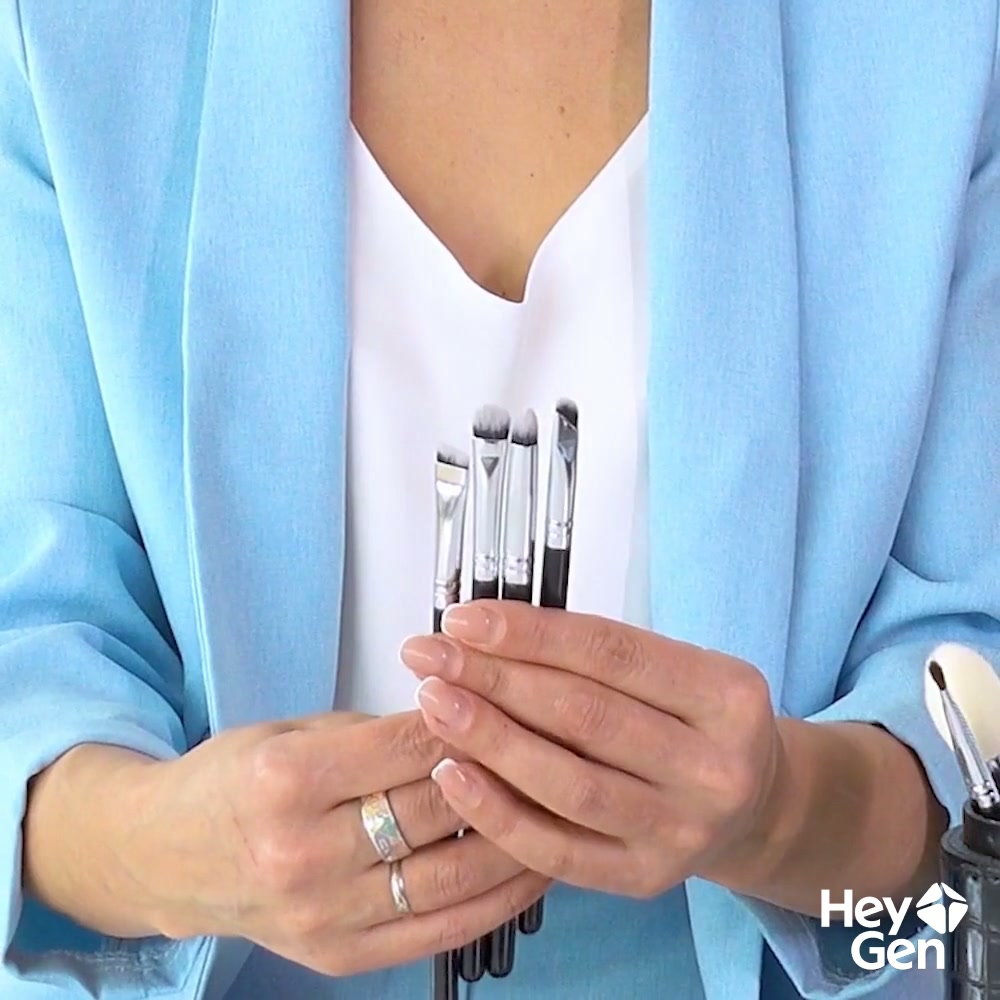
Small brush heads help with concealer, eye makeup, lip color, and precise accents.
Are synthetic or natural makeup brushes better for beginners?
Synthetic brushes are the easiest starting point for most beginners. They are widely available, include animal-free options, and can be made in many shapes and densities. One good-quality, multi-purpose synthetic brush may replace several specialty tools. Check the manufacturer’s label to confirm which formulas a specific brush is designed to handle.
The traditional makeup-artist rule pairs smooth synthetic fibers with liquids and creams, while natural hair is often used to pick up and diffuse powder. Svetlana explains that distinction in the lesson and identifies common synthetic materials such as nylon and taklon. It is a useful starting clue, but it is not a reason to buy two complete sets. Modern synthetic brushes can work with many powder products too.
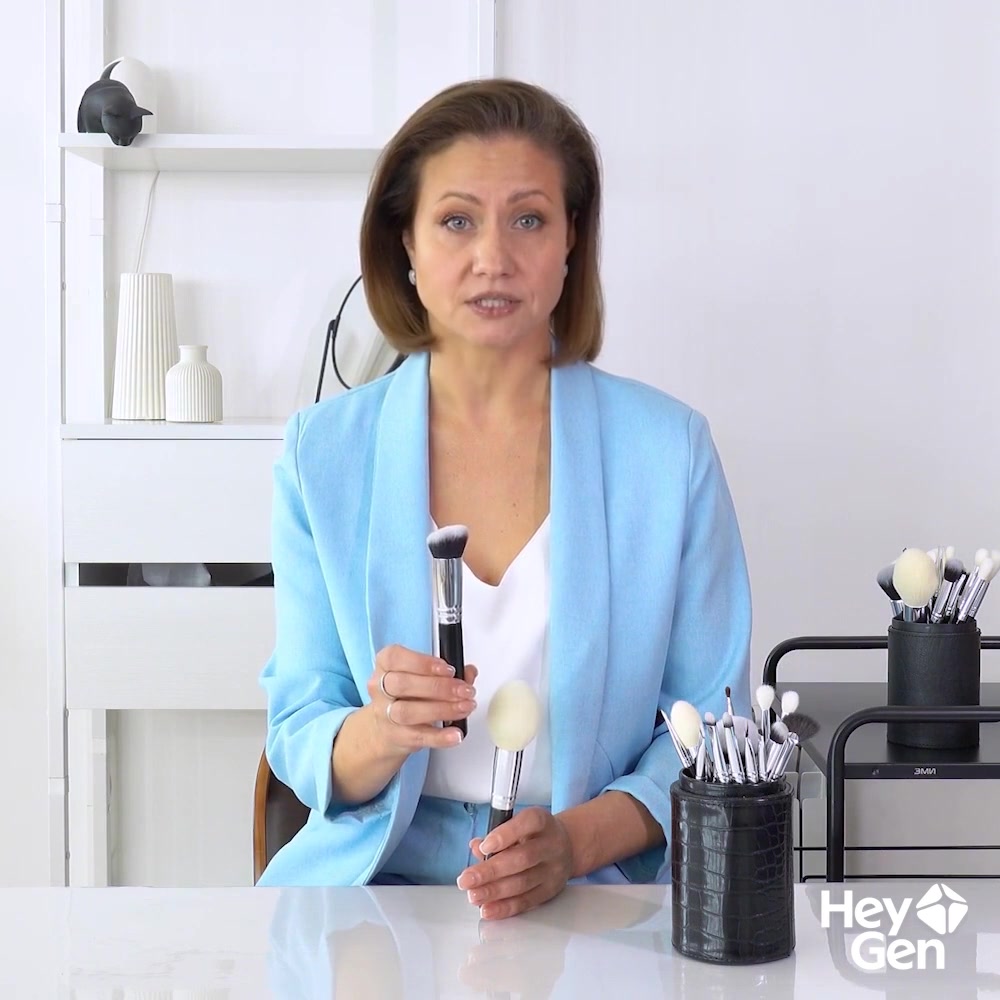
Bristle material matters, but shape, density, softness, and the product label also determine how a brush performs.
Choose a brush that feels soft on your skin, does not shed during gentle use, returns to its shape after washing, and suits the product you plan to apply. Stop using a brush if the bristles feel sharp, the handle is loose, or the ferrule has rough edges.
How do you judge a makeup brush set before buying?
An easy-to-use makeup brush set has clearly different shapes, soft edges, secure ferrules, and handles that feel comfortable in your hand. Ignore a “must-have” label if several brushes are the same size or if the seller does not explain how the brushes are used.
Good quality does not require a luxury logo. Check that the bristles do not shed when you gently test them, the brush head is even, and the handle does not wobble. A small set can perform well with good care when every tool has a useful role. If a kit includes many duplicates, compare its price with buying the five starter roles separately.
Which brush movement should you use?
Match the movement to the result. Pressing places product. Sweeping spreads a light layer. Buffing blends a liquid or cream. Small circular motions softly blur powder edges. The brush allows precise application only when its movement matches its shape.
| Movement | Best for | Common mistake |
|---|---|---|
| Press or pat | Lid color, concealer, targeted powder | Sweeping before the product has been placed |
| Stipple or tap | Foundation, skin tint, cream blush | Pressing so hard that the base moves underneath |
| Buff in small circles | Blending a compatible complexion formula | Using too much product at once |
| Sweep lightly | Setting powder, bronzer, soft blush | Dragging the brush back and forth with heavy pressure |
| Short strokes | Brows and eyeliner | Drawing one solid block instead of building the shape |
| Small circles | Eyeshadow edges and blush borders | Blending over the whole area until colors turn muddy |
Start with less product than you expect. You can add another thin layer, but removing excess without disturbing the base is harder.
How should beginners clean makeup brushes?
Wash reusable makeup brushes every 7 to 10 days. The American Academy of Dermatology recommends rinsing only the bristle tips, washing them with gentle shampoo in lukewarm water, rinsing until the water runs clear, and drying them flat with the tips hanging over a counter edge. With proper care, the brush head keeps its shape and remains easier to control.
- Wet the bristles with lukewarm water while keeping the ferrule and handle as dry as possible.
- Work a small amount of gentle shampoo through the brush tip.
- Rinse and repeat until no makeup or cleanser remains.
- Press out moisture with a clean paper towel without twisting the bristles.
- Reshape the brush head and lay it flat to dry with the tip over the edge of a counter.
Do not dry brushes upright while they are wet. Water can run into the ferrule and weaken the glue. Do not share makeup brushes, especially tools used around the eyes. The U.S. Food and Drug Administration advises keeping eye applicators clean and not sharing eye cosmetics because another person’s germs can create an infection risk.
What mistakes make makeup brushes harder to use?
Buying a large set before knowing your routine
A 20-piece set can contain several tools that do the same job. Begin with the five roles in the starter table, then add one brush when you can name the problem it will solve.
Choosing a brush that is too large
A large brush is fast, but it can spread blush, contour, or eyeshadow beyond the intended area. Match the head to your face and eye size. The tool should fit inside the space you want to color.
Using the same dirty brush for every shade
Old pigment changes the next color and makes blending look muddy. Wipe loose powder from the brush between shades and wash the brush regularly. Keep a separate clean tool for pale setting powder when possible.
Pressing too hard
Pressure flattens the bristles, moves the makeup underneath, and can feel uncomfortable. Let the brush tips do the work. Hold a blending brush farther from the ferrule when you want a softer result.
Treating the printed name as a strict rule
A small blush brush may be the right powder brush for a smaller face. A flat concealer brush can place cream shadow. The label suggests a use; shape and technique decide what the tool can do in your routine.
Where can teens learn brush technique step by step?
The paid Makeup Classes for Teens from Oh!Nice SPACE include a module on tools and products, brush cleaning, foundation, eyeshadow, color, and complete day and evening looks. The current course is self-paced, contains eight modules, and costs $15 as a one-time payment with ongoing access. Svetlana Shekhovtsova teaches the brush lesson used as the source for the original frames in this guide.
The course does not include a makeup kit, and the article does not open the paid lesson to the public. Students choose their own products and tools to suit their routine and budget.
Makeup brush guide: the simple way to build your first kit
Begin with your routine, then assign one brush to each job. Learn the difference between pressing, sweeping, and blending before buying specialty shapes. Five well-chosen, regularly cleaned brushes will teach you more than a large set whose tools never leave the cup.
The photos in this guide are original frames from Svetlana Shekhovtsova’s private Oh!Nice SPACE makeup lesson. They show the tools discussed without linking to or exposing the paid video.
Frequently Asked Questions
How many makeup brushes should a beginner own?
Start with about five useful roles rather than a fixed number: complexion, face powder or blush, eye blending, flat eyeshadow, and angled brow work. Skip any role that is not part of your routine. Add a brush only when you know what task the current kit cannot handle.
What is the most useful eyeshadow brush for beginners?
A flat shader and a fluffy blending brush work as a pair. The flat brush presses color onto the lid, while the fluffy brush softens the edge. If you can buy only one, choose a medium flat-fluffy brush that can place color with its broad side and soften a small area with its edge.
Can one makeup brush have more than one use?
Yes. A medium fluffy face brush can apply powder, blush, or bronzer, and an angled brush can work with brow product or liner. Clean the tool before switching formulas or colors, and do not move a contaminated brush between people or sensitive areas.
Is a brush or a Beauty Blender makeup sponge better for foundation?
Both can work. A dense brush usually gives controlled, buildable coverage and does not need to be dampened. A sponge can press a thin layer into the skin but must be cleaned and dried carefully. Choose the tool whose finish and cleaning routine you prefer.
Can beginners use synthetic brushes for powder makeup?
Yes. Many modern synthetic brushes are designed for powder, cream, or liquid products. Read the product description and choose the shape and density that fit the result you want. A soft fluffy synthetic brush can distribute powder well.
How often should teens clean makeup brushes?
The American Academy of Dermatology recommends washing makeup brushes every 7 to 10 days. Clean them sooner if a brush is visibly dirty, has been dropped on an unclean surface, or has been used by someone else. Do not share eye brushes.